This article contains affiliate links. Learn more in our affiliate disclosure.
After seeing pictures of the Mount Rinjani trek on Google, my first thoughts were – WE MUST DO IT! It seemed like an unforgettable adventure. Since we both love hiking, we immediately decided to go for it.
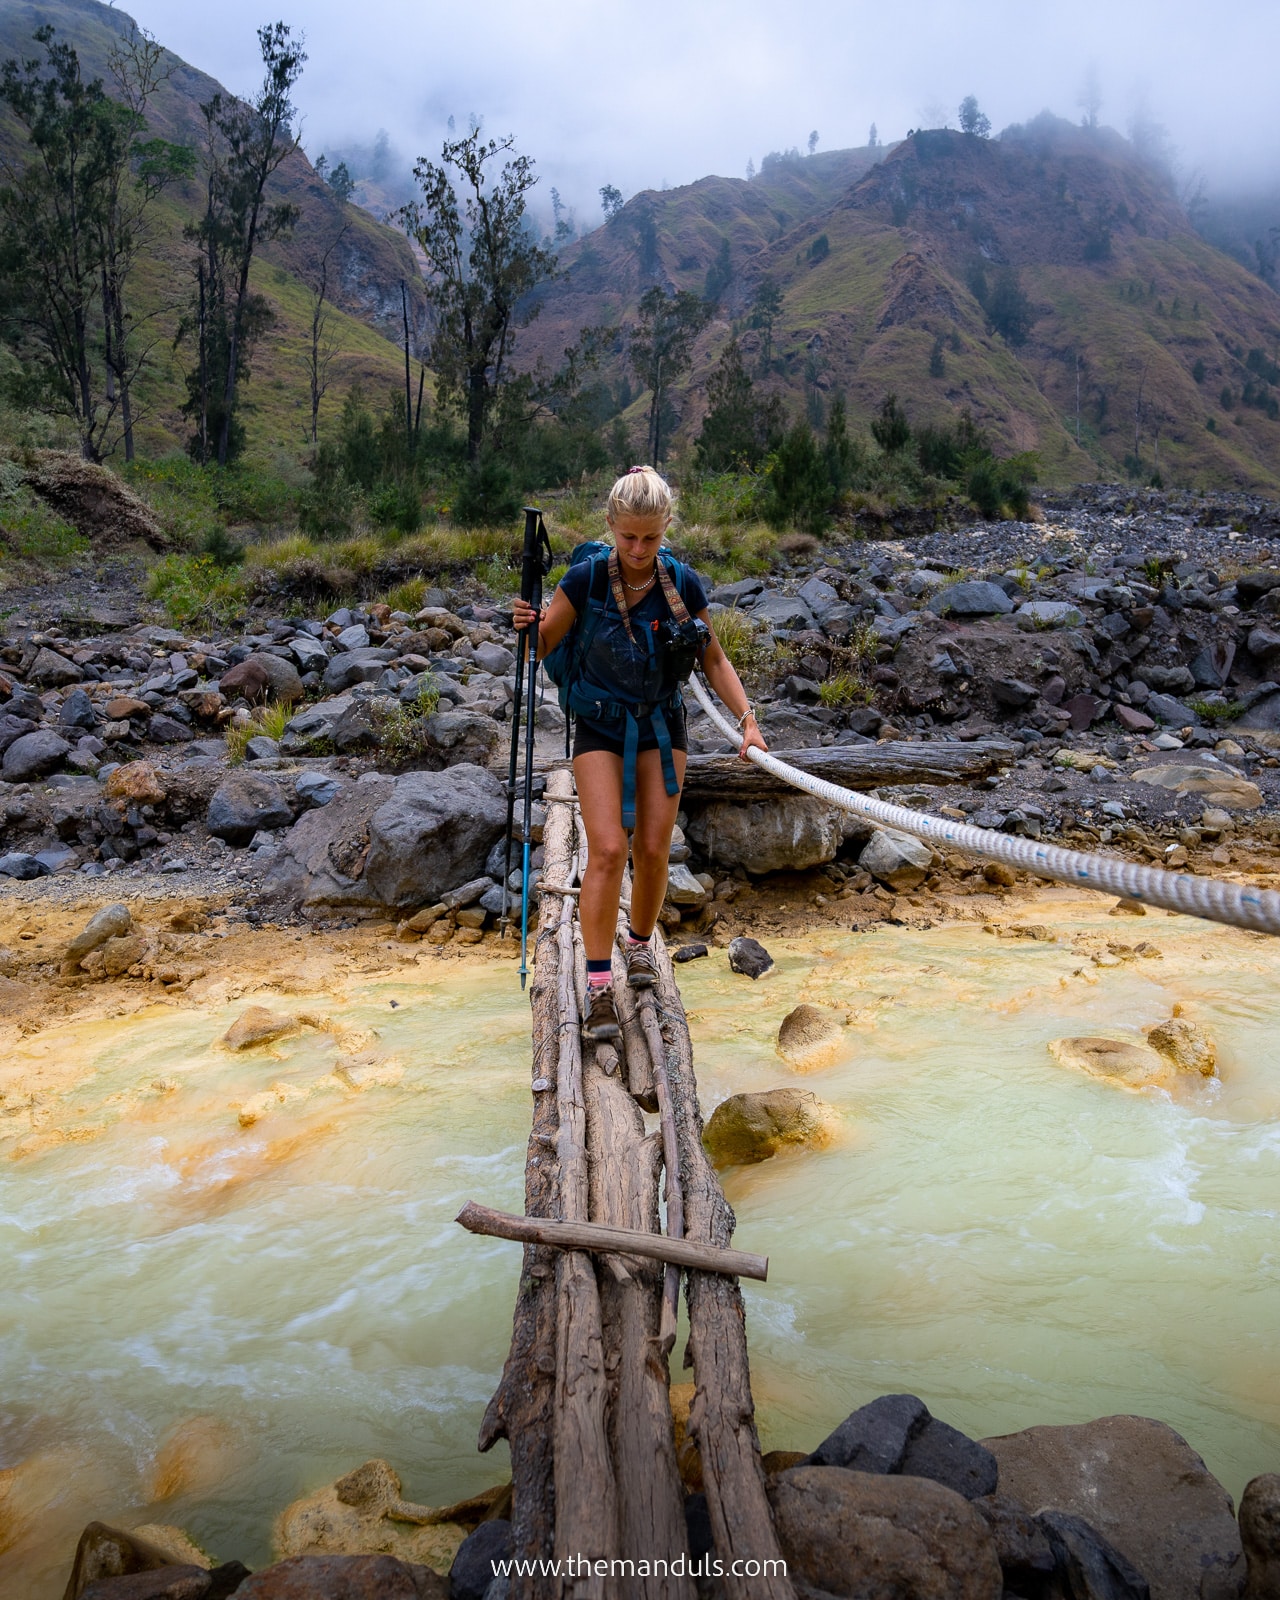
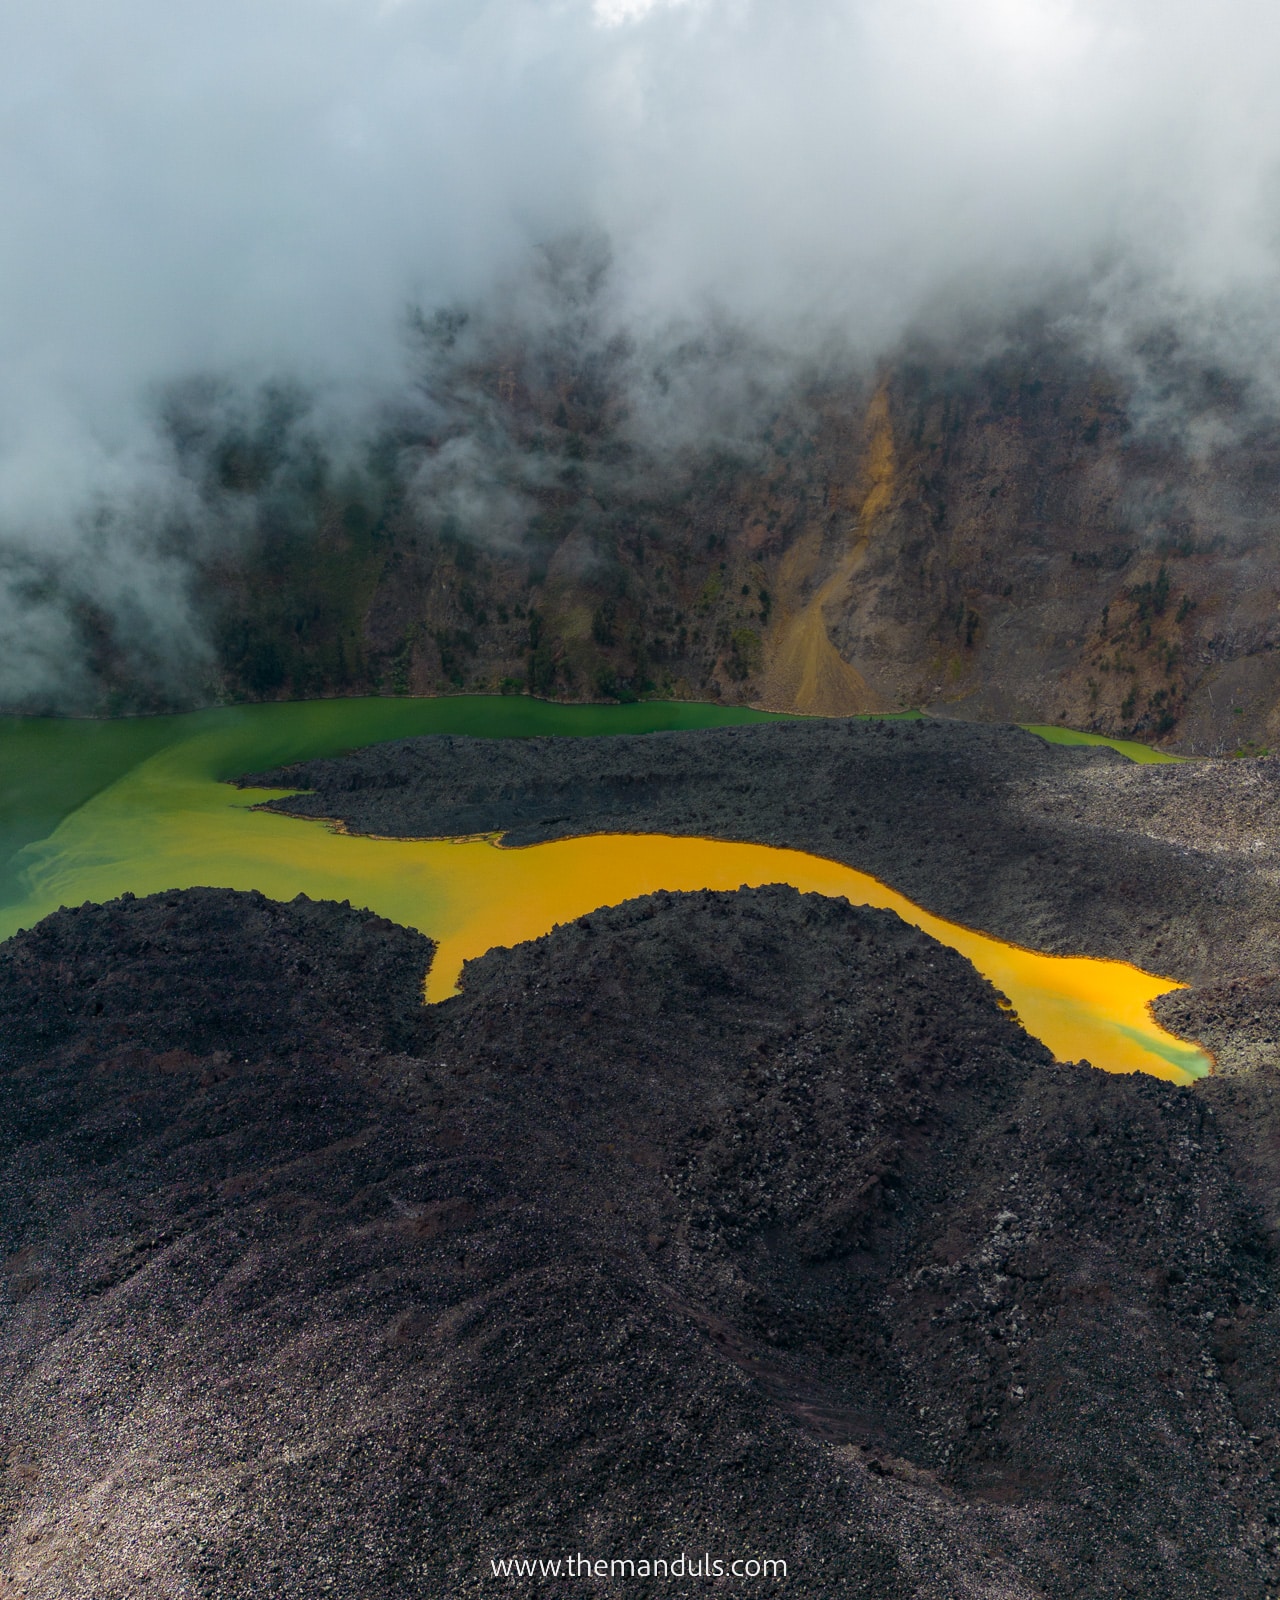
This adventure is without a doubt the craziest hike we’ve ever done. The environment is just out of this world. You pass dry and hot savannah, climb through volcanic ash, and witness yellow and green rivers. Relax in hot springs afterward and visit a volcanic lake inside the crater.
Choosing the Torean route on our way back was the best decision ever! Torean Valley is a deep valley surrounded by majestic mountains covered in green on both sides. What’s interesting is that almost no trees grow on the hills.
In addition, a river flows down the valley, creating multiple stunning waterfalls along the way.
If you plan to hike Mount Rinjani, read this guide before your trek. You will learn what to expect, how to choose the best tour, and the itinerary. We will also share a packing list and tips to make your Rinjani hike easier.
Where is Mount Rinjani ?
Mount Rinjani is a volcano on the island of Lombok in Indonesia. Lombok lies east of Bali, and it takes at least 4 hours by boat to reach. Mount Rinjani can be found in the northern part of Lombok. The nearest villages are Sembalun, Senaru, and Torean.
If you’re staying in Kuta, it will take around 2.5 hours to reach Sembalun, which is 100km away. Senaru is another 30km further and takes an additional hour.
You can also save the location of Mount Rinjani to your Google Maps app.
Mount Rinjani trek – important locations
Before we even start to discuss all the different hiking trails, I would like to briefly describe all of the highlights of Mount Rinjani trek. There are many stops and places you can visit on the trek. Because of this, it might be hard to choose the best tour if you don’t know what to expect.
When we were planning the Rinjani trek I was getting lost in all the itineraries and I wasn’t sure which places and viewpoints we’re going to visit. So here are all the most important stops and places you can visit on your Mount Rinjani trek.
If you’re a nature lover, you must also add Nusa Penida Island to your itinerary. You can make a stop there when traveling between Lombok and Bali. The island is home to the popular Kelingking Beach, Diamond Beach, and Broken Beach.
Mount Rinjani
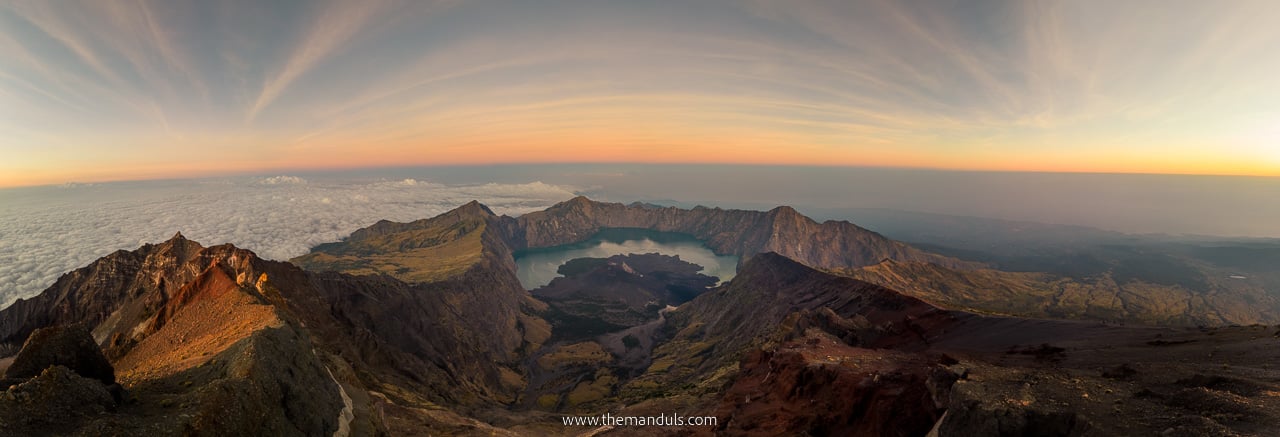
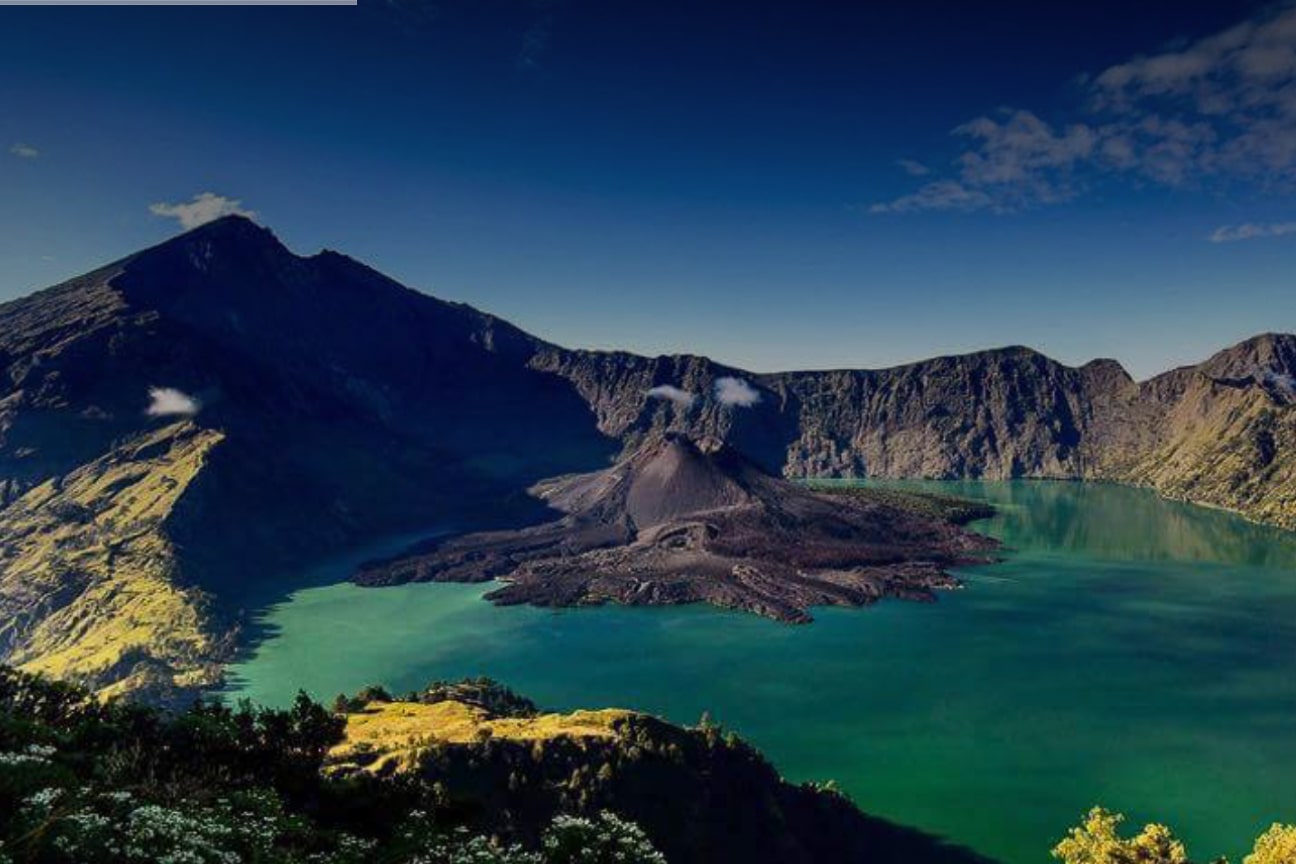
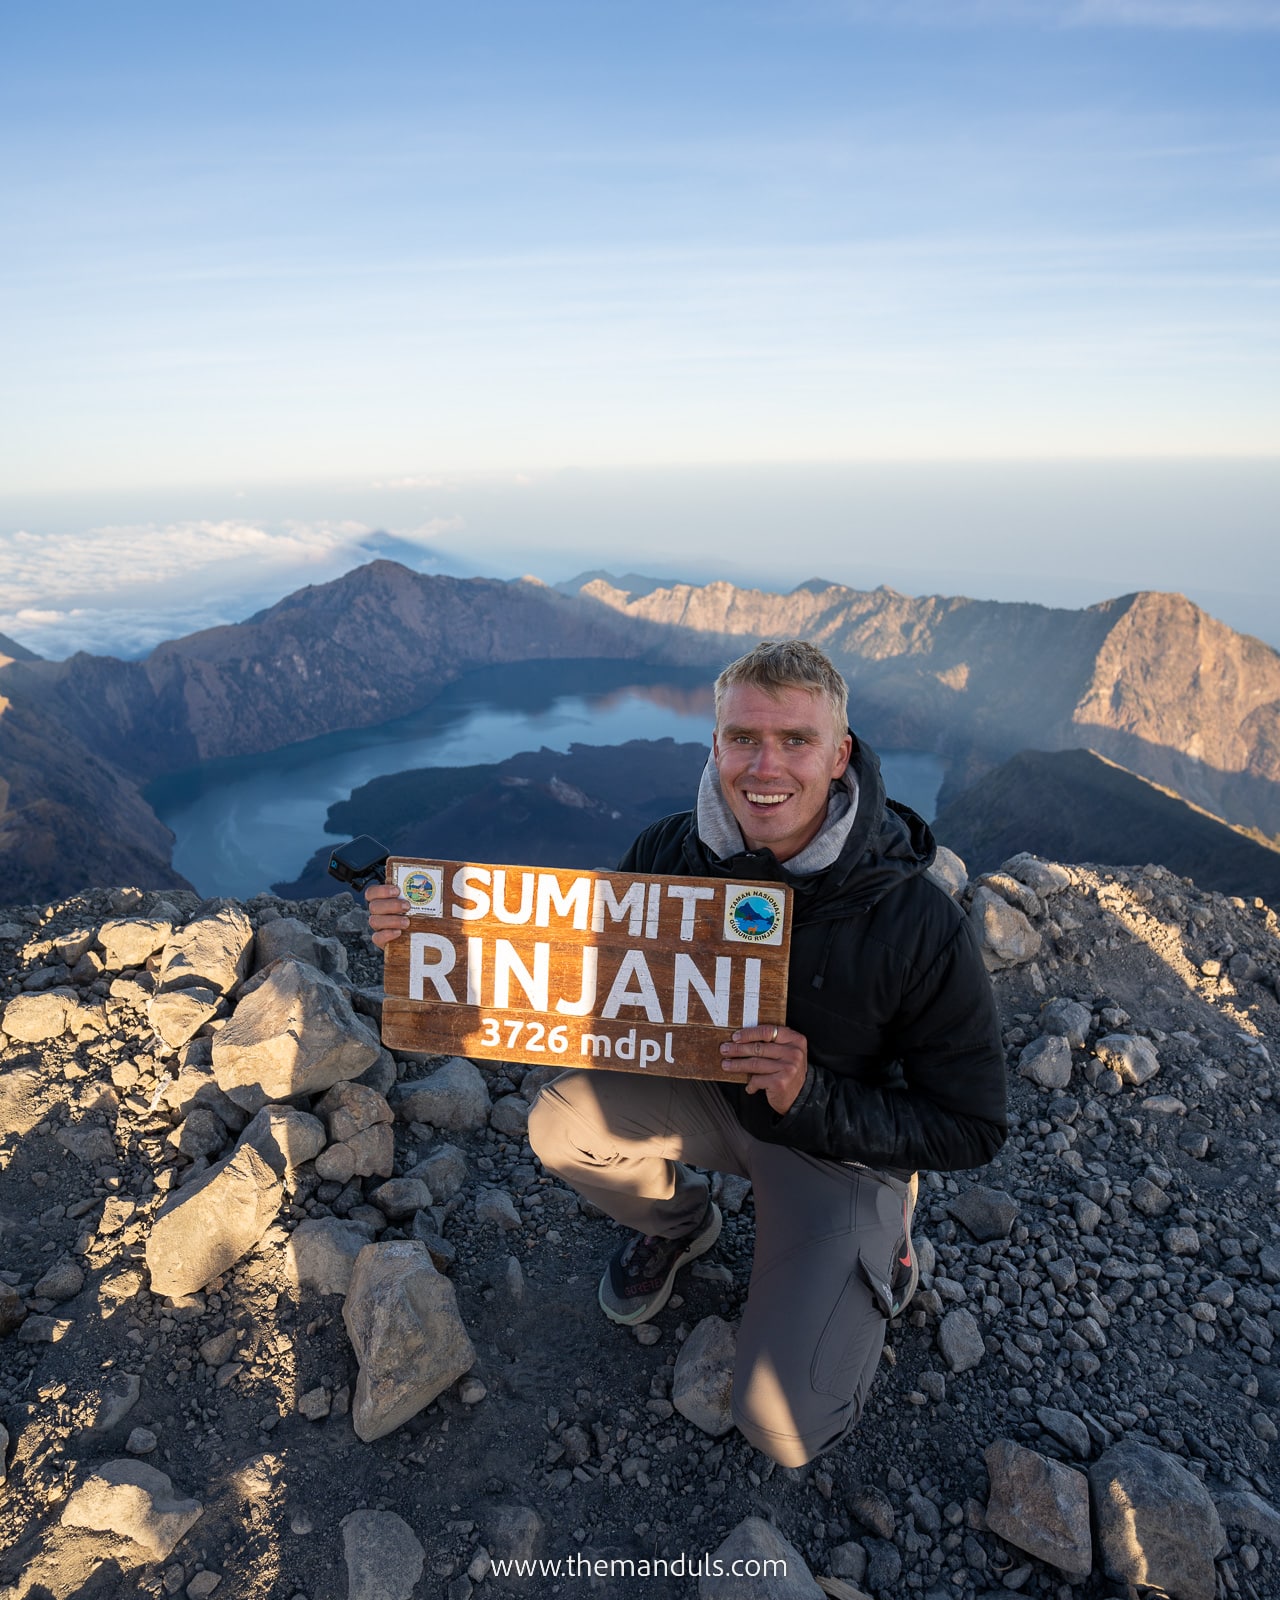
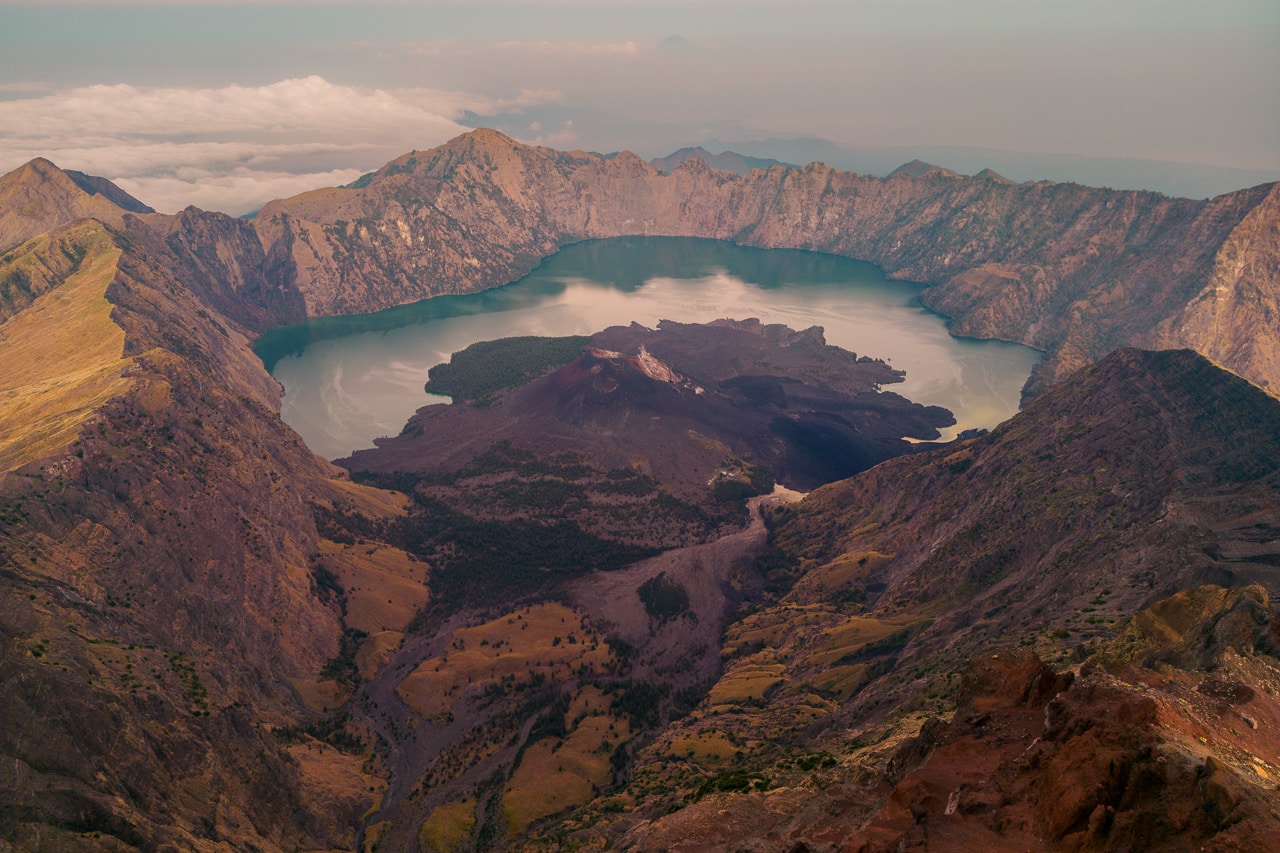
Mount Rinjani is the second-tallest volcano in Indonesia. It rises to 3726 meters ASL. Mount Rinjani is still active – the last eruption was recorded in 2004. No evacuation was necessary, though. Long ago, a large caldera formed inside the crater. It is partially filled with the crater lake called Segara Anak.
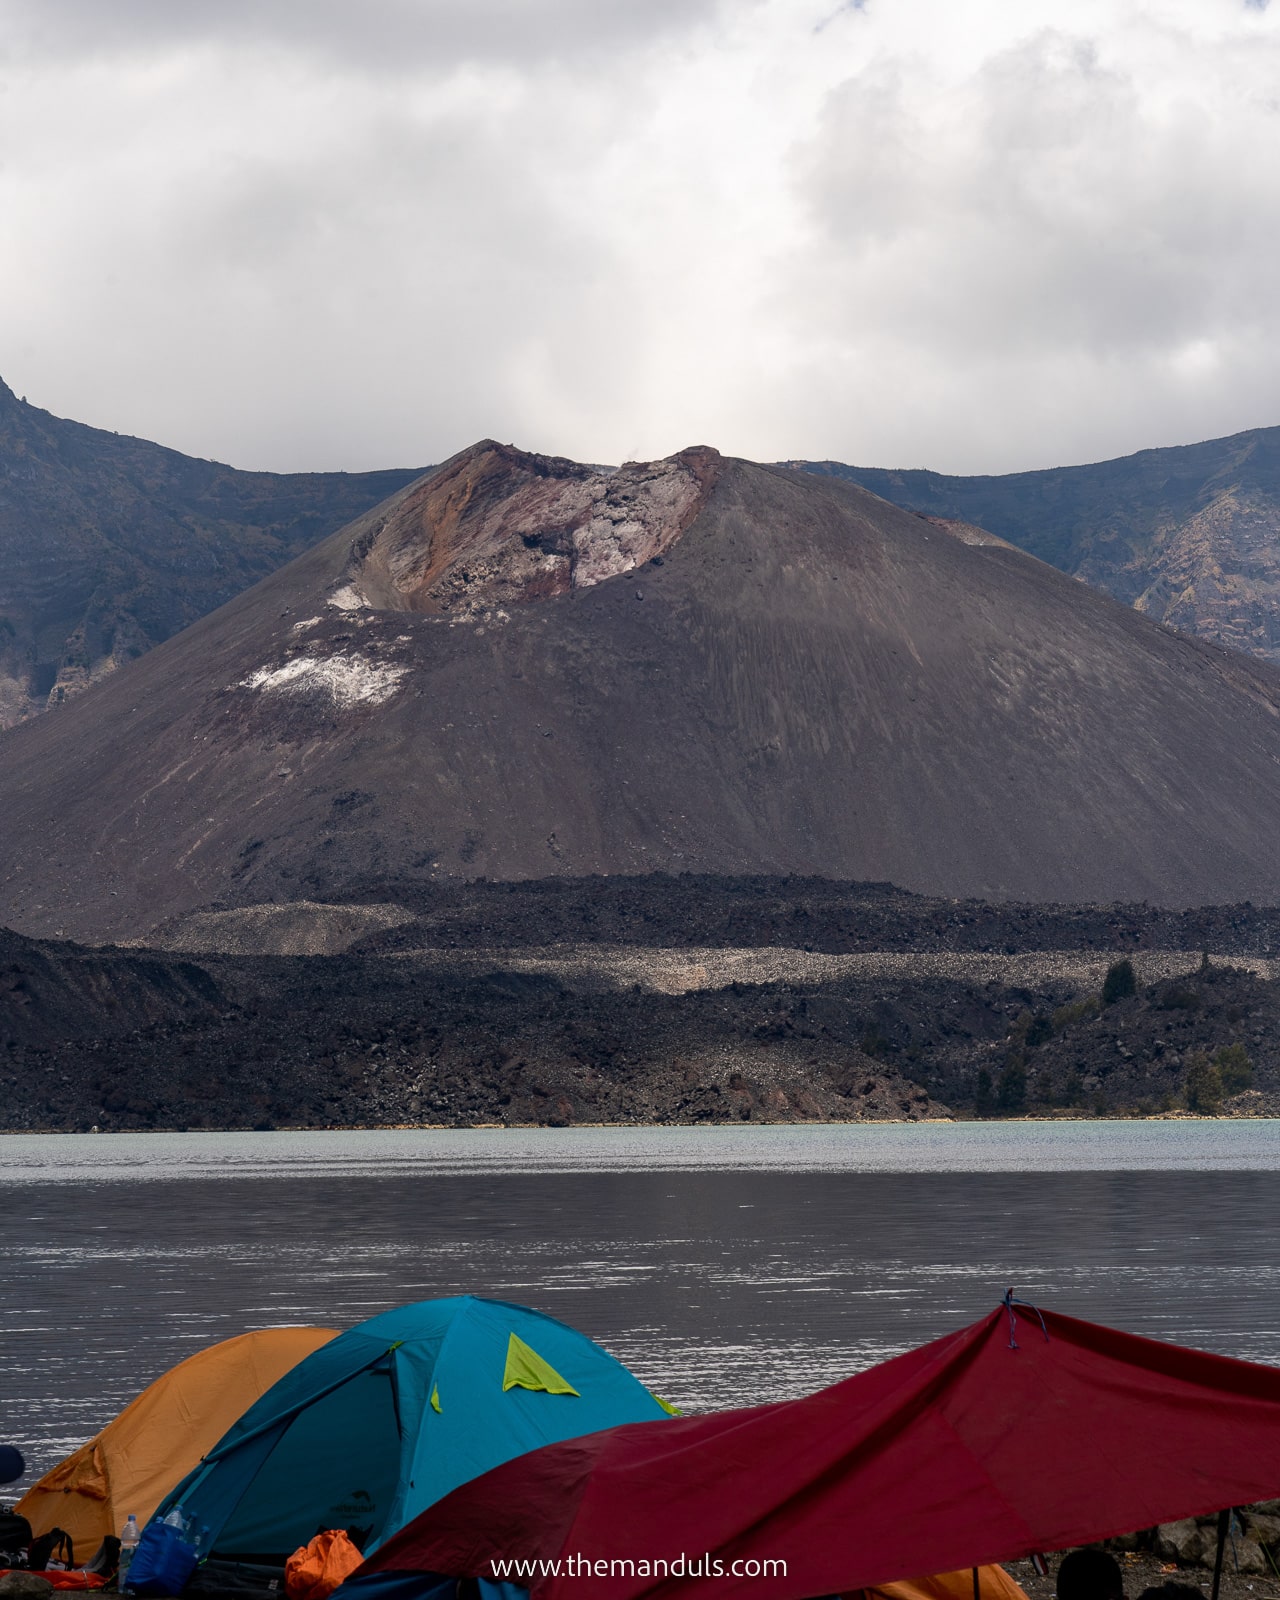
Inside the lake, you can see another volcano – Gunung Barujari. This is a more active volcano than Rinjani. The last eruption was in 2016 in the form of ash. Lava usually flows into the Segara Anak Lake during eruptions.
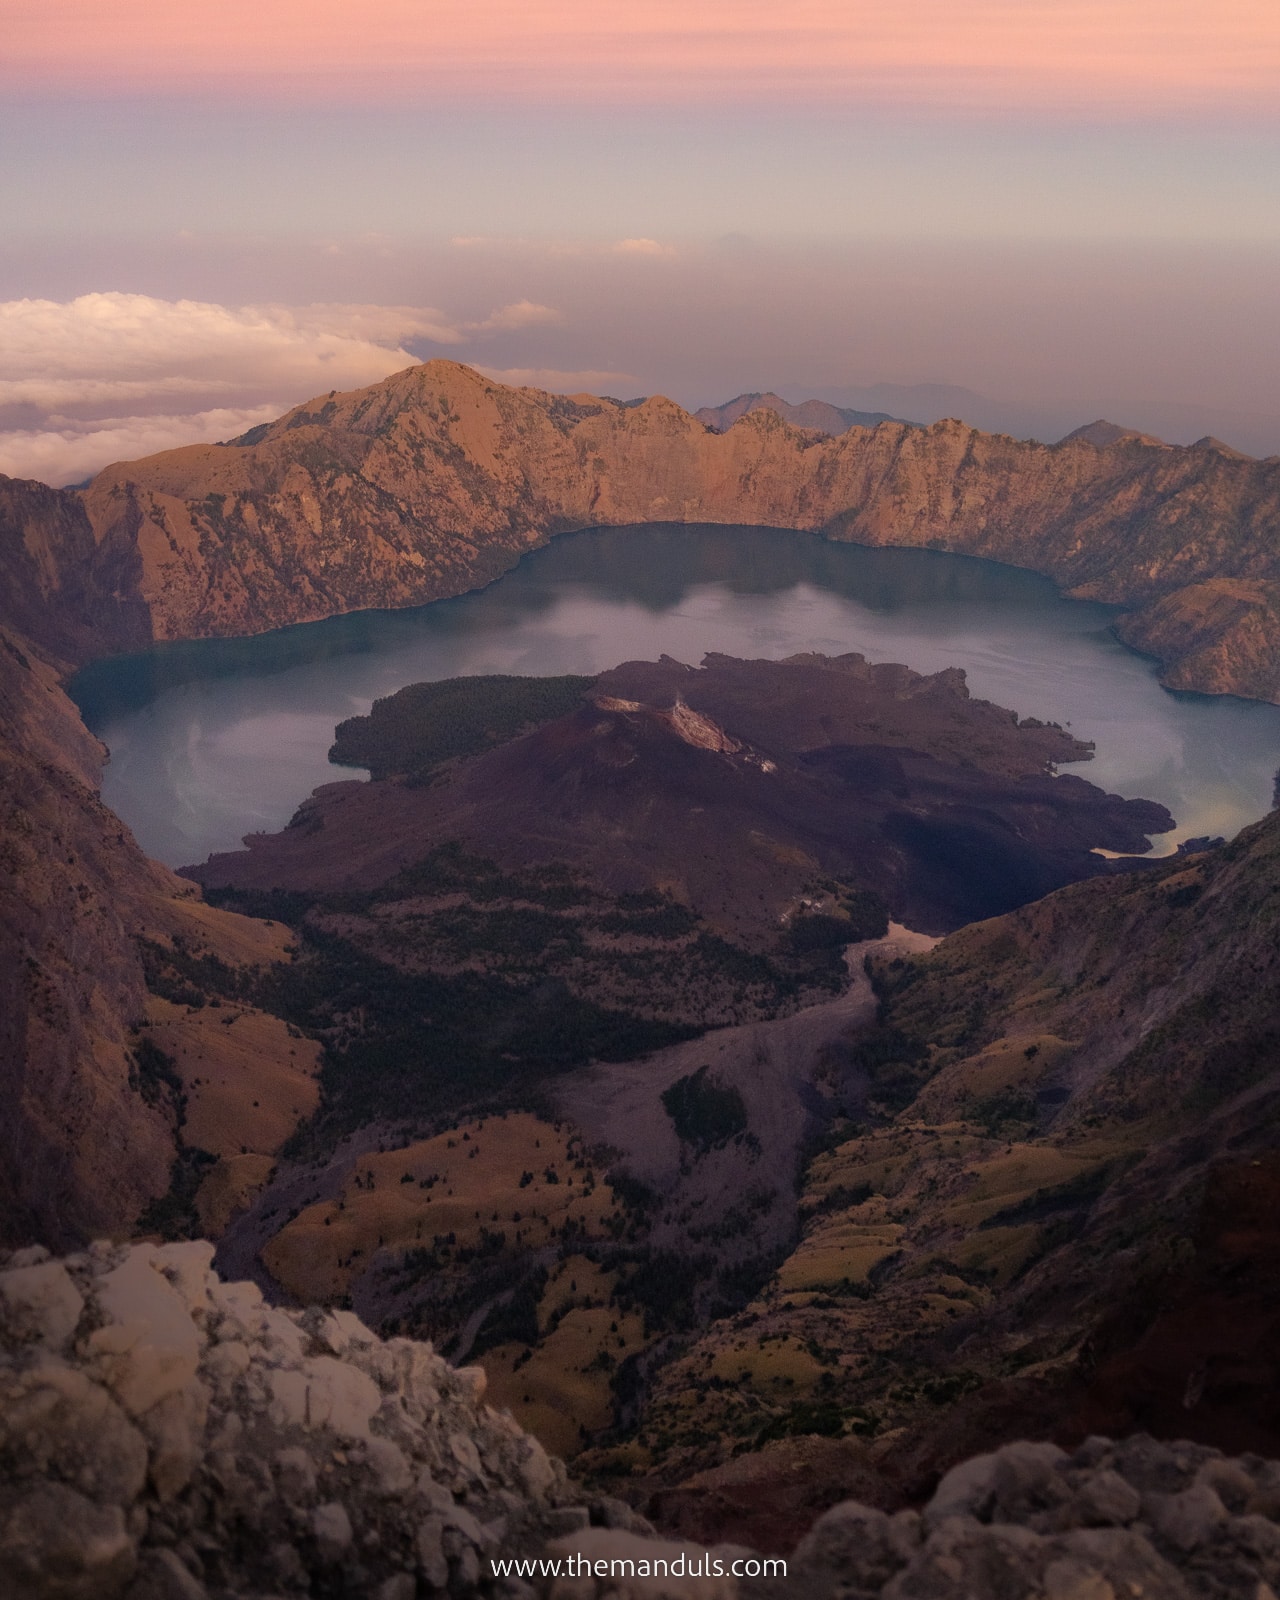
Sembalun Crater rim
Sembalun Crater rim is a campsite built on the crater rim of Rinjani volcano. It offers incredible views of the Sembalun village as well as Segara Anak Lake. However, from the Sembalun Crater rim, you can’t see the small volcano Gunung Barujari in the lake.
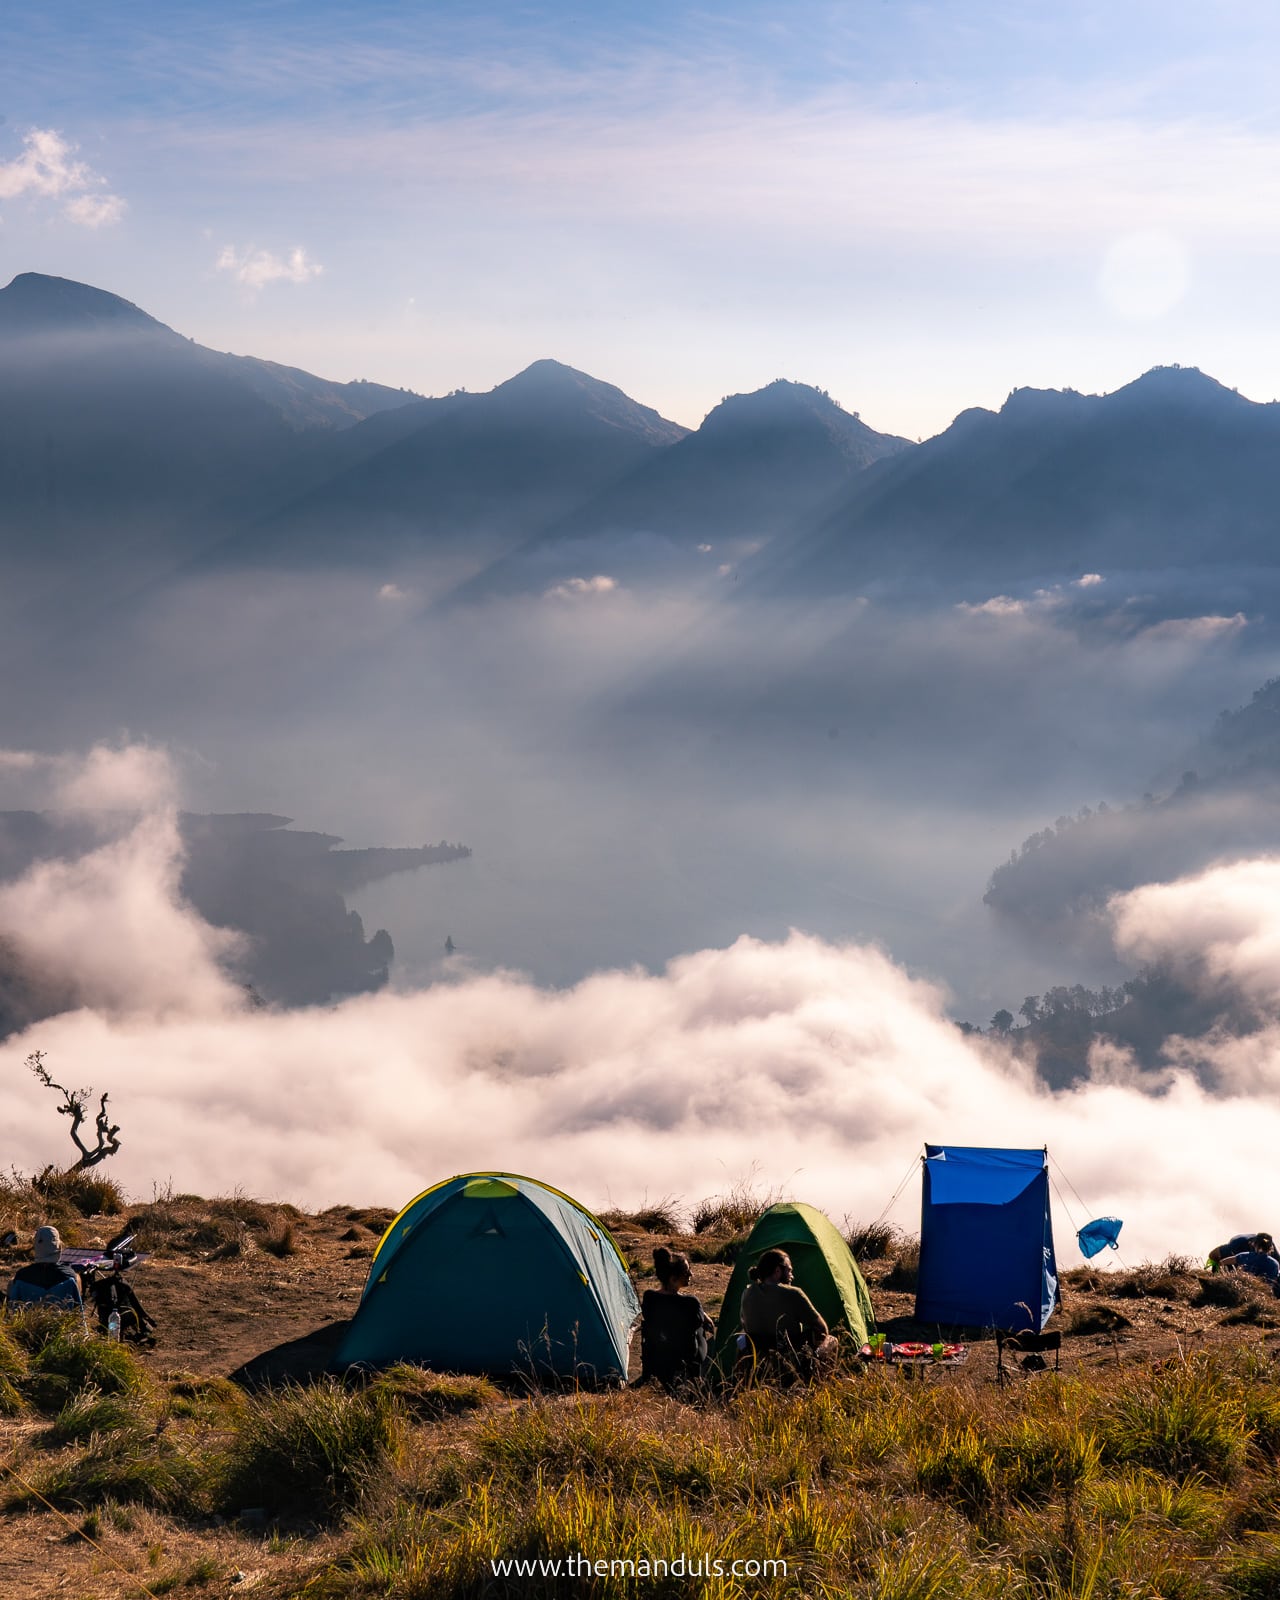
Rinjani Summit
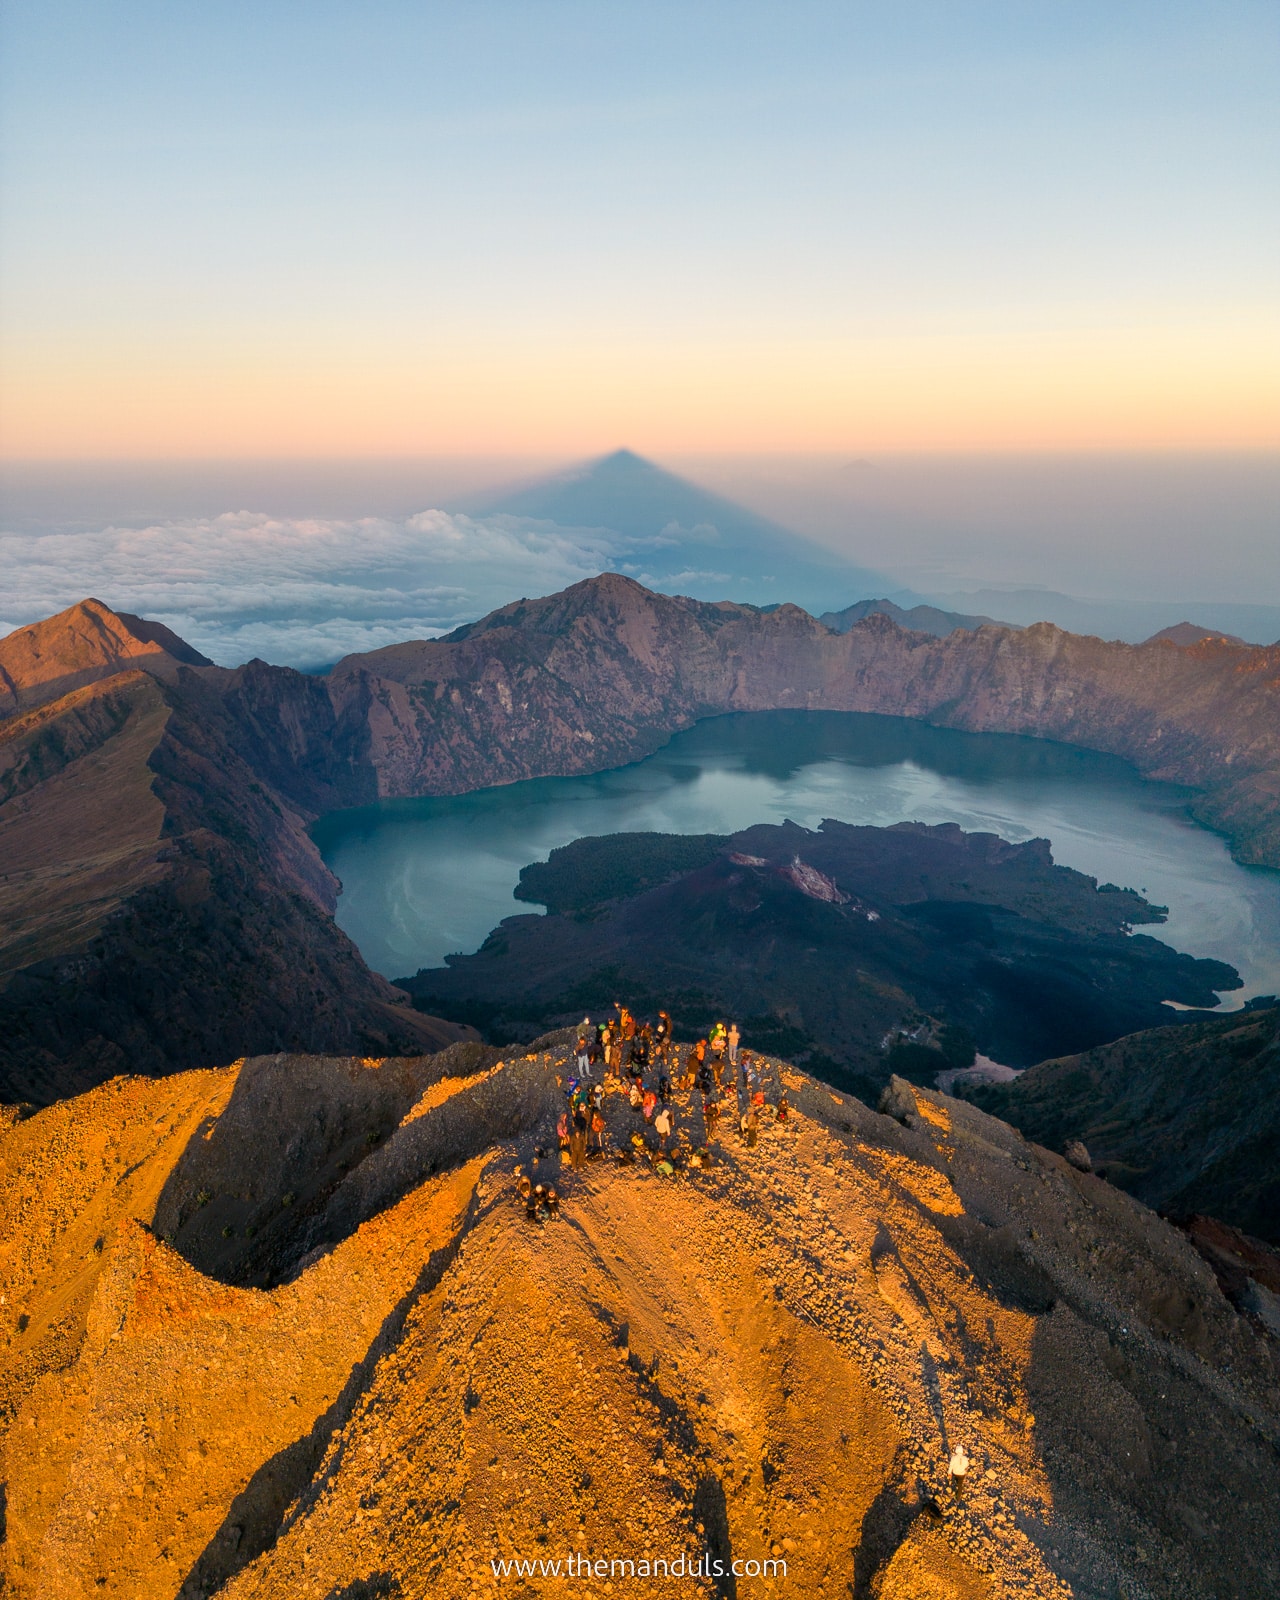
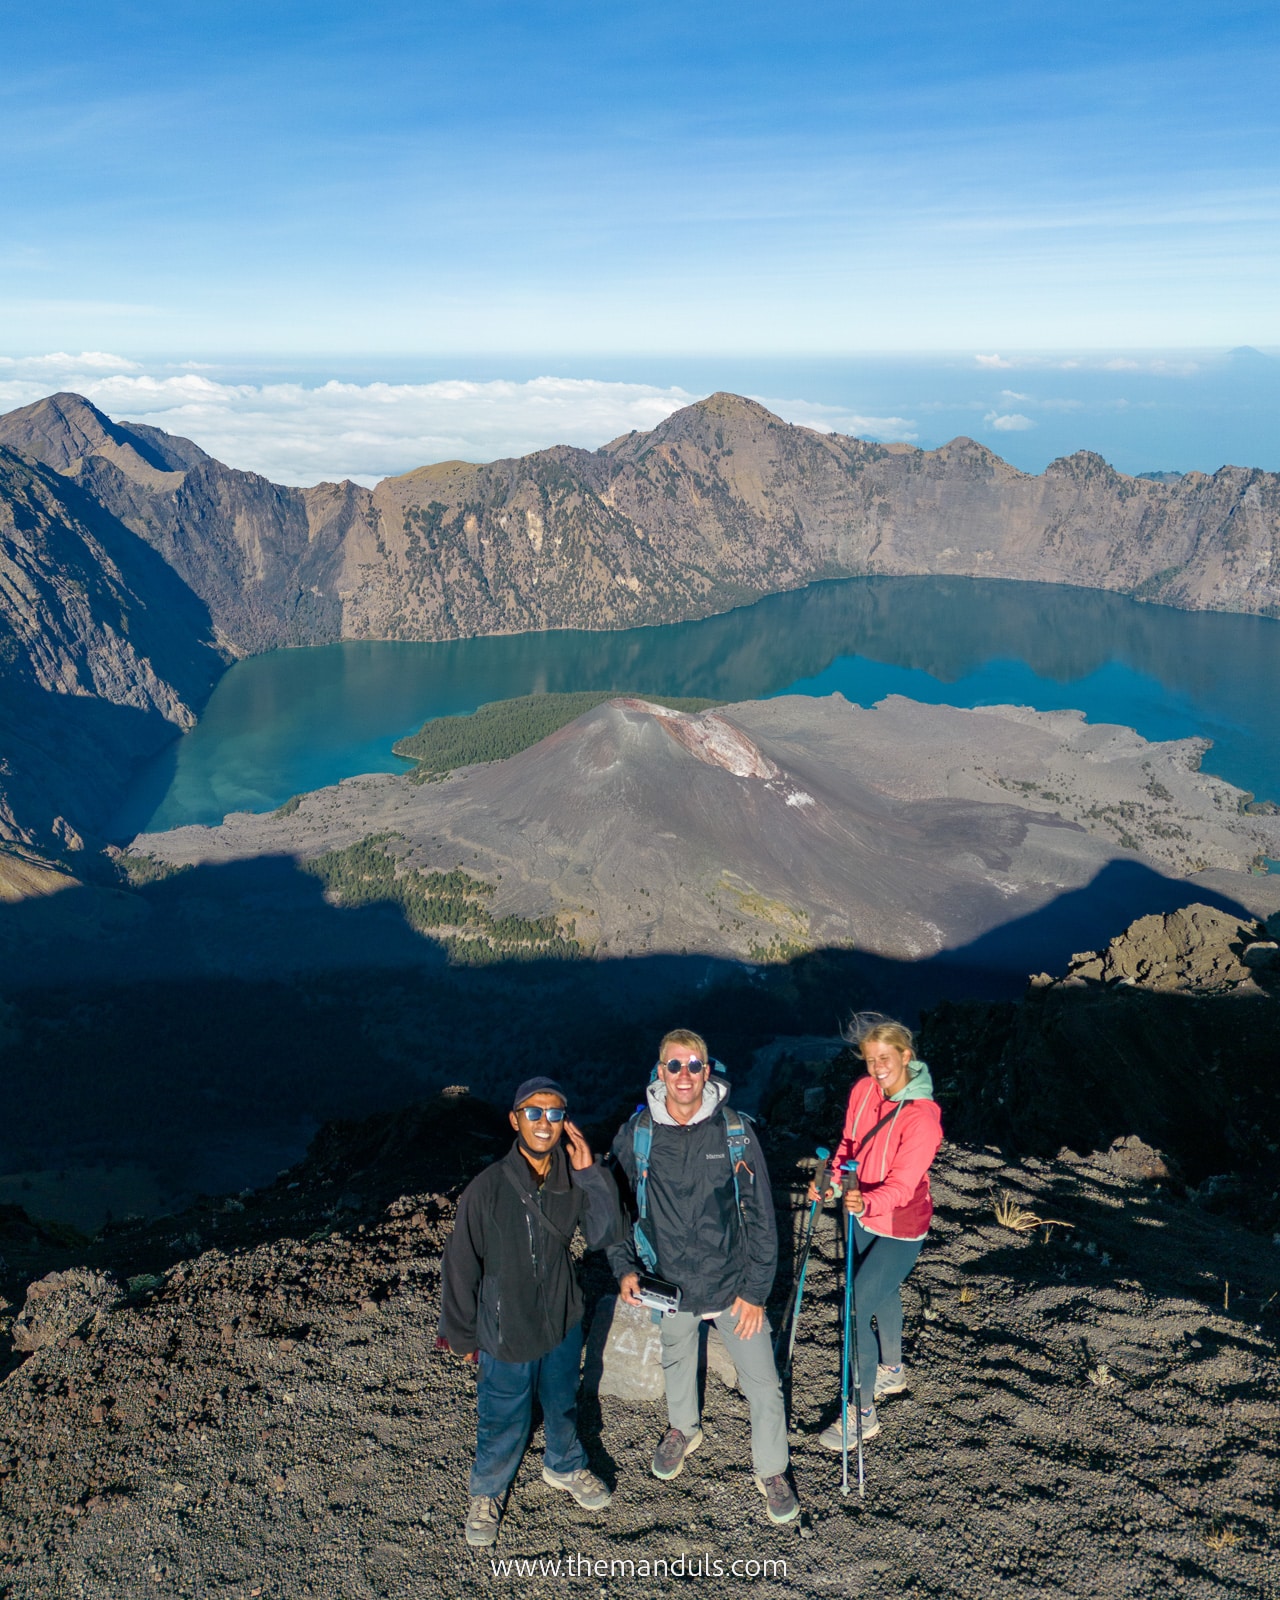
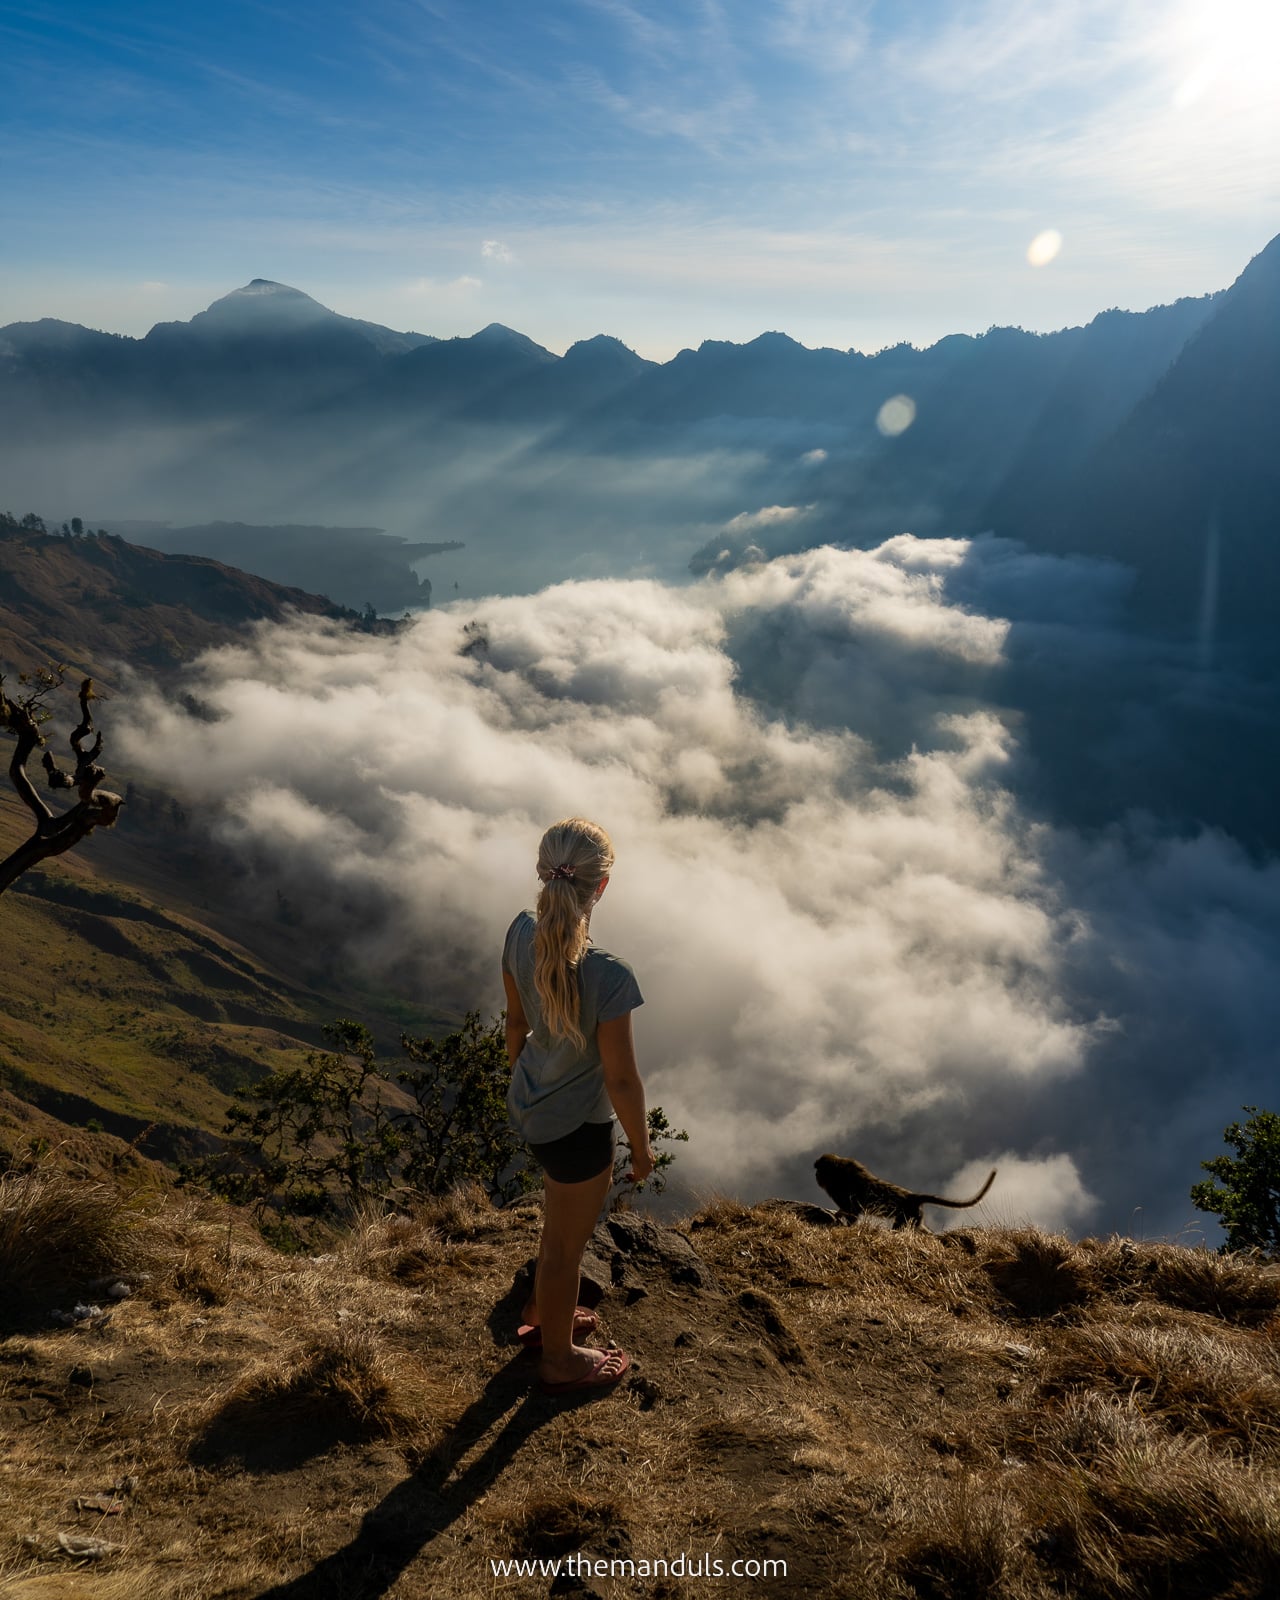
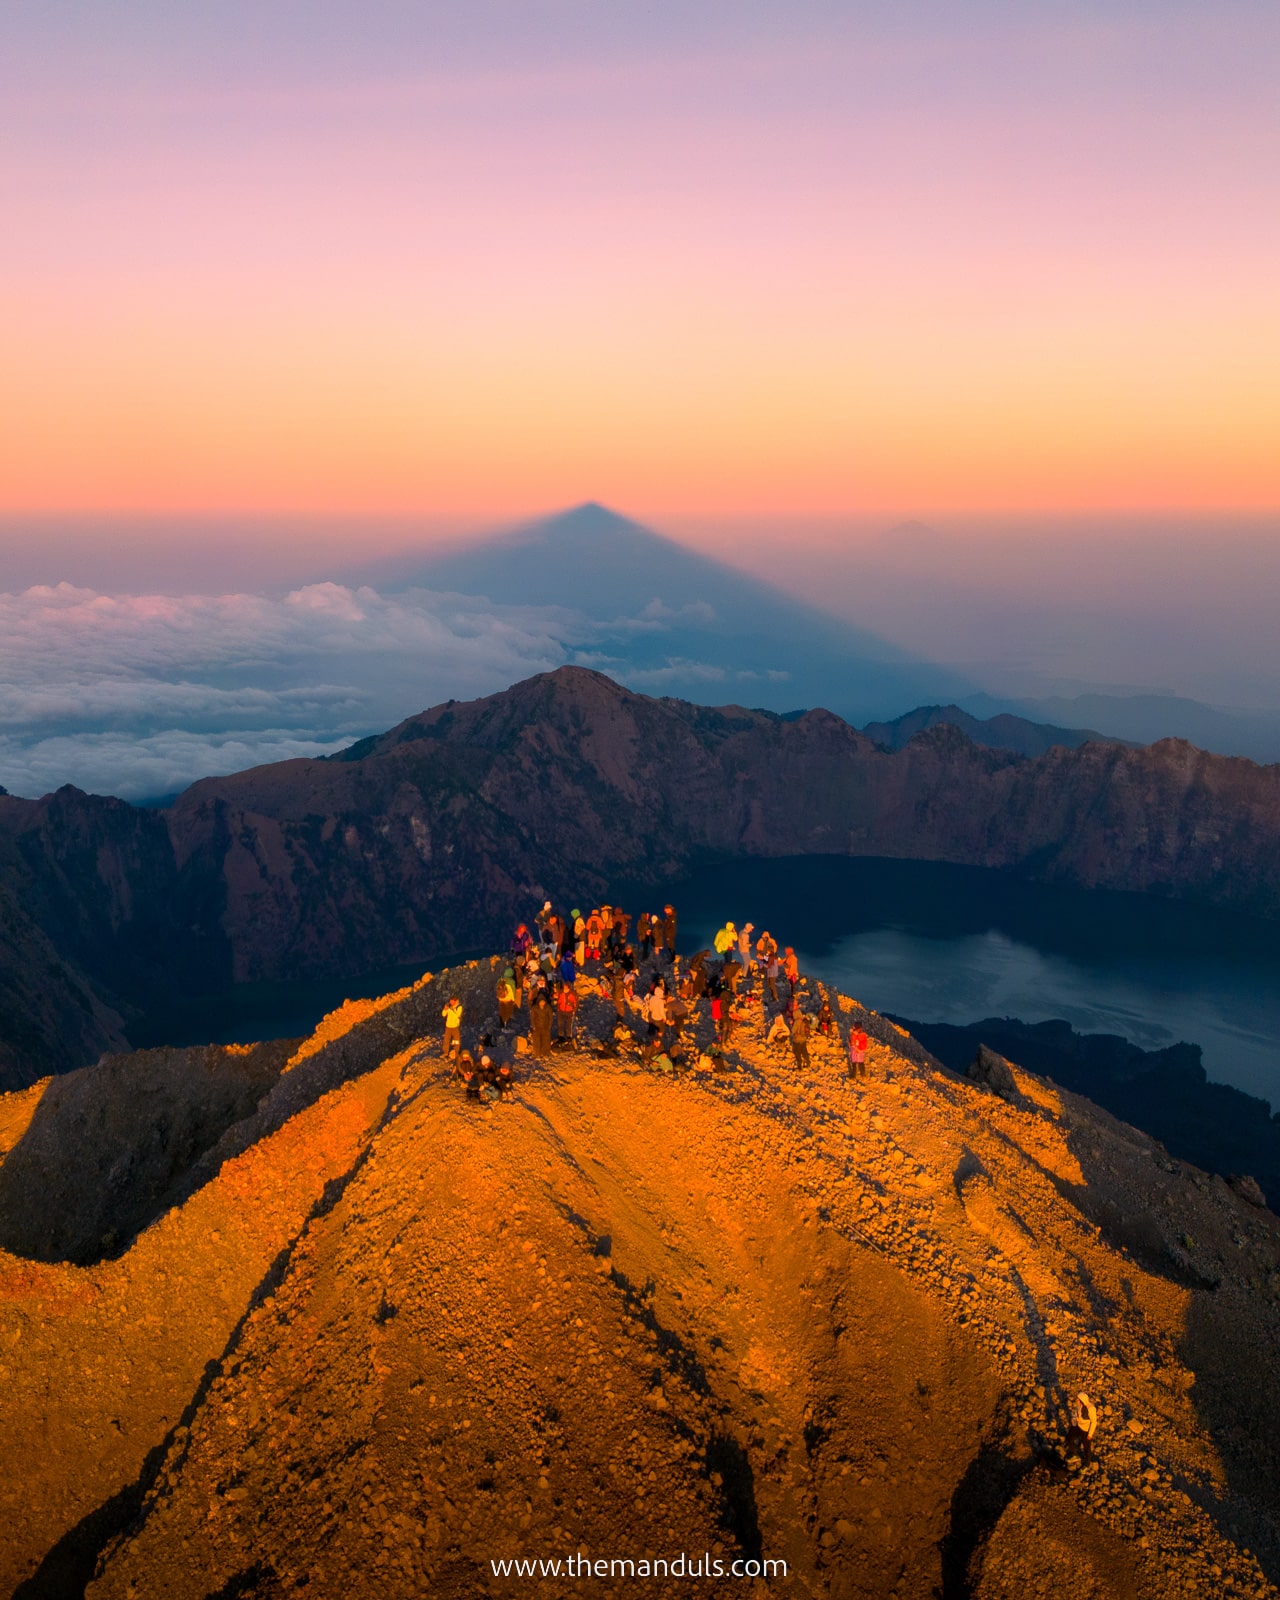
Rinjani Summit is the highest point of the whole Rinjani crater. On good days, you can even see Mount Agung on Bali from here. It also offers views of Gunung Barujari as well as Segara Anak Lake. Also, if you look closely at the photo below, you can see Mt Agung’s pyramid shape in the distance.
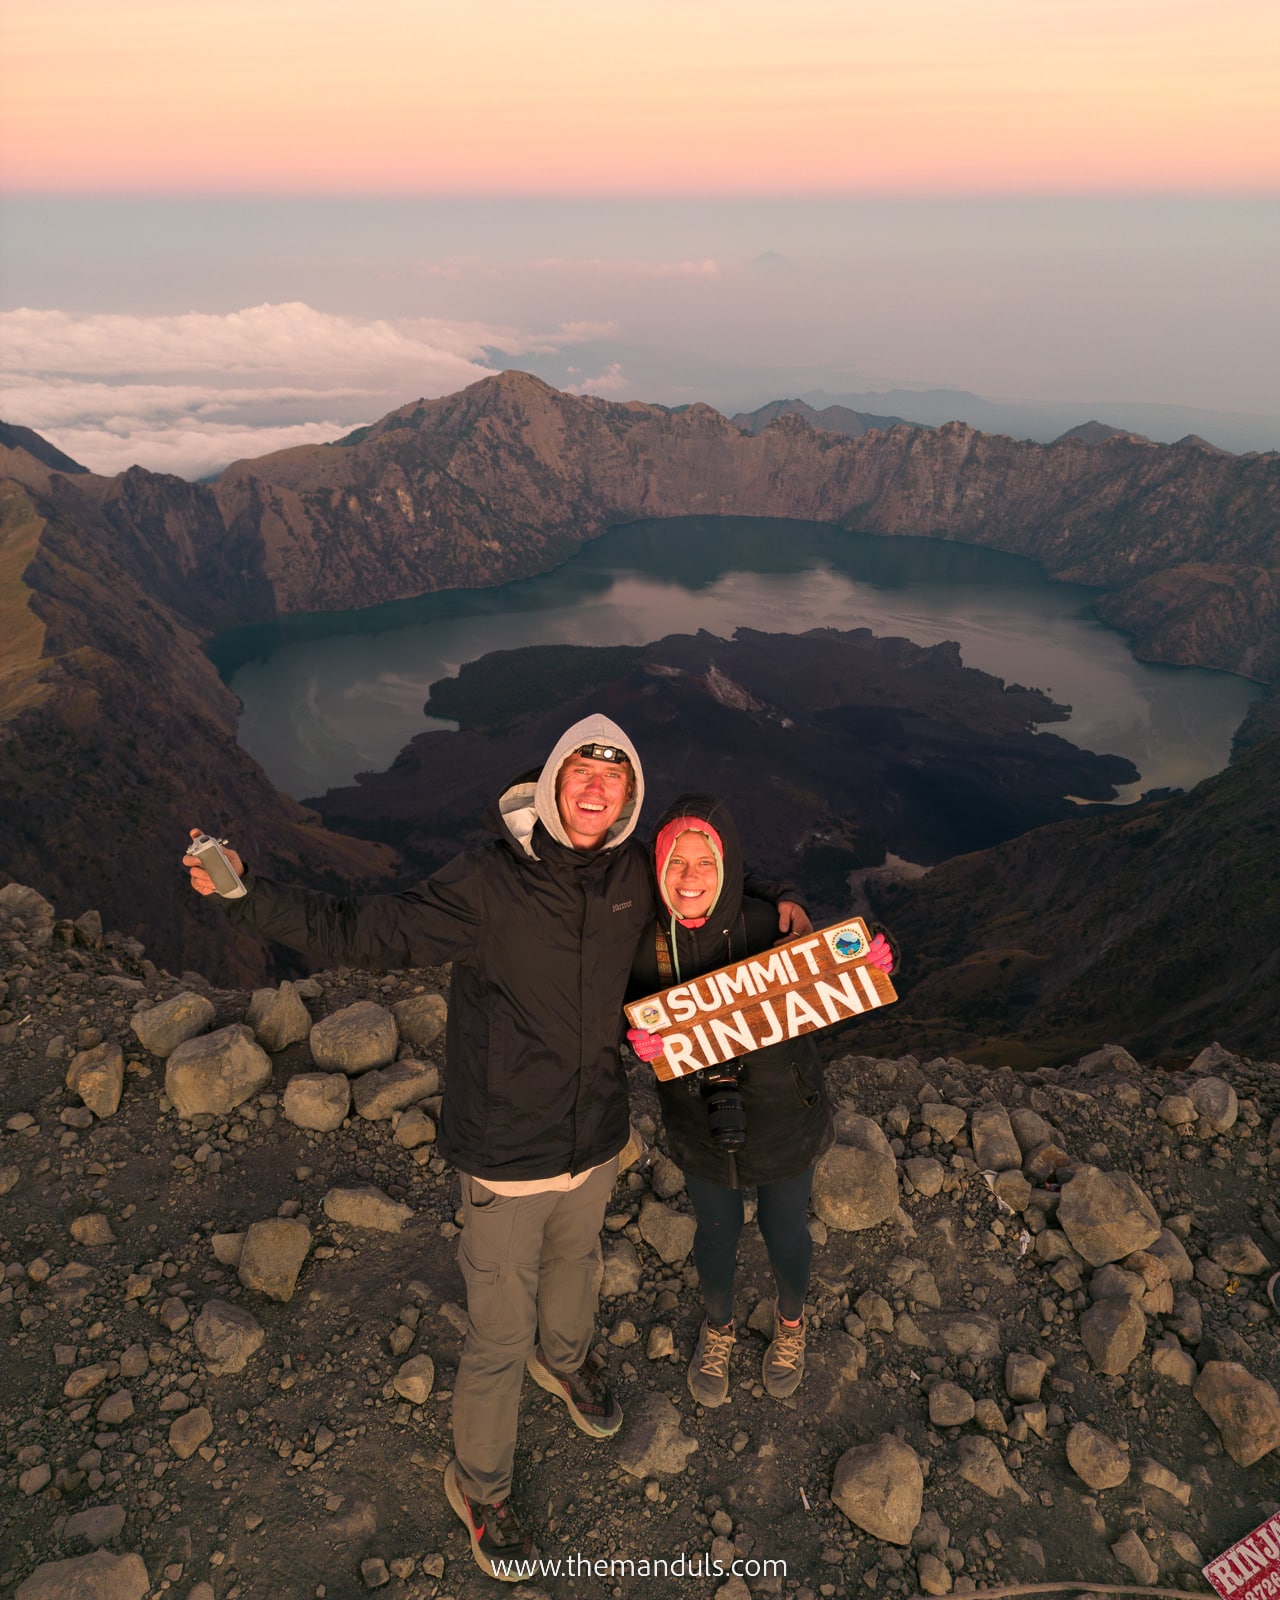
Segara Anak lake
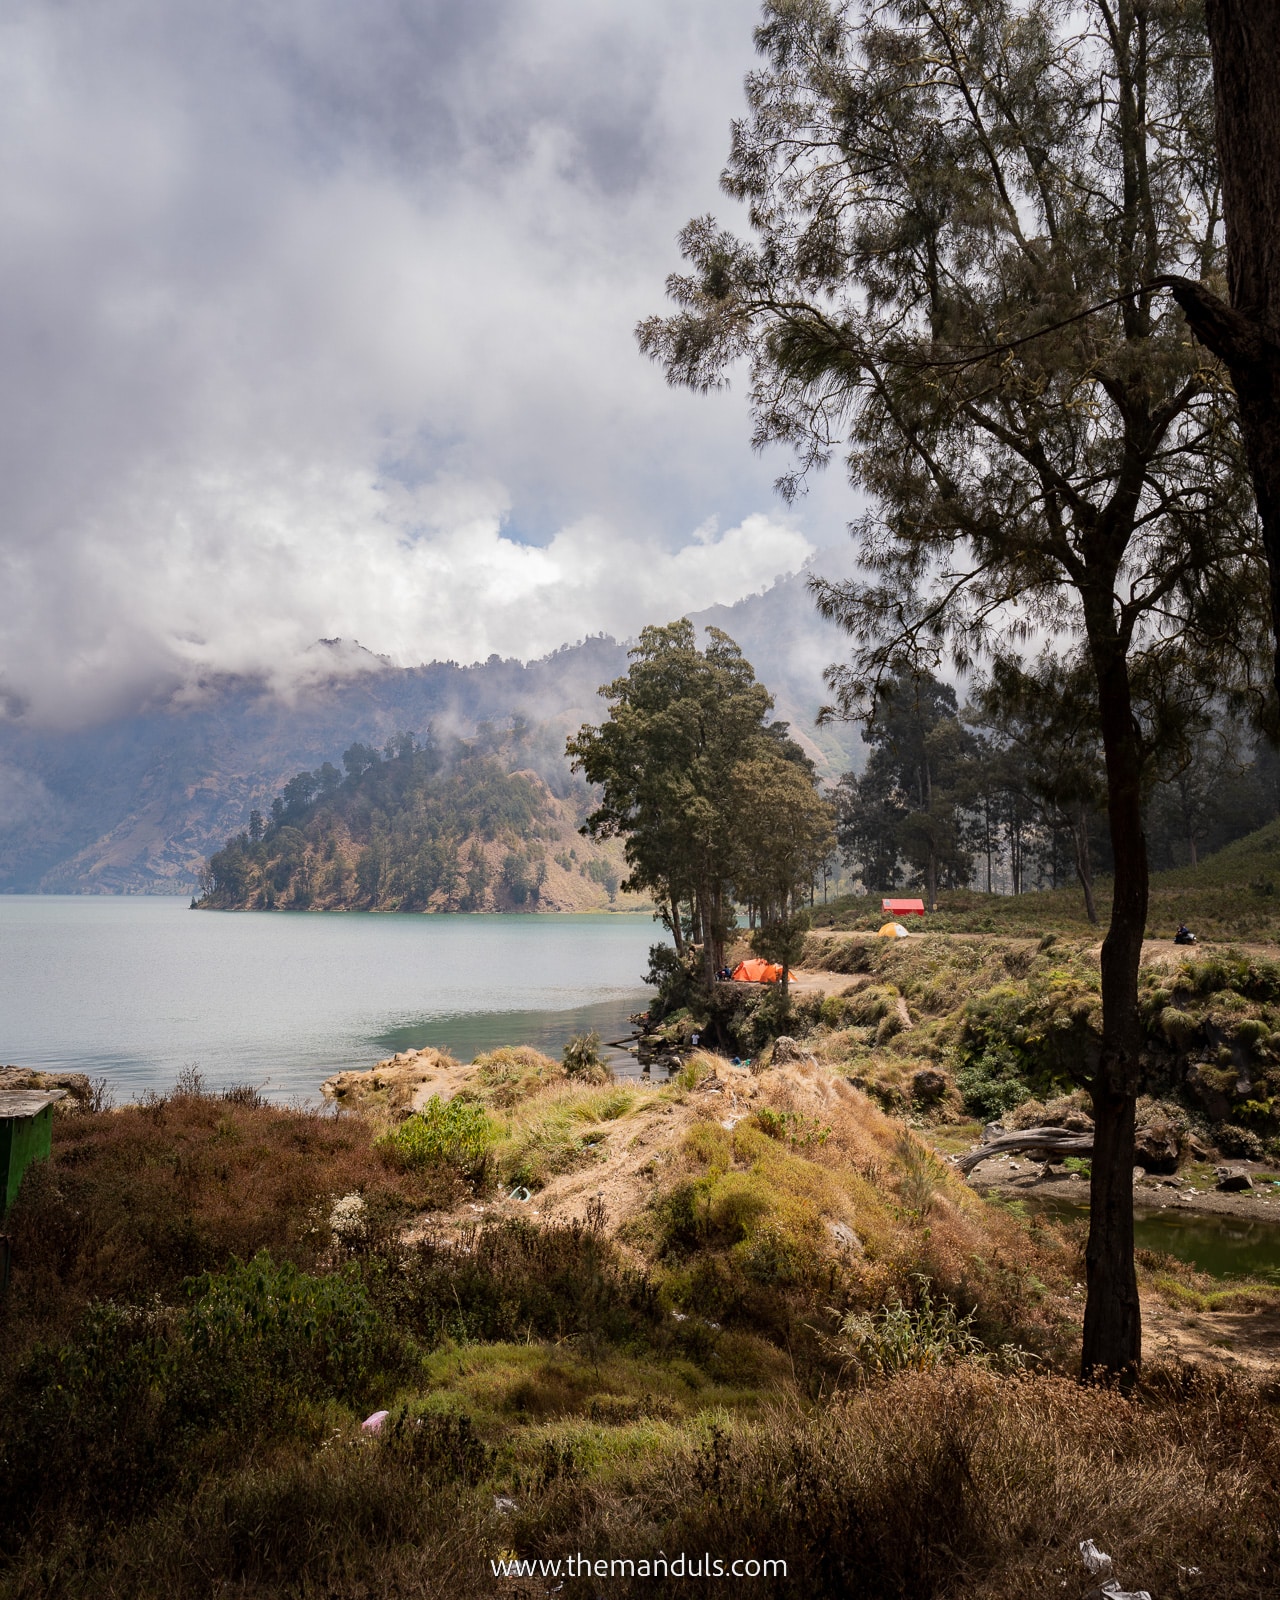
Inside the Rinjani caldera lies Segara Anak Lake. It was formed in 1257 after a huge explosion of Mount Samalas (higher than Rinjani at approximately 4200 meters ASL). Today, it’s a particularly beautiful area where locals come for camping and fishing.
Hot springs
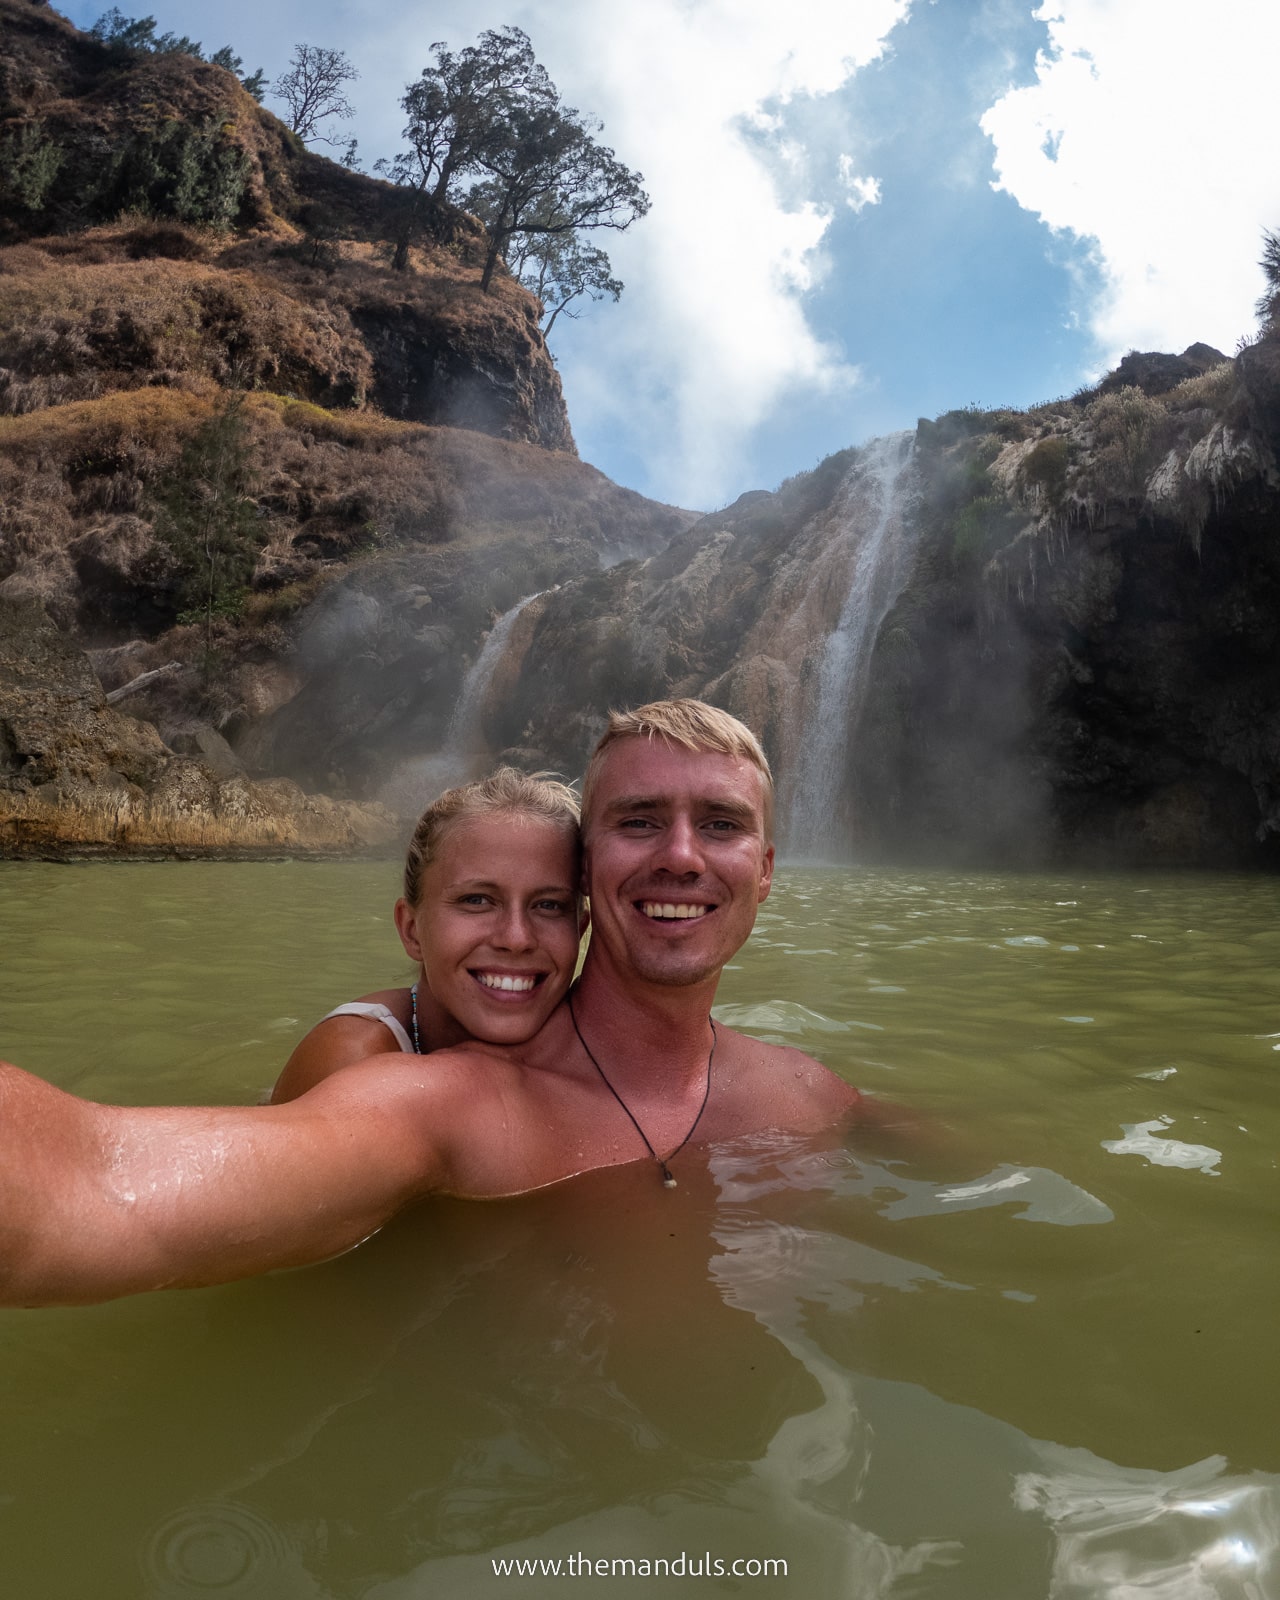
Thanks to volcanic activity, you can also find multiple sulphuric hot springs in the area. The water temperature, so everyone will find a pool that has perfect temperature. You can certainly swim and relax in the hot pools, so make sure to come prepared and bring a swimsuit with you.
Senaru Crater rim
Senaru Crater rim is on the opposite side from Rinjani summit. From here, you can see Rinjani Summit, Gunung Barujari as well as Segara Anak Lake.
Torean Valley
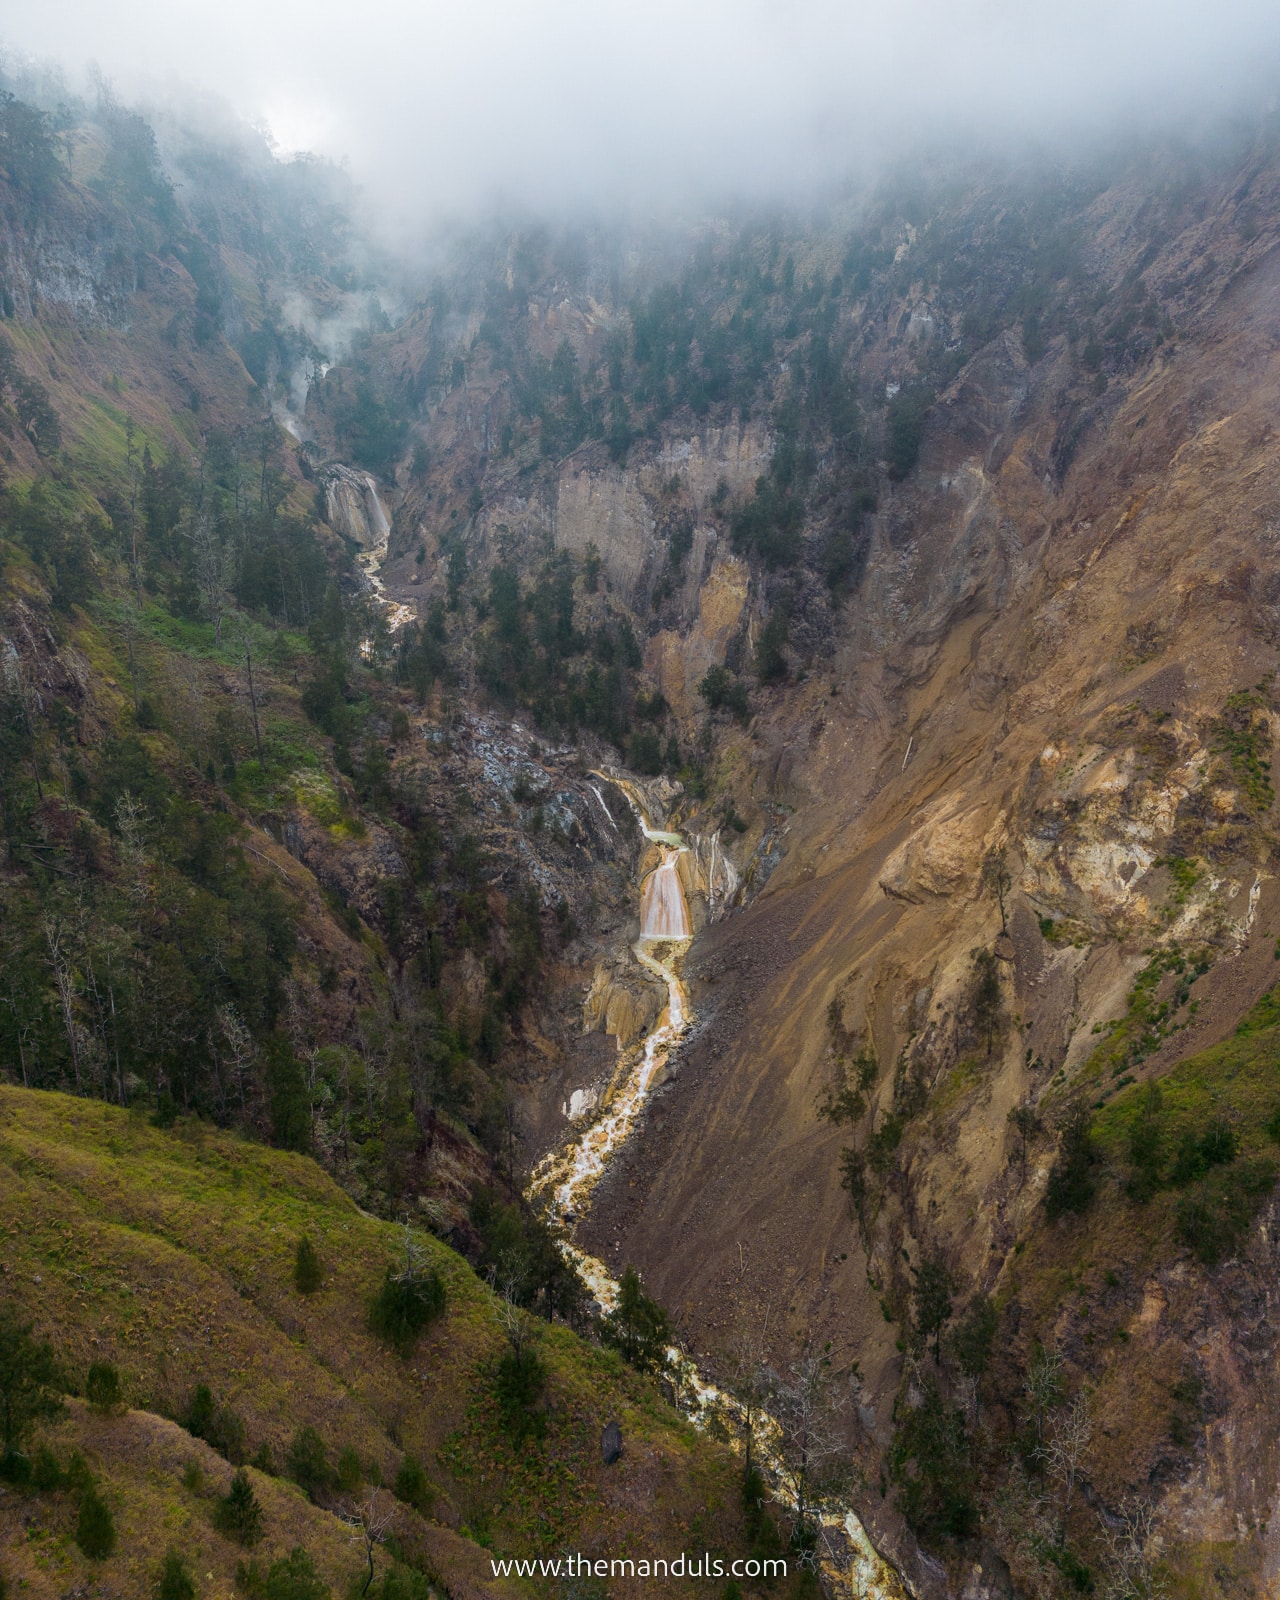
Three official trails lead to Mount Rinjani – Sembalun, Senaru, and Torean Valley. The latter is not a very popular choice among international tourists. It’s mostly locals who hike this way. However, Torean Valley is incredibly beautiful.
Tall mountains surround a deep valley creating a mindblowing contrast. Also, a few river streams are running down the valley. You can also see multiple waterfalls on the way. Their landscape is completely different compared to the most famous Ubud waterfalls.
The whole valley looks completely different from the other routes, and it’s full of shades of green.
Thailand is also home to some stunning landscapes! Have no time to visit both? Then read our Indonesia vs Thailand guide to learn which one is better for you.
Mount Rinjani hiking trails
When hiking Mount Rinjani, there are multiple options one can choose. Two common starting points are Senaru and Sembalun. However, choosing the best trail depends on your expectations and fitness level. Optionally, you can also start in Torean. However, it’s not offered by every company.
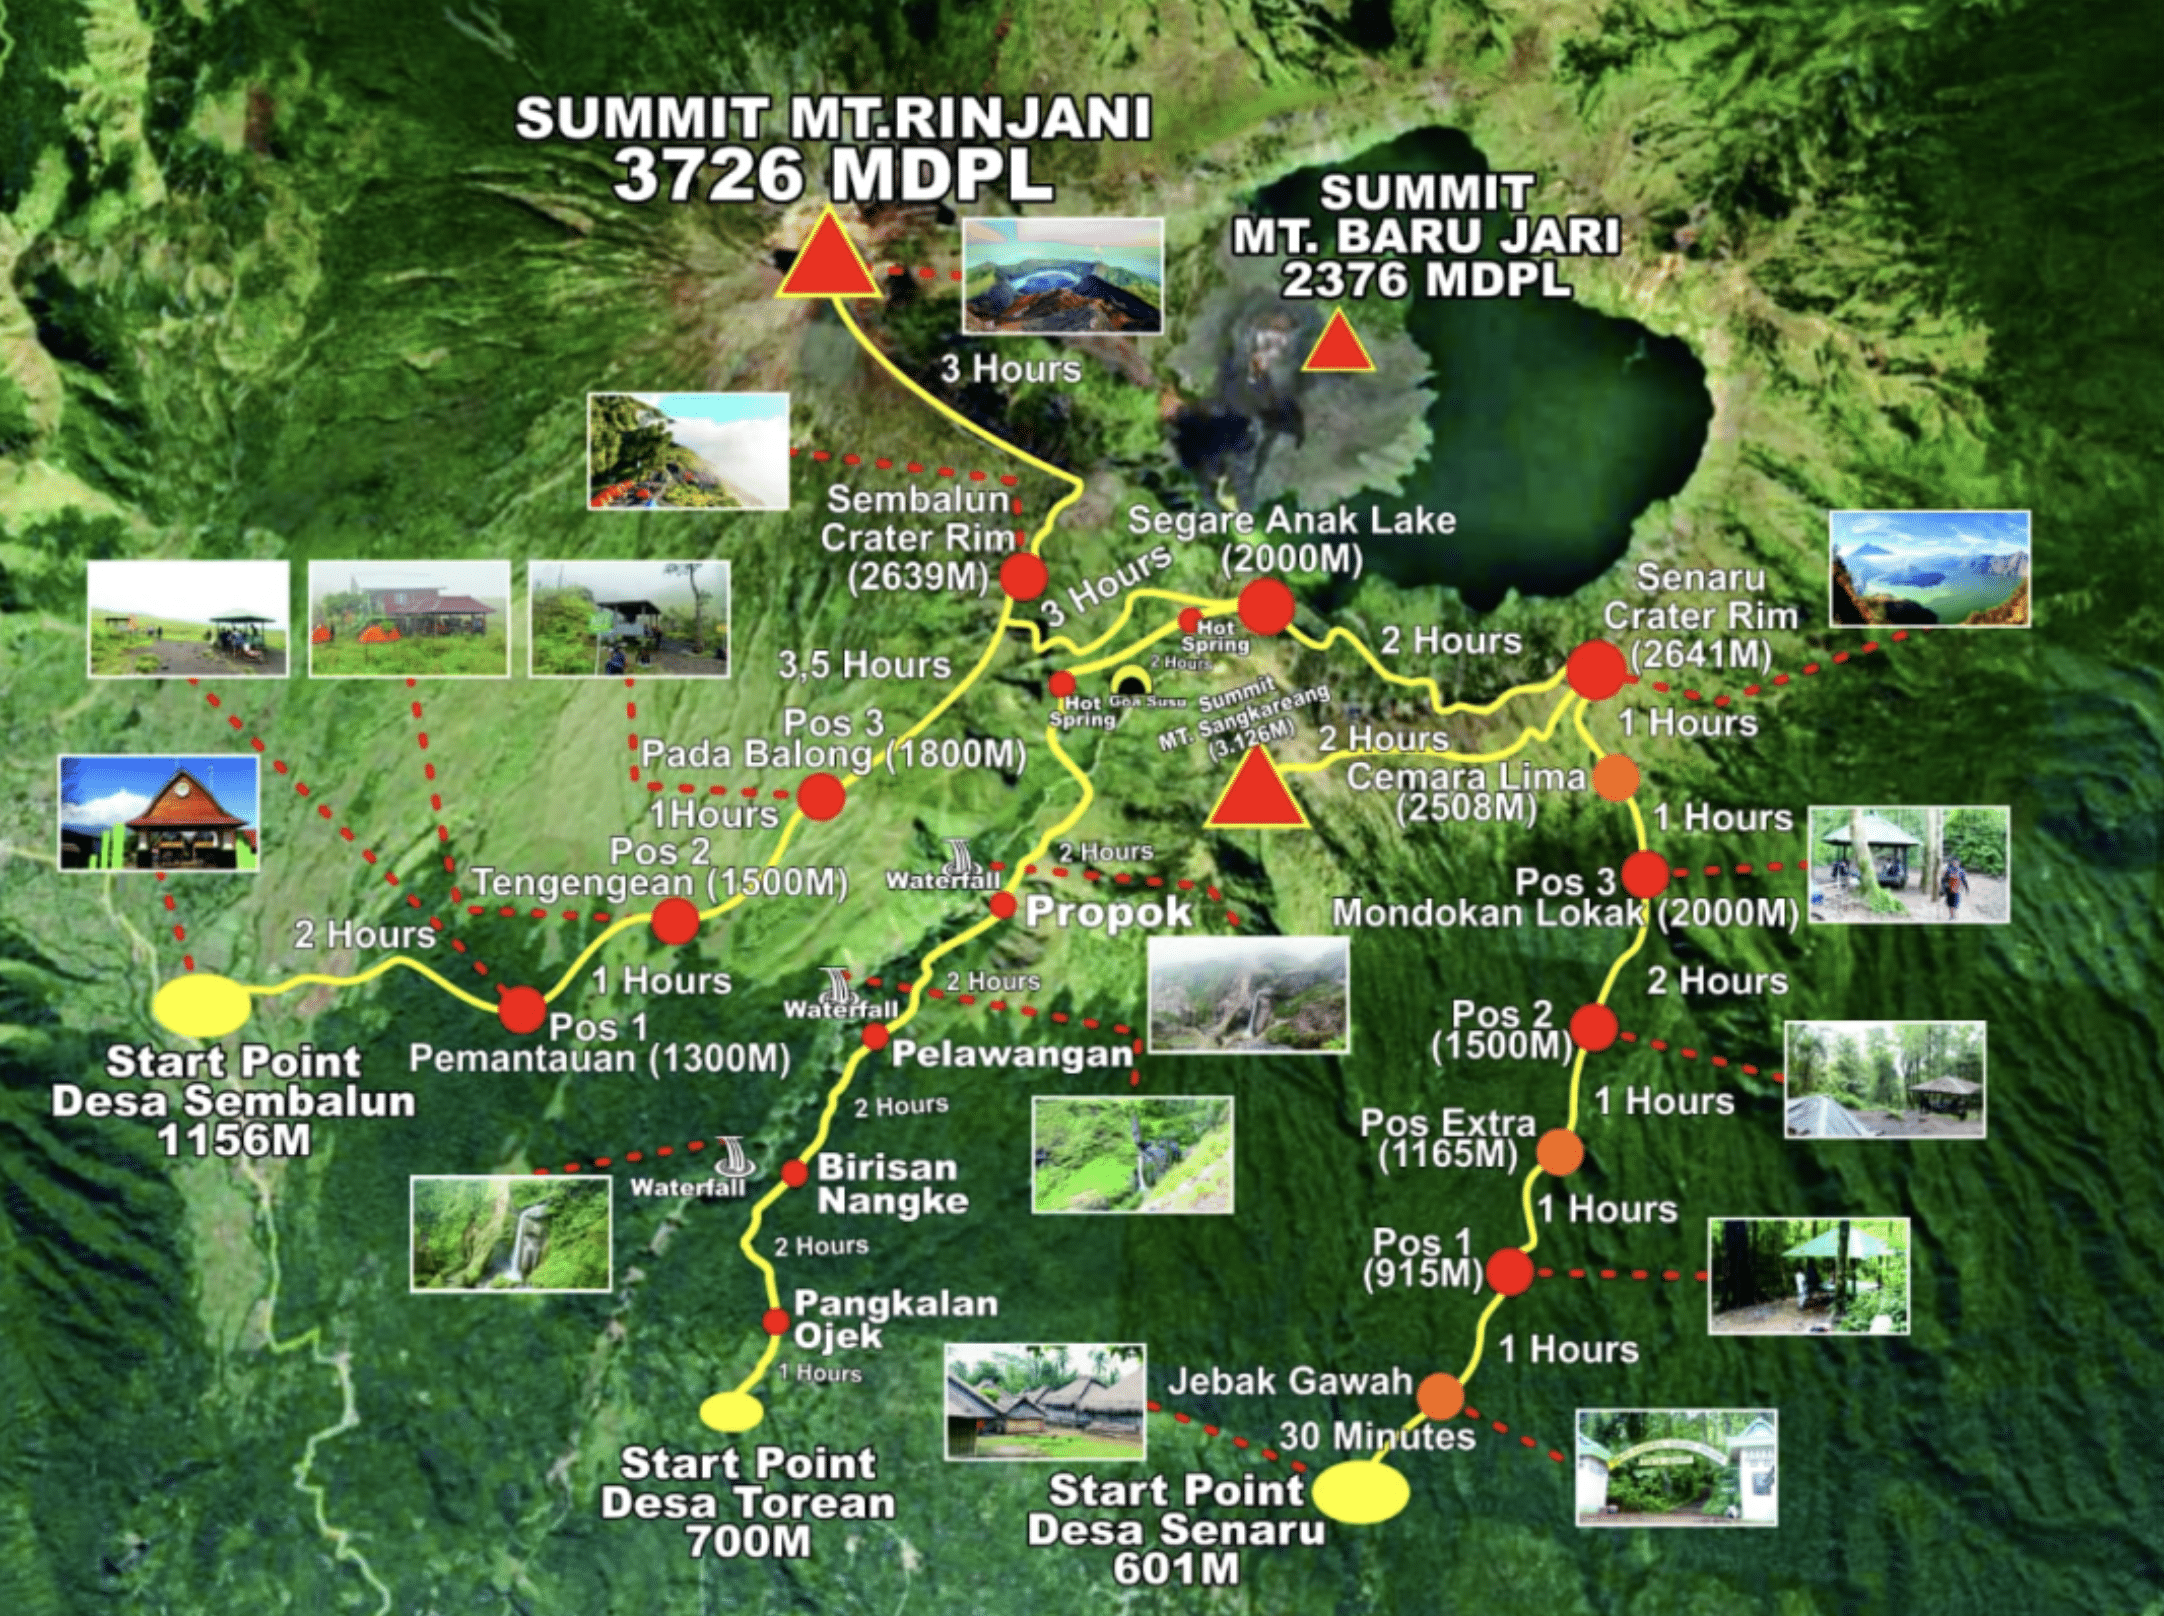
Mount Rinjani via Senaru
Hiking Mount Rinjani via Senaru offers a few different choices. You can choose a 2, 3, or 4-day hike with various route options.
On the 2D1N hike from Senaru, you hike to Senaru Crater rim, where you spend a night. Although, on the second day, you descend to Senaru using the same route.
A 3D2N hike from Senaru offers two different options. Which one to choose depends on whether you wish to conquer the Rinjani Summit.
The first option is to hike to Senaru Crater rim on Day 1, spend a night in a camp, and then descend to Segara Anak Lake. You spend a few hours by the lake and also visit hot springs. Once finished, you summit the Senaru Crater rim again, spend a night there, and descend to Senaru on Day 3.
The second option has the same itinerary for Days 1 and 2. However, on Day 2, instead of summiting the Senaru Crater rim, you continue to the Sembalun Crater rim, where you spend the night. Wake up at 2 am and start a sunrise hike to Rinjani Summit. This hike then finishes in Sembalun.
Lastly, if you have enough time, you can choose the 4D3N hike from Senaru. The itinerary is the same as mentioned in the previous paragraph. The only difference is that on Day 2, you spend an extra night by the lake and summit Rinjani on Day 4.
Mount Rinjani via Sembalun
Same as when hiking Rinjani from Senaru, you can choose from different trails when summiting Rinjani from Sembalun.
The shortest option is a 2D1N trek. You ascent to Sembalun Crater rim on Day 1 and then spend a night in the campsite there. Wake up at 2 am to summit Rinjani for the sunrise. Afterwards, descent back to Sembalun.
If you have more time, you can choose the 3D2N trek. After the Rinjani summit on Day 2, you continue your hike by descending to Segara Anak Lake and hot springs. From here, you have two options.
The first is to ascent Senaru Crater Rim and spend a night there. Then, you descend to Senaru on Day 3. If you feel too tired to hike up the hill again, you can also start a long descent via Torean Valley. On Day 2, you only get through half of the valley. After sleeping in a camp, you hike all the way to Torean village.
Senaru or Sembalun?
Confused about which trail to choose? No matter which starting point you choose, all the 3, and 4-day hikes start in one village and end in the other.
Sembalun is the most popular starting point. When ascending from Sembalun, the trail is easier in general. The ascend is not too steep on the first day, and you get to hike the hardest part, the Rinjani summit, on Day 2 while you still have more energy.
When choosing Senaru as a starting point, you ascend the Senaru Crater rim, descend to Segara Anak Lake, and hike a steep hill to Sembalun Crater Rim. You’ll likely already be super exhausted, yet you still have to wake up at 2 am to summit Rinjani.
How many days to choose?
Well, the answer to this question pretty much depends on how much time you have for the Rinjani trek. Remember that you must be in Senaru one day before starting the trek. If you’re short on time or not fit enough to hike for so long, 2D1N trek is the best option.
You can choose to either summit Rinjani (from Sembalun) or Senaru Crater Rim (from Senaru). Both routes offer different views, but all of them are equally beautiful.
If you have more time, definitely go for the 3D2N option. You’ll visit many incredible places on this trail. Without a doubt, it’s worth every single drop of sweat.
For those who prefer to hike at a relaxed pace without having to hurry too much, there’s the 4D3N option. It’s the most laid-back version of the Mount Rinjani trek.
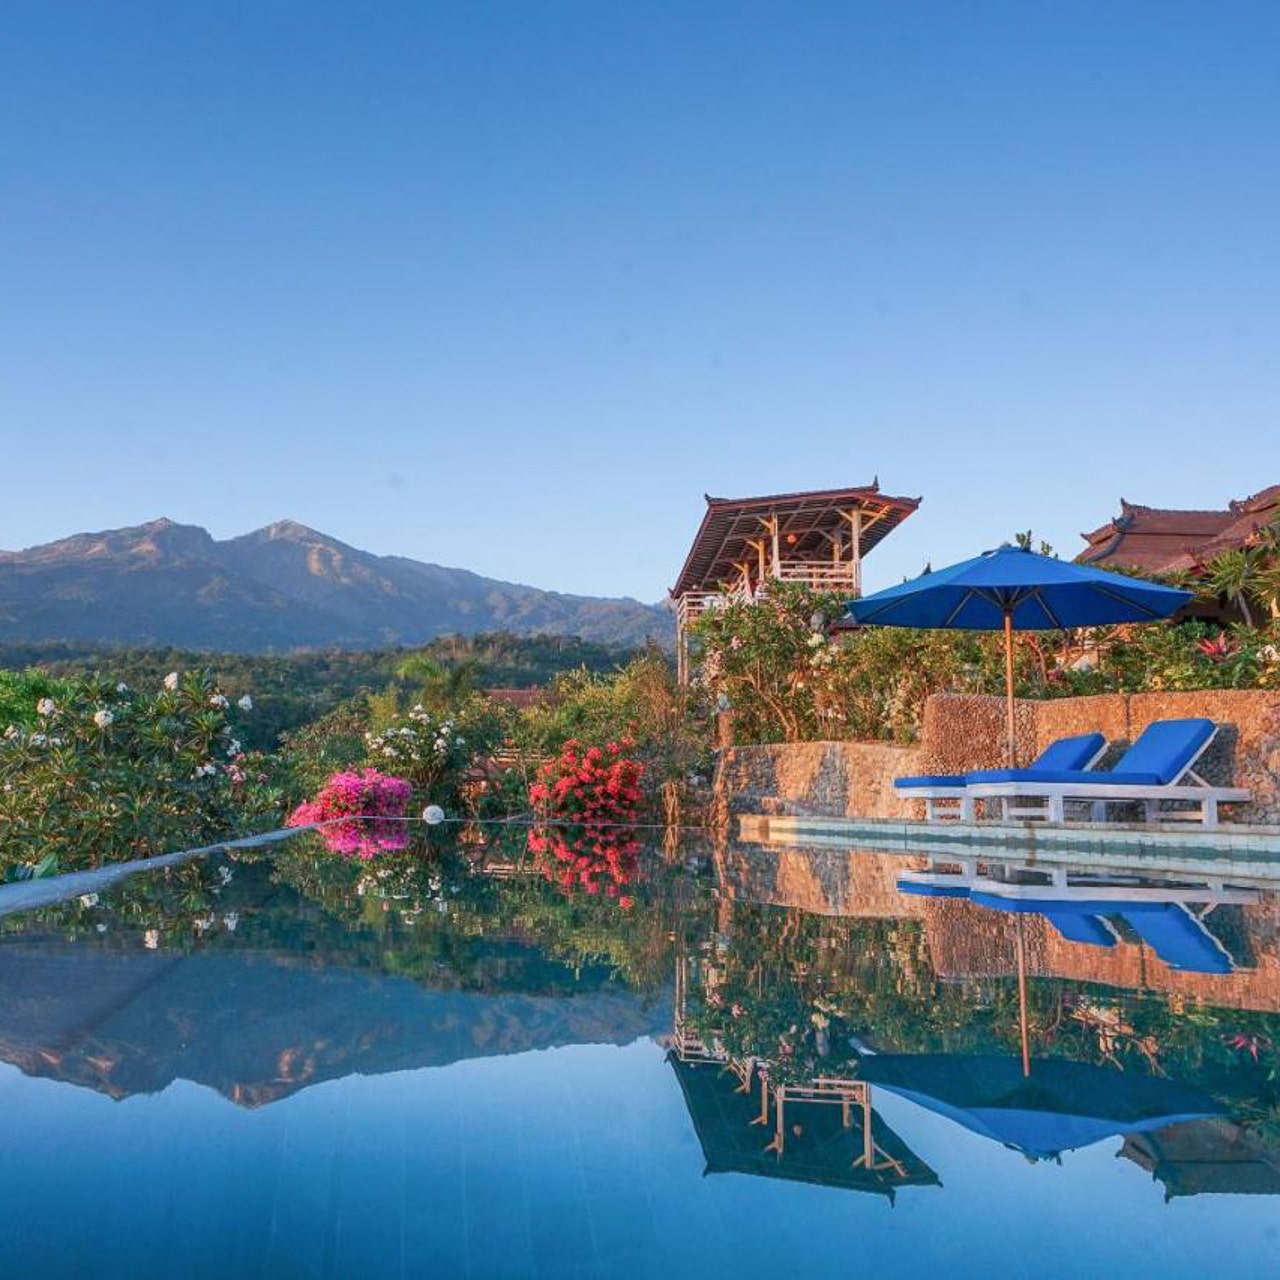
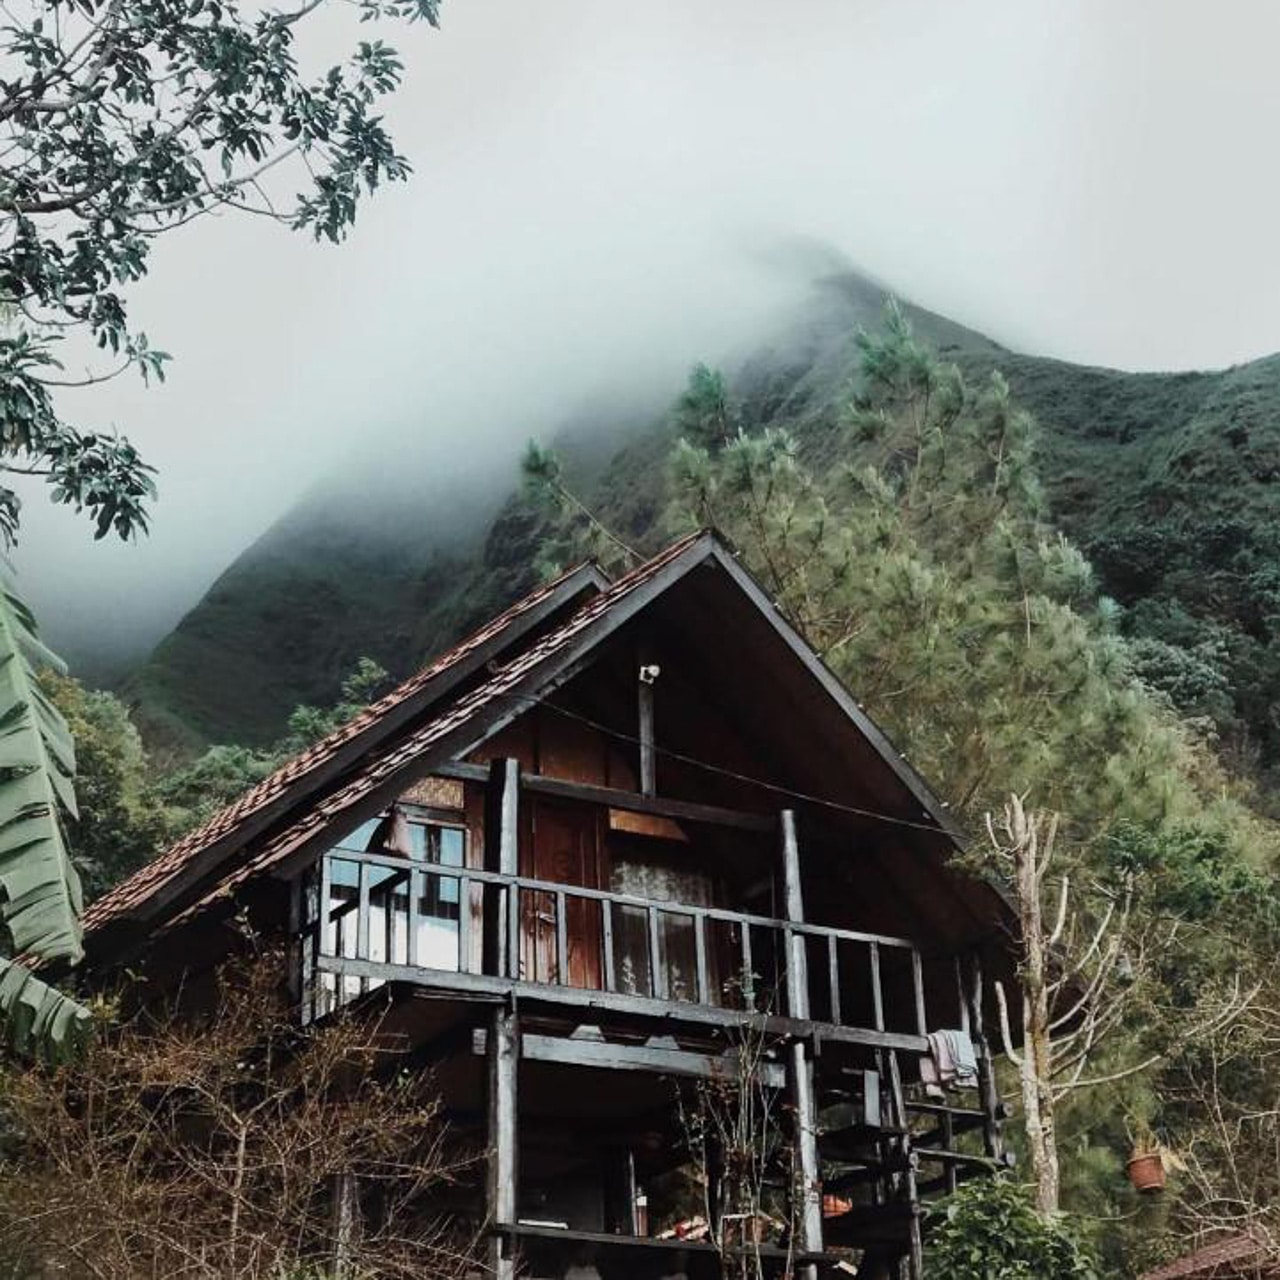
Best hotels in Senaru
If you use the links below, you pay the same and we earn a little commission. It helps us run this blog. You can also check more hotels in Senaru on booking.com.
Mount Rinjani trekking tour
Multiple tour companies are providing the Mount Rinjani trek. It might be hard to choose one. While the routes are mostly the same, quality can differ widely. Do your research and read the reviews before booking a trek.
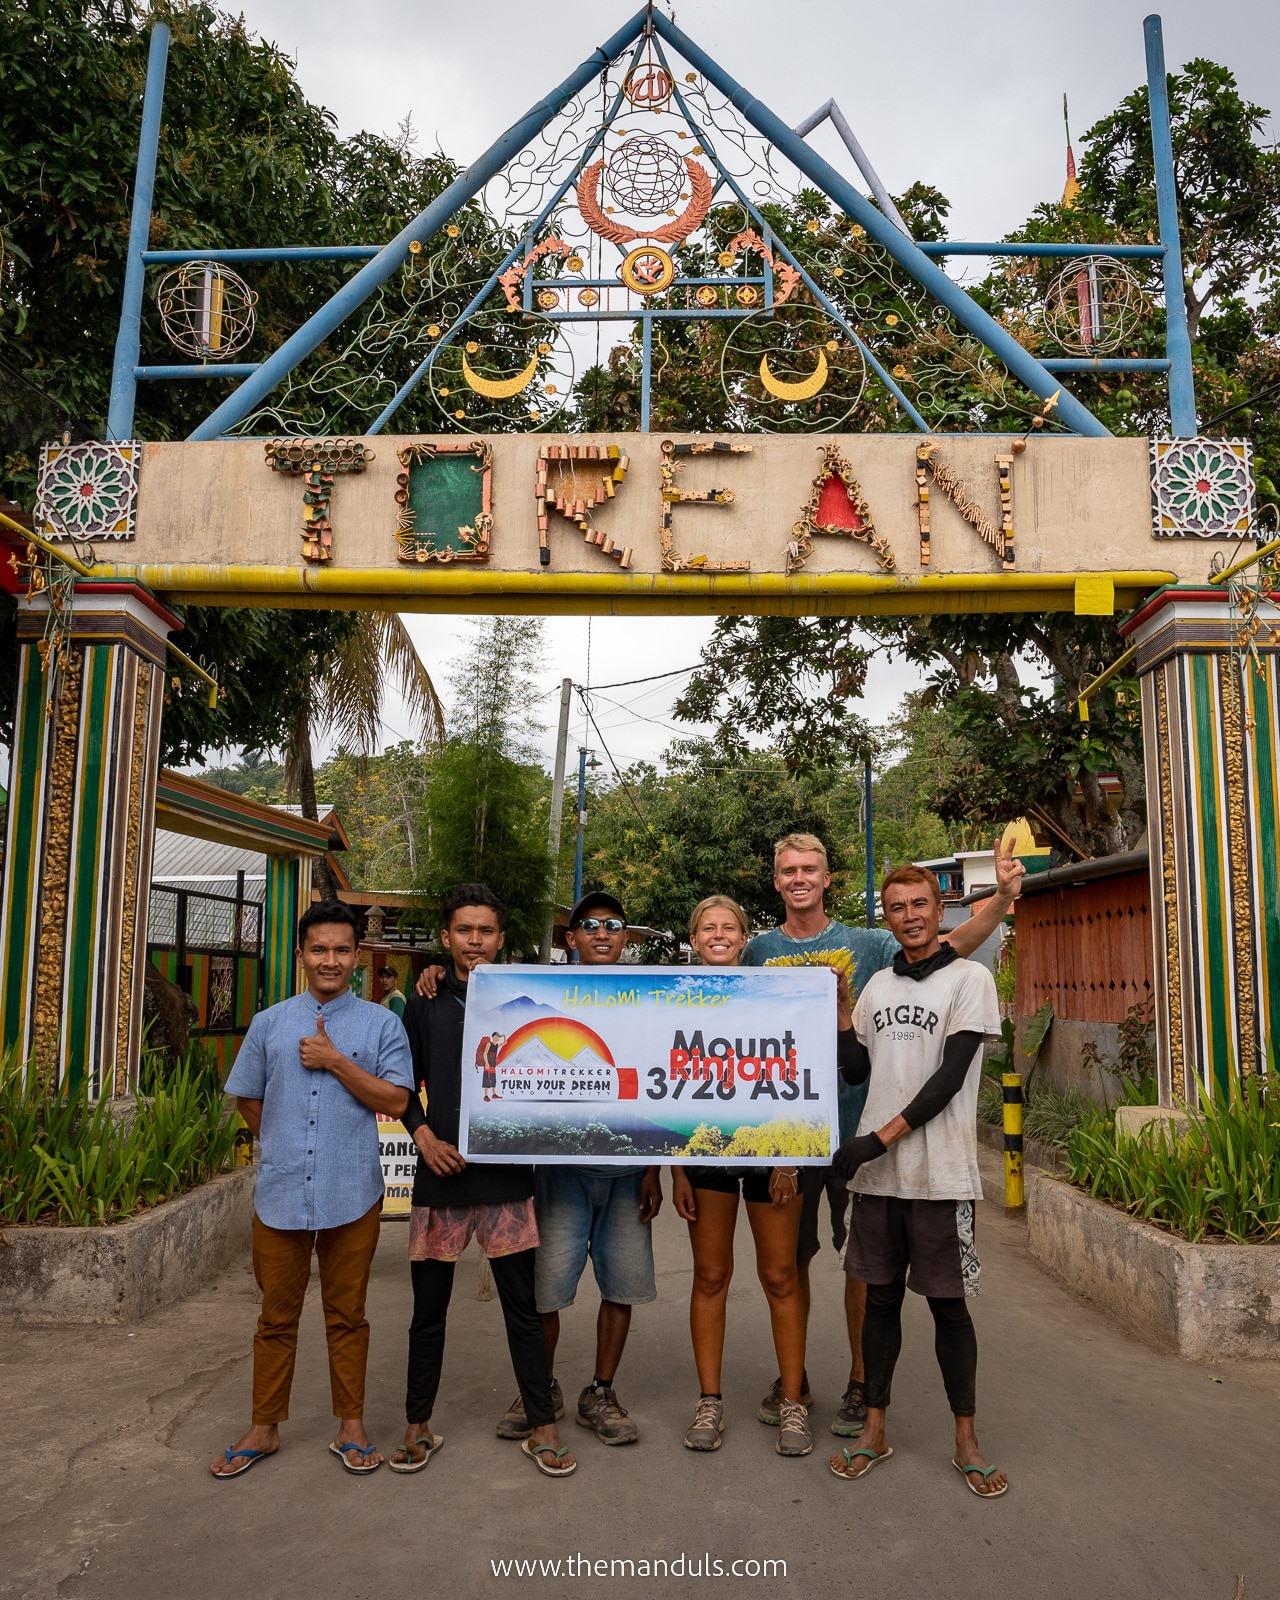
We hiked Mount Rinjani with Halomi Trekker and were beyond satisfied with their services. The guide spoke English very well, and he was incredibly friendly. Thanks to him, we had an incredible time at the mountain.
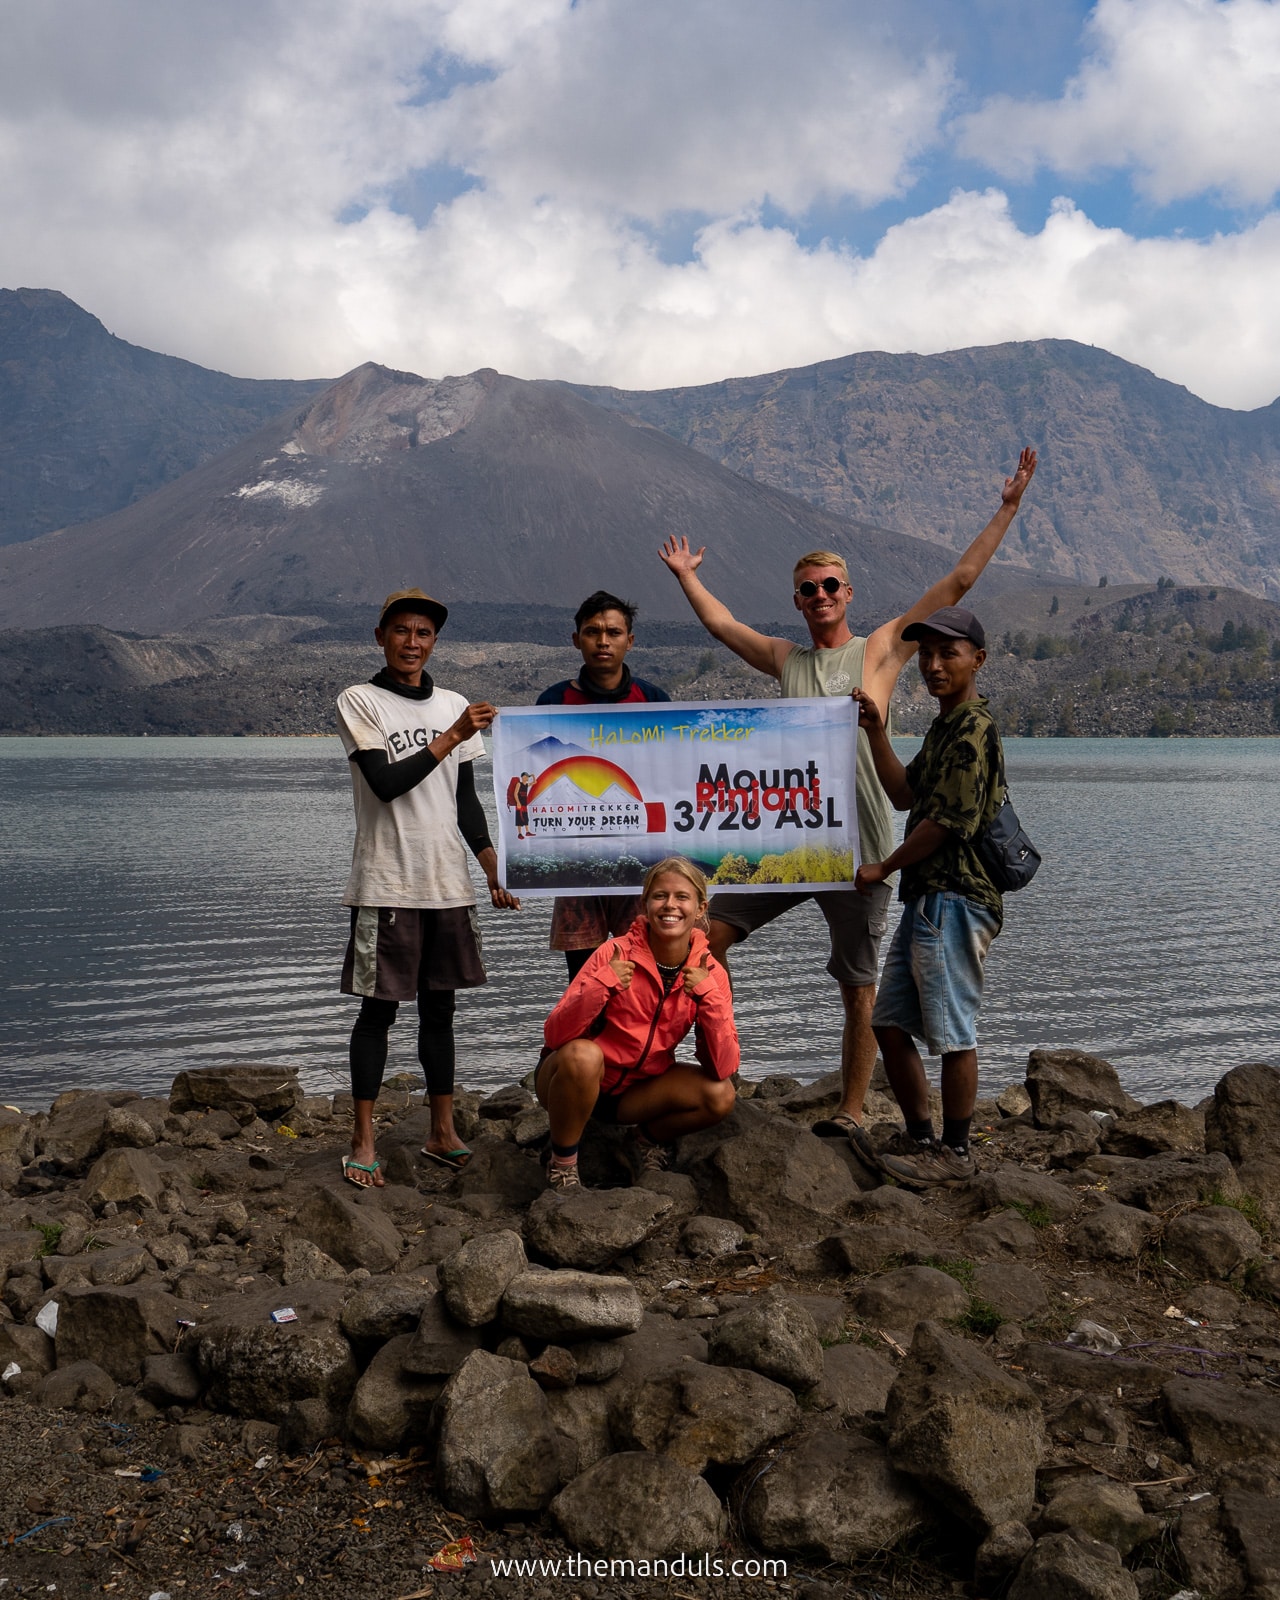
Halomi Trekker provided everything necessary for our comfort. The whole program was well communicated, and we highly recommend booking a tour with them.
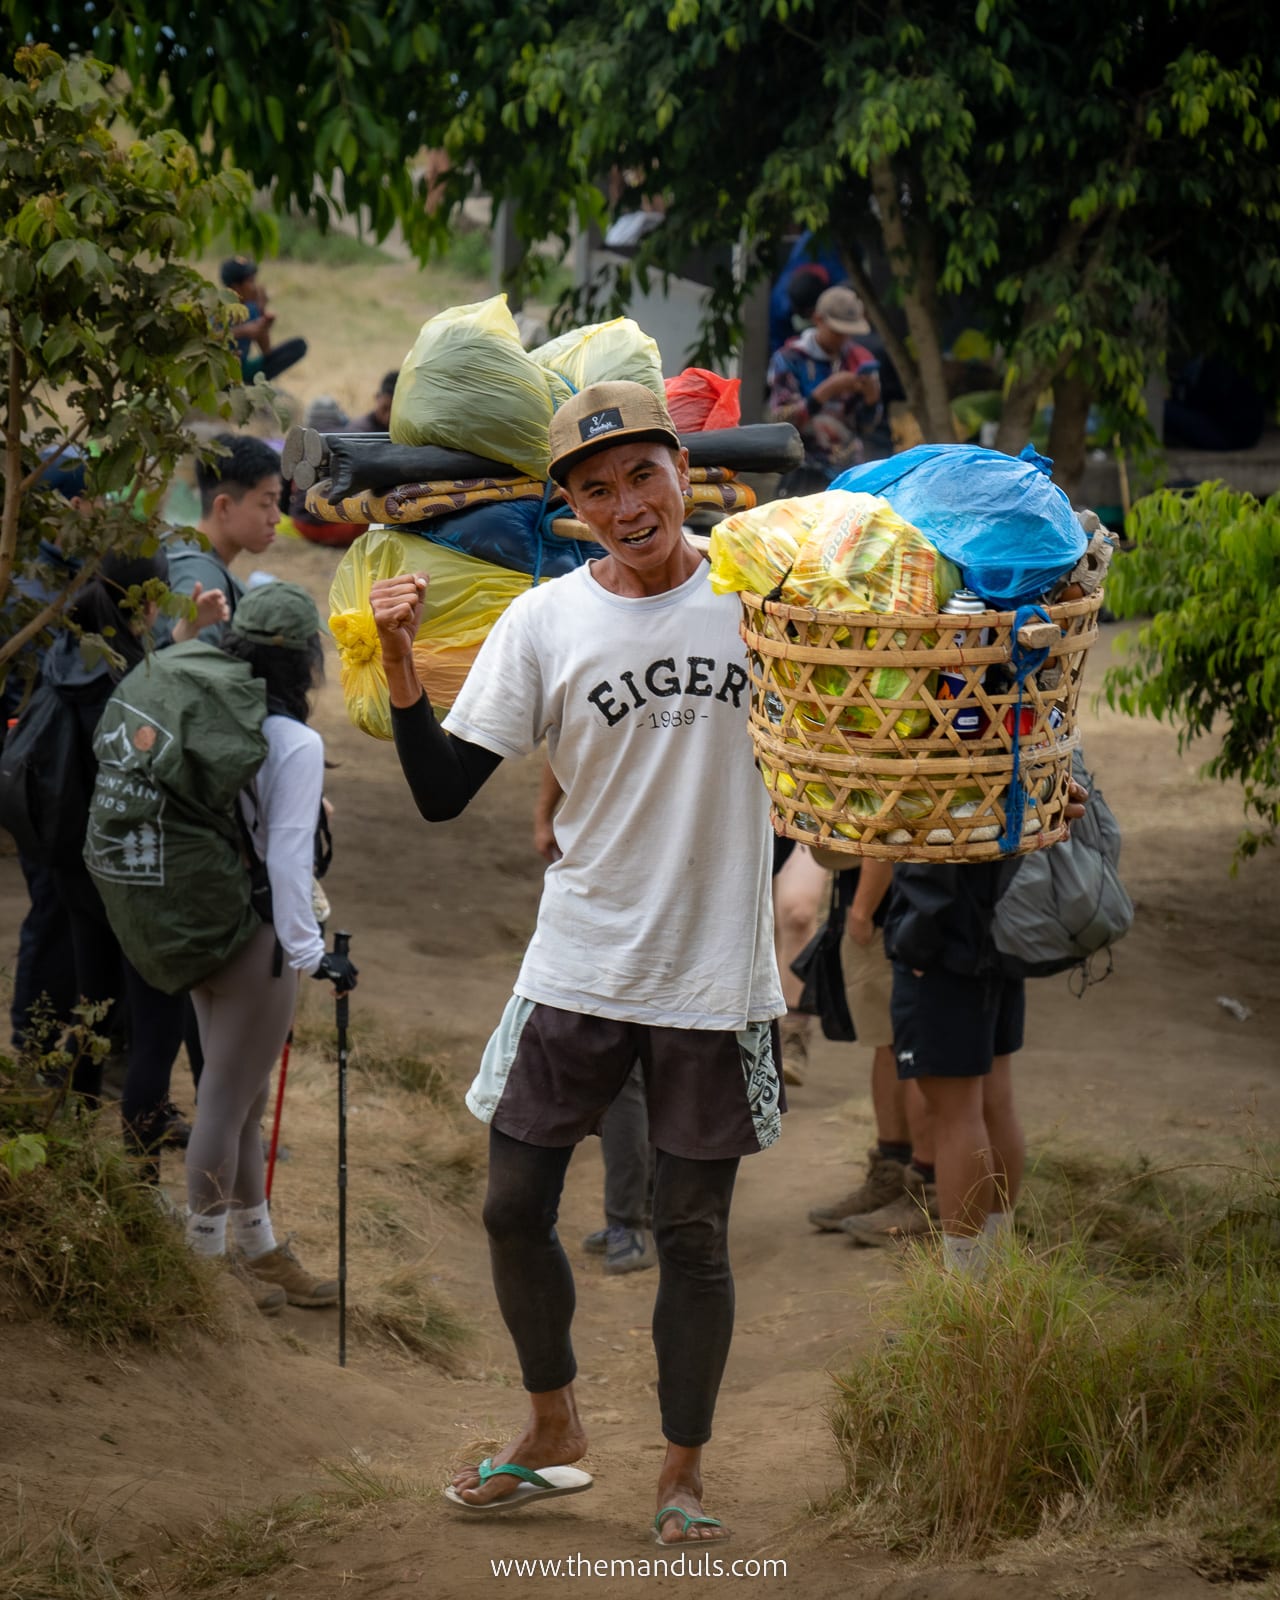
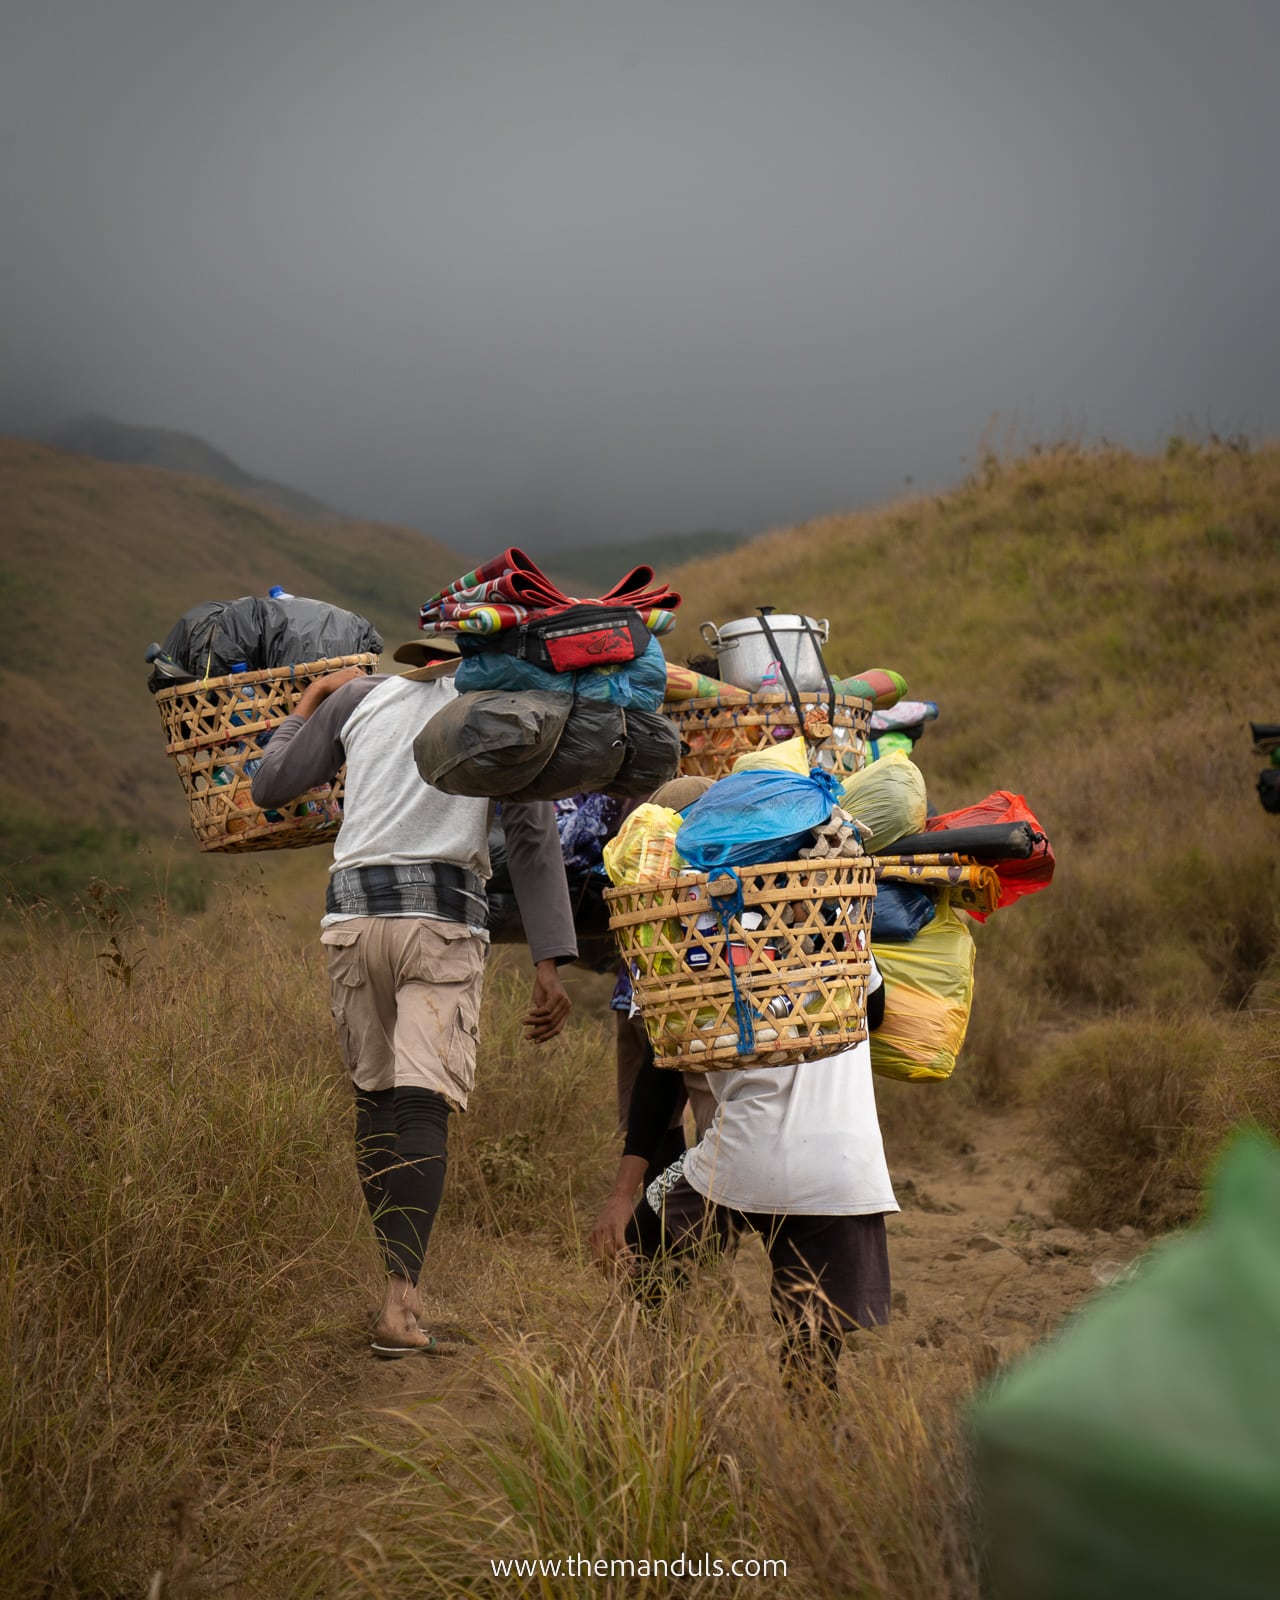
We really appreciated the way our guide and porters cared about the environment. They made sure we left no trash behind. Porters carried everything with them throughout the whole trek.
Mount Rinjani trekking price
Price: from ~190€ to ~340€ per person
The Rinjani trek price depends on the route and duration of the trip. The 2D1N hike usually costs around 200€. The 3D2N tour which we chose costs 240€ per person. The bigger the group, the lower the price.
What’s included:
- English speaking guide
- Porters (not for your private things)
- Transfer to and from the starting and ending points
- One night accommodation before the hike
- Camping equipment (sleeping bag, mat, pillow, tent)
- Rinjani National park entrance fee
- Toilet tent
- 3 proper meals per day and many snacks
- Drinking water for the whole trek
Depending on the company and package you choose, additional gear might be included, too. Some companies provide headlamps, trekking poles, extra clothes (warm jacket and pants), camping table, and camping chairs.
You might need to pay a small fee to rent extra clothes in some cases.
Additionally, it’s possible to pay extra to have porters carry your bag. It usually costs between 20-25$.
Mount Rinjani tipping
While tipping is not officially required, it is highly expected. The amount depends on how satisfied you were with the services provided. I would say 10$ per guide and porter from each hiker will do just fine.
Can you climb Mount Rinjani without a guide?
Officially, the answer is no. Both the government and local community discourage this. While the trail might not be too hard to navigate, there are other aspects to consider. There’s no one to help you if you get injured.
Additionally, we can’t imagine doing this trek without our amazing porters! Carrying all the camping gear as well as food would be too much.
Another reason for not hiking without a guide is that you support the local community. It’s hard to make a living, and the island is still overcoming the destruction caused by the 2018 earthquake.
How difficult is Mount Rinjani hike?
This is the most important question to consider. Hiking Mount Rinjani is incredibly difficult, even for experienced hikers. This trek is extreme!
Important: The Mount Rinjani hike is not for everyone. Do not attempt to summit unless you’re a fit person or an experienced hiker. This is certainly not an activity for an average traveler.
I would say we can call ourselves experienced hikers. We are active people who hike mountains in the summer and ski/snowboard in the winter. We did many hikes, including the Mount Agung sunrise summit on Bali, but nothing compares to the Rinjani trek.
The elevation gain is big on the Rinjani trek. You keep hiking up and down all the time, and it’s exhausting. We’ve never been as sore as after finishing this trek. Don’t plan too many activities after the trek, and allow your body to regain strength.
It’s a good idea to visit the Gili islands next.
What about Mt Batur sunrise hike?
Mount Rinjani via Sembalun 3D2N itinerary
After hours of studying different options, we chose the 3D2N Mount Rinjani tour via Sembalun with Halomi Trekker. Our first choice was to return via Senaru Crater rim. However, we felt so exhausted on Day 2 that ascending another mountain was out of the question.
Therefore, we returned via Torean Valley, which was the best decision ever! Torean Valley is mindblowingly beautiful.
This route is not as promoted as other trails. The reason is that it’s the most popular trail for the locals. Many of them hike Torean Valley and stay for a day or two by the Segara Anak Lake before returning to Torean village.
Because of this, there’s a lot of trash on this trail. While the government is trying hard to maintain the Rinajni National Park clean, it’s not an easy task. Therefore, most tour companies try to use the Sembalun or Senaru trail instead.
Day 0 – arrival at Senaru
You are supposed to arrive at Senaru village one day before the trek starts. If you have enough time and want to explore Senaru, you can visit Tiu Kelep and Sendang Gile waterfalls. Tours also organize a meeting where they’ll go through the trek itinerary with you.
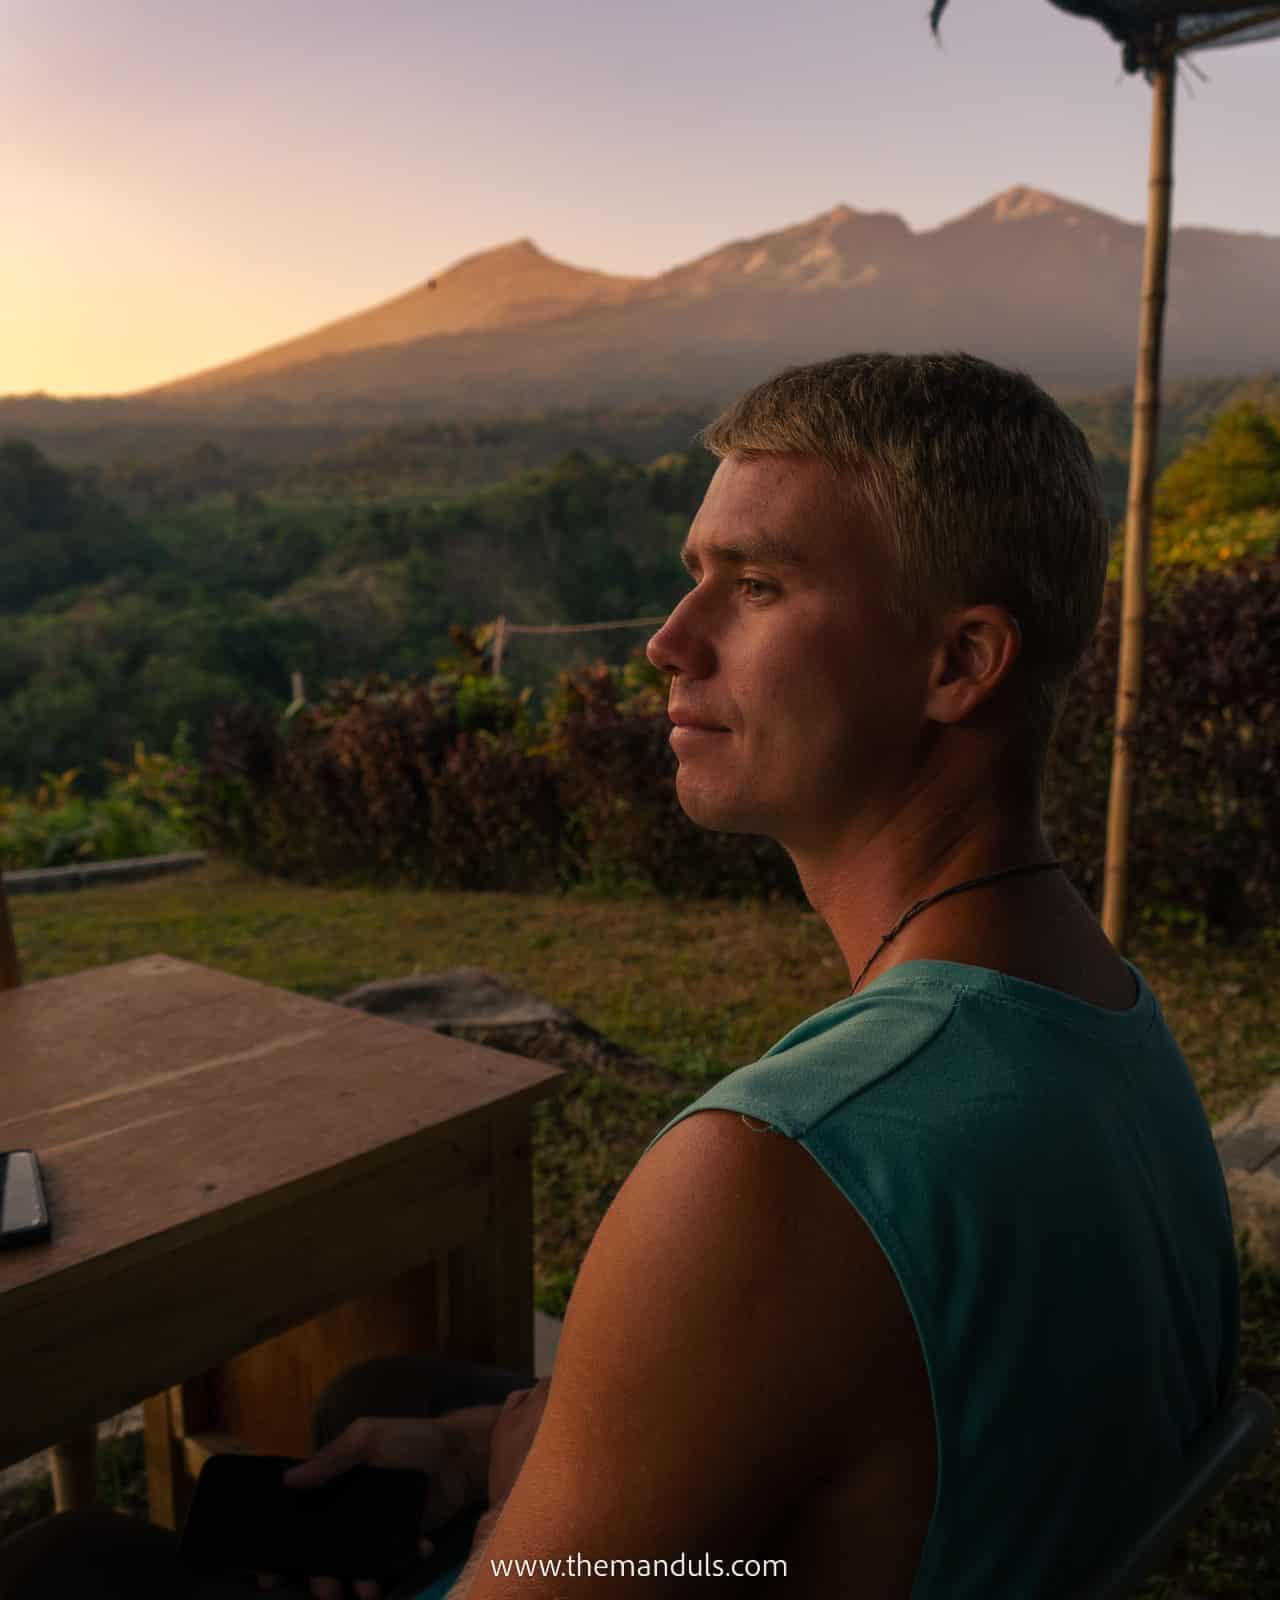
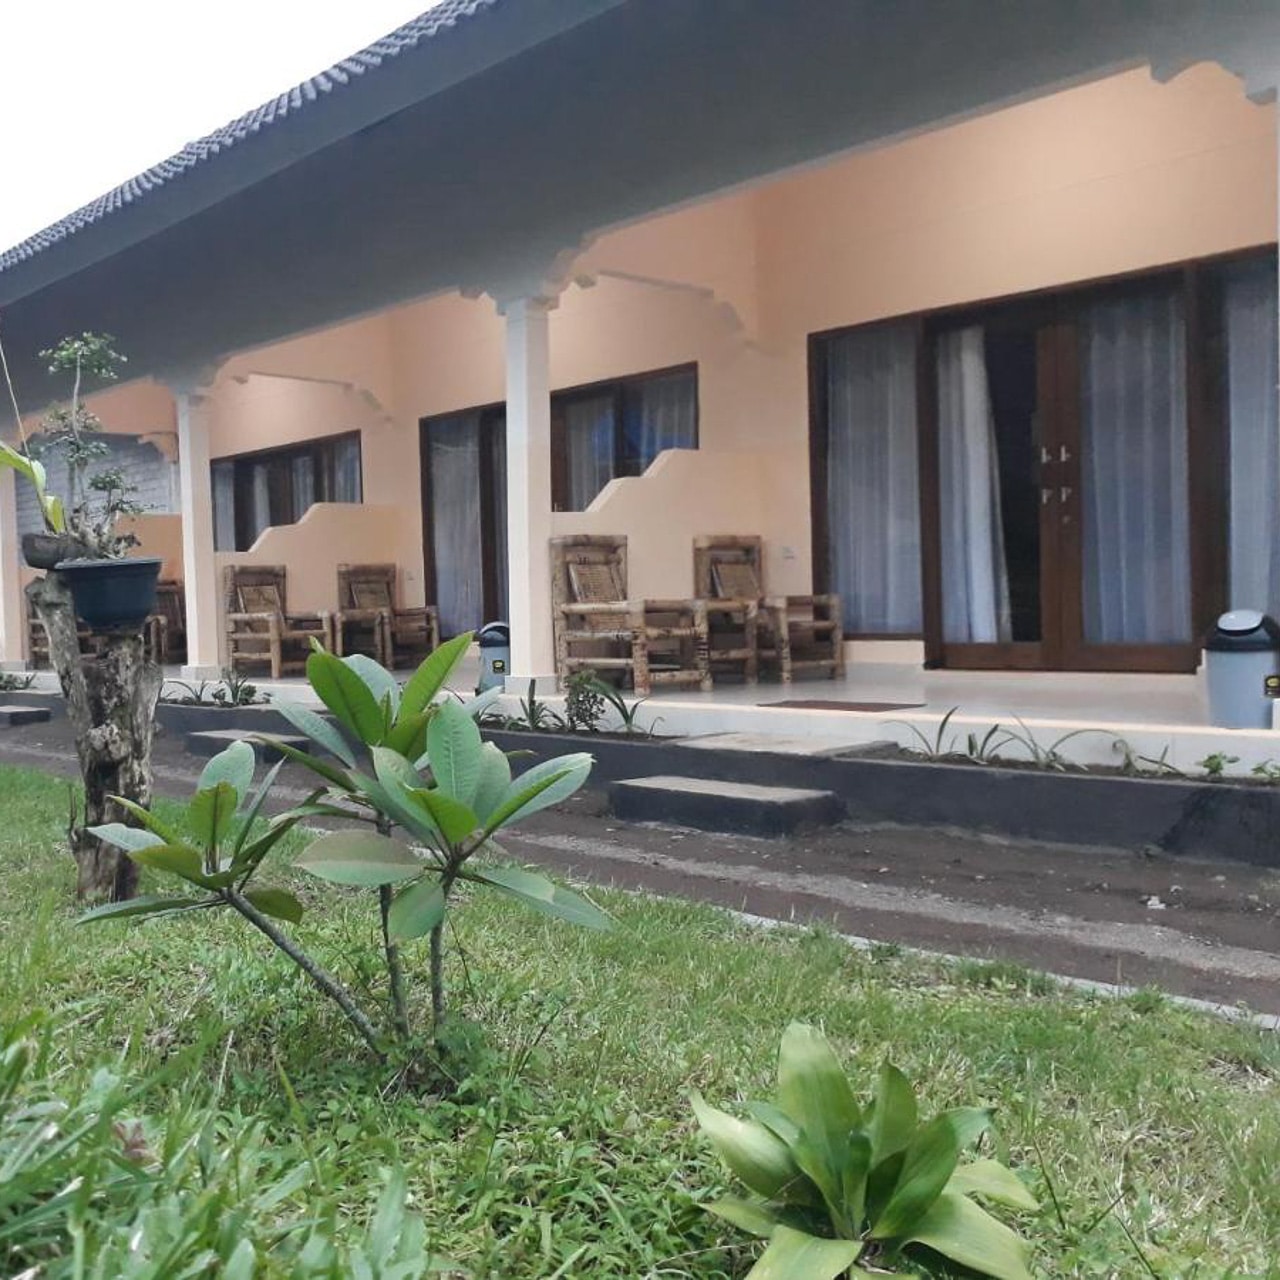
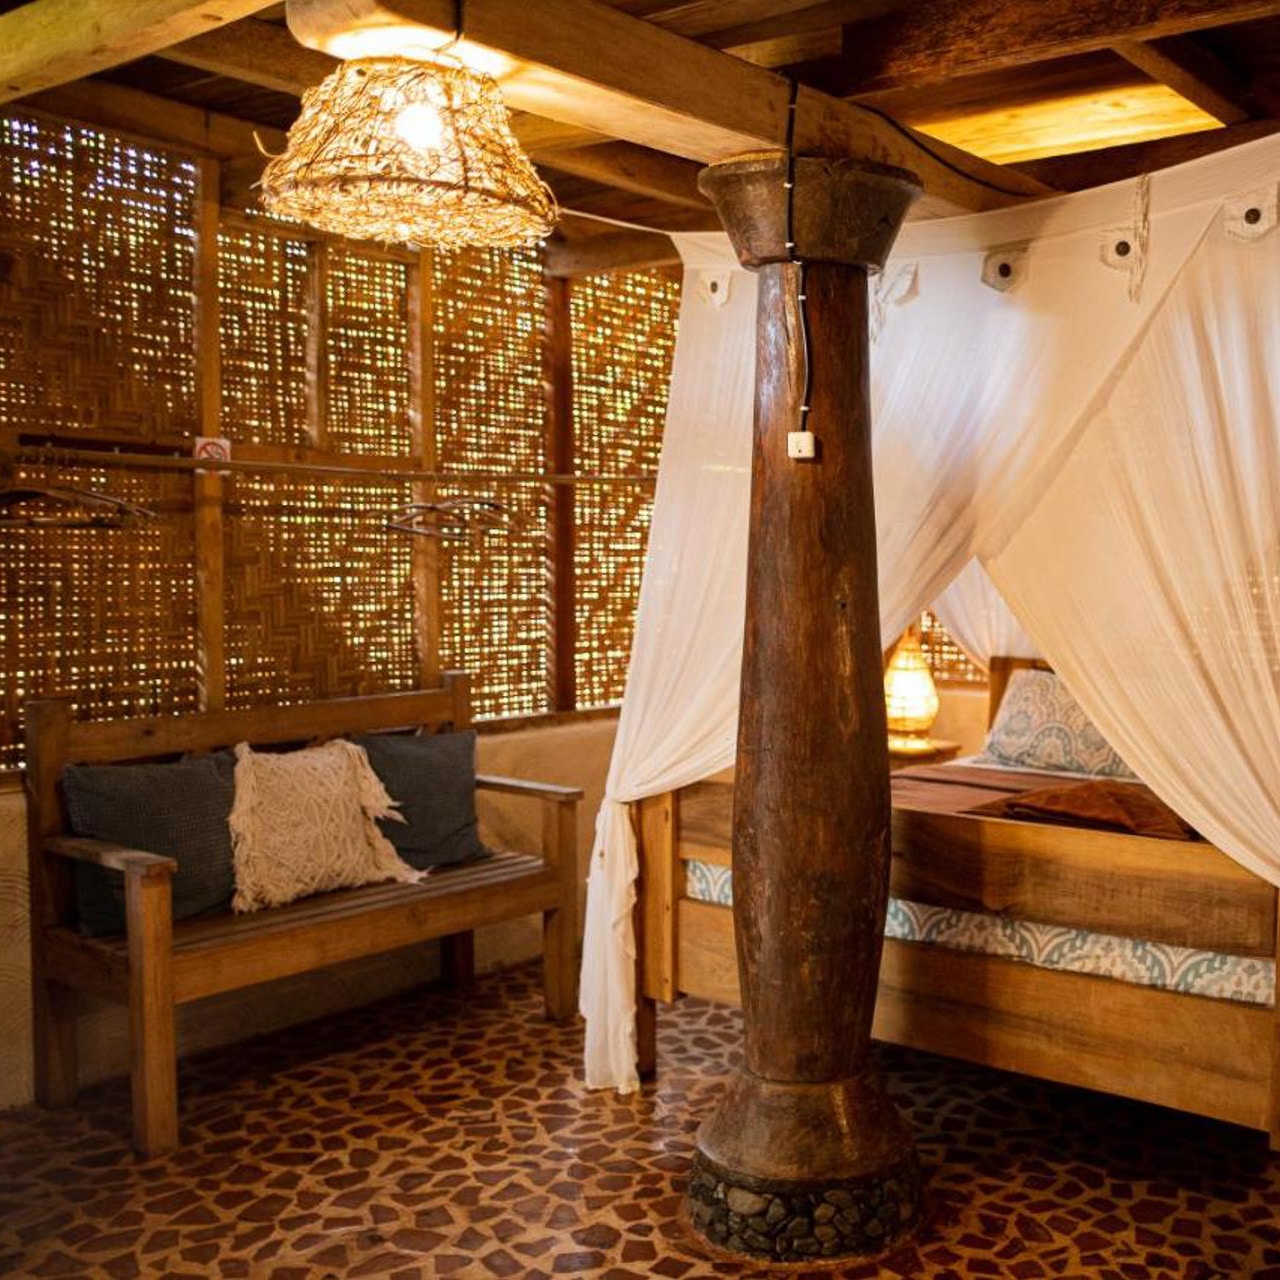
With Halomi Trekker, we stayed at this beautiful hotel with a pool and Mount Rinjani views.
Day 1 – Sembalun to Crater Rim base camp
Distance: 7 km
Hike duration: 6 – 8 hours
Elevation: 1483m of ascent
After breakfast, it’s time to start the biggest adventure of your life! You’ll hop on a car and drive for around 1 hour to get to the Rinjani National Park entry point in Sembalun. Before starting the trek, you’ll go through a medical check.
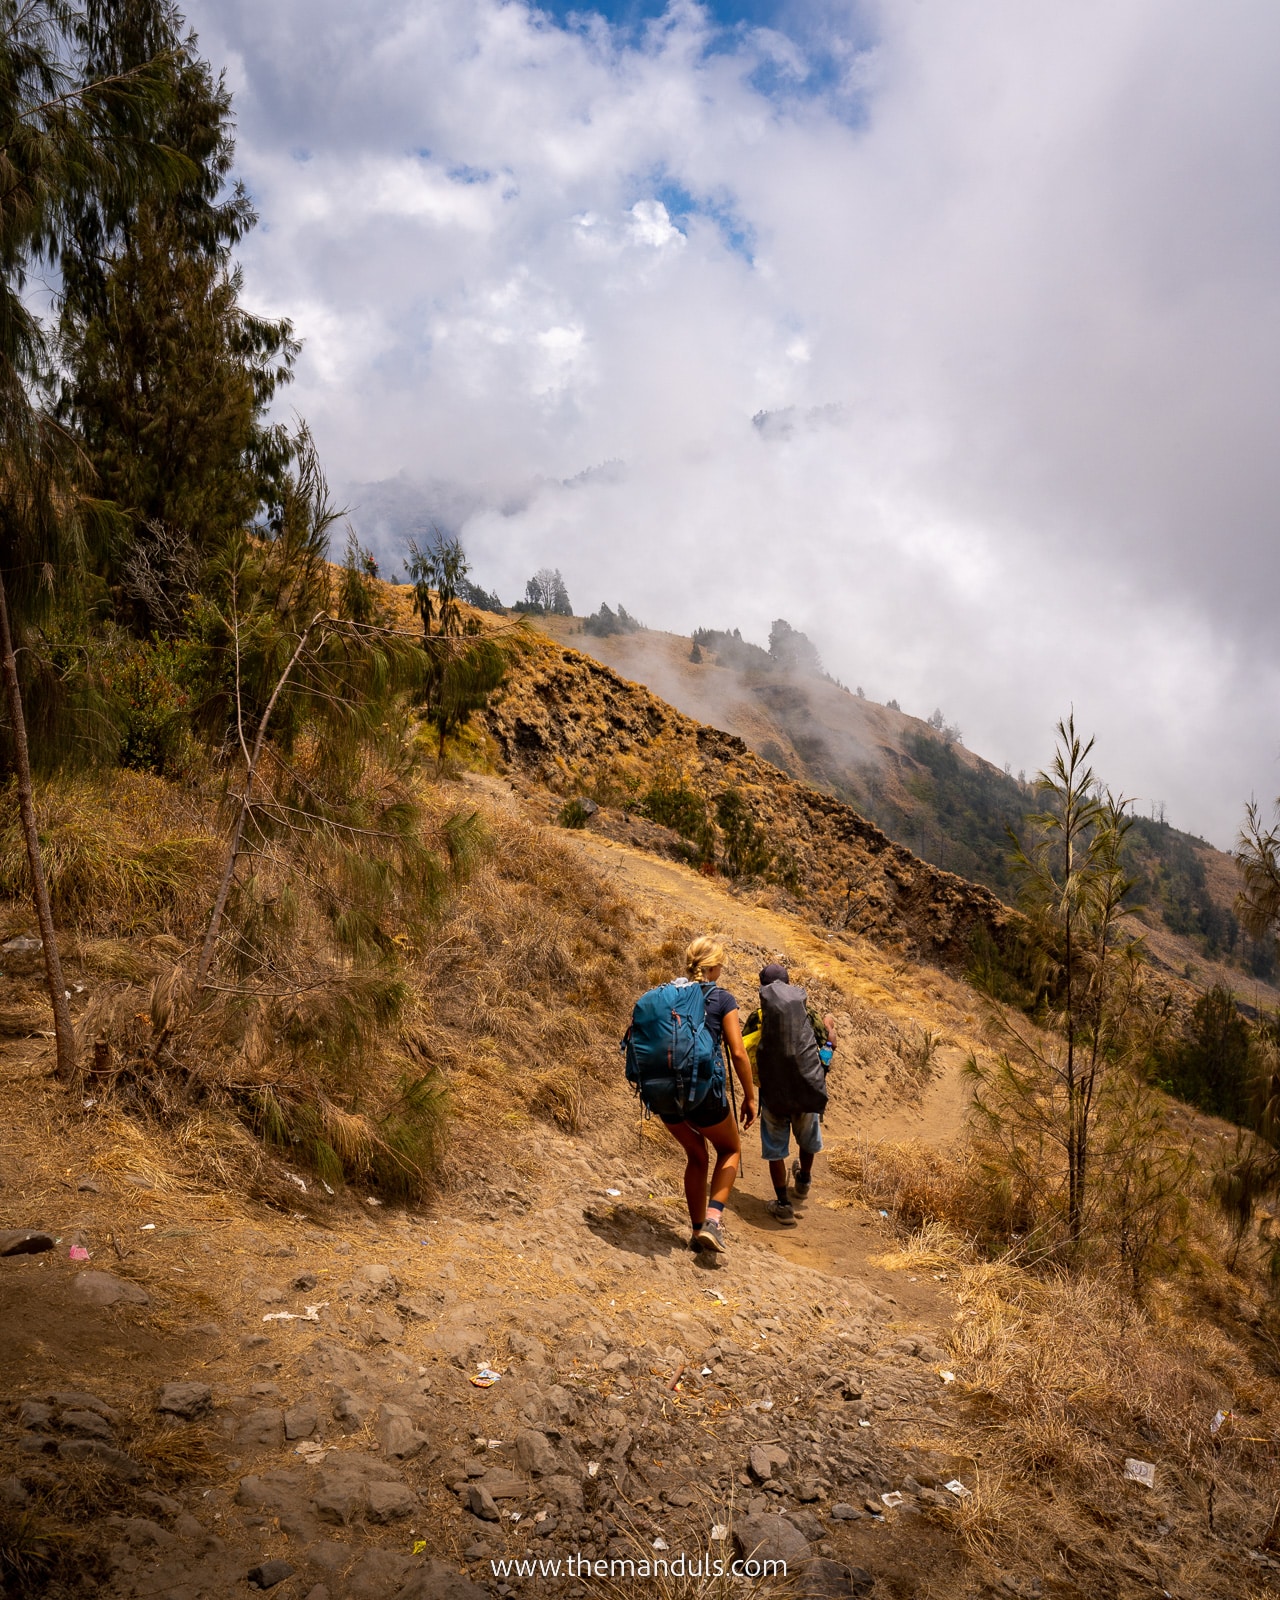
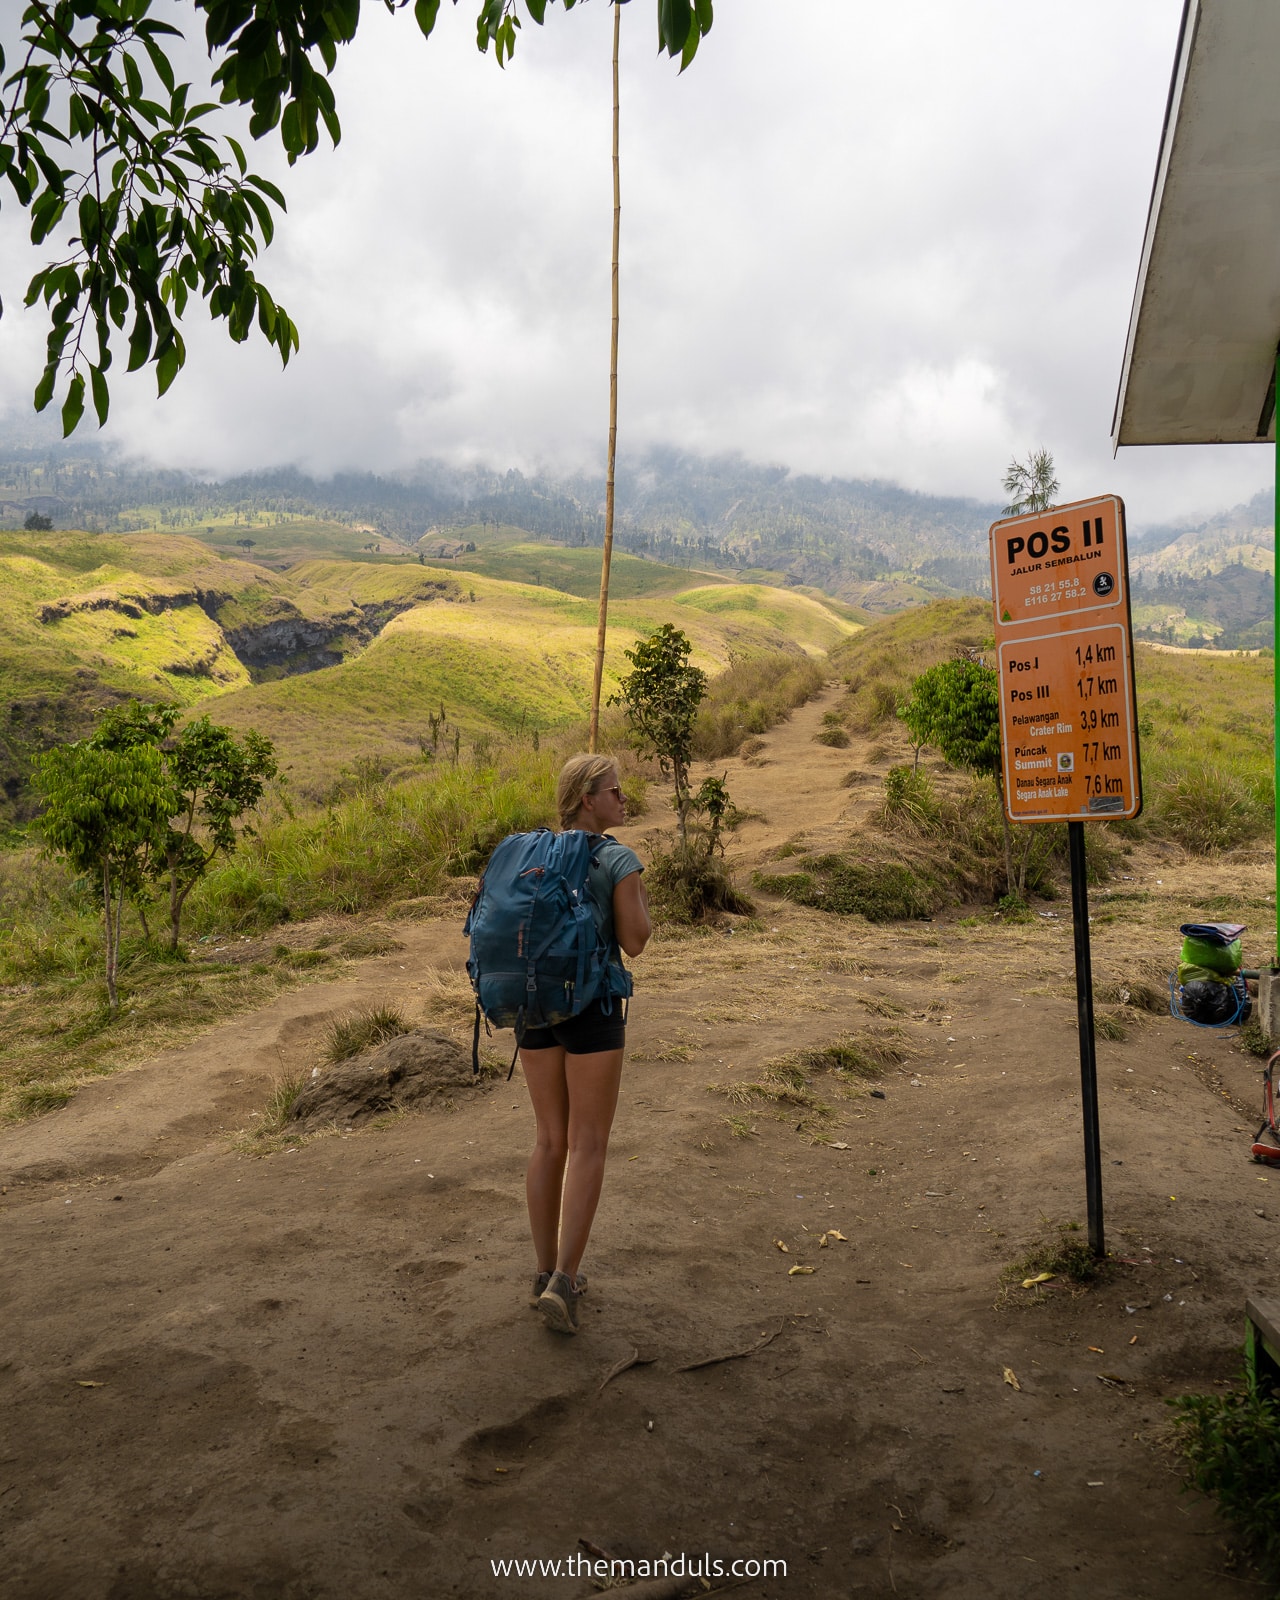
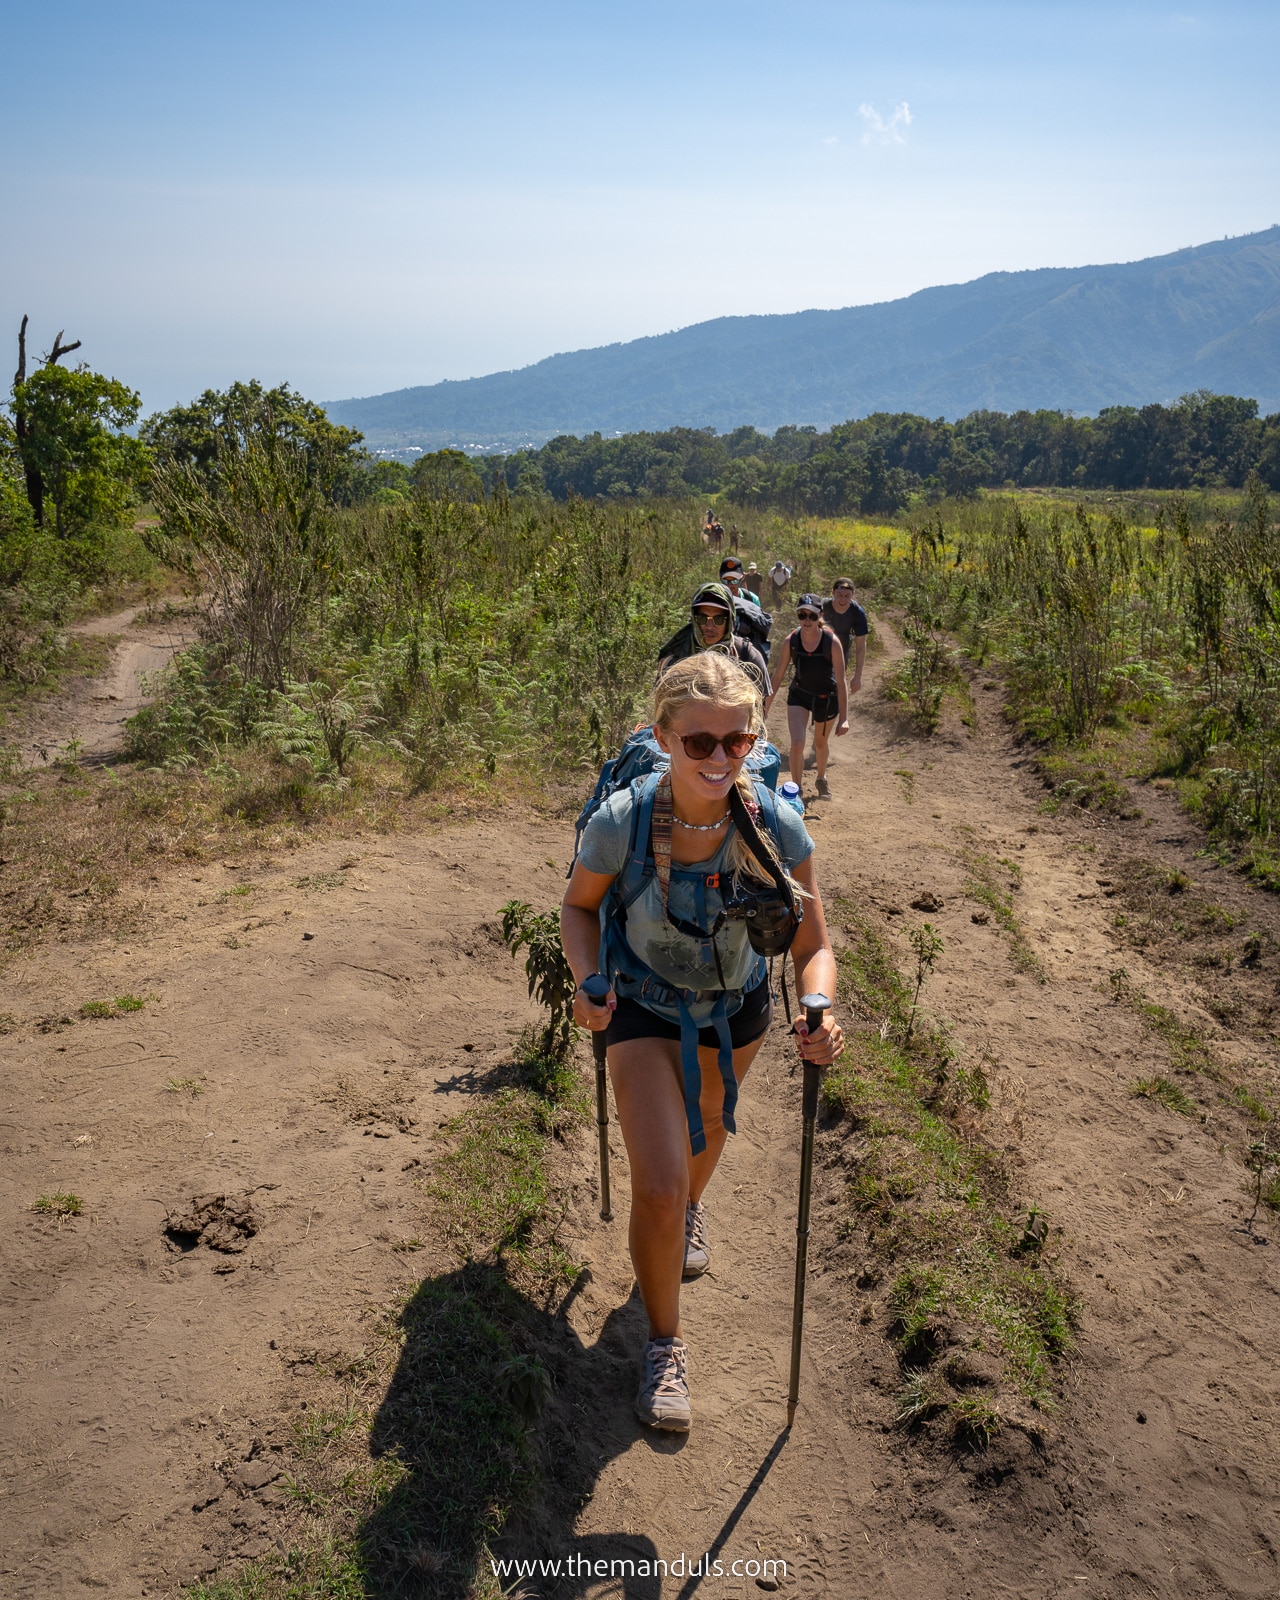
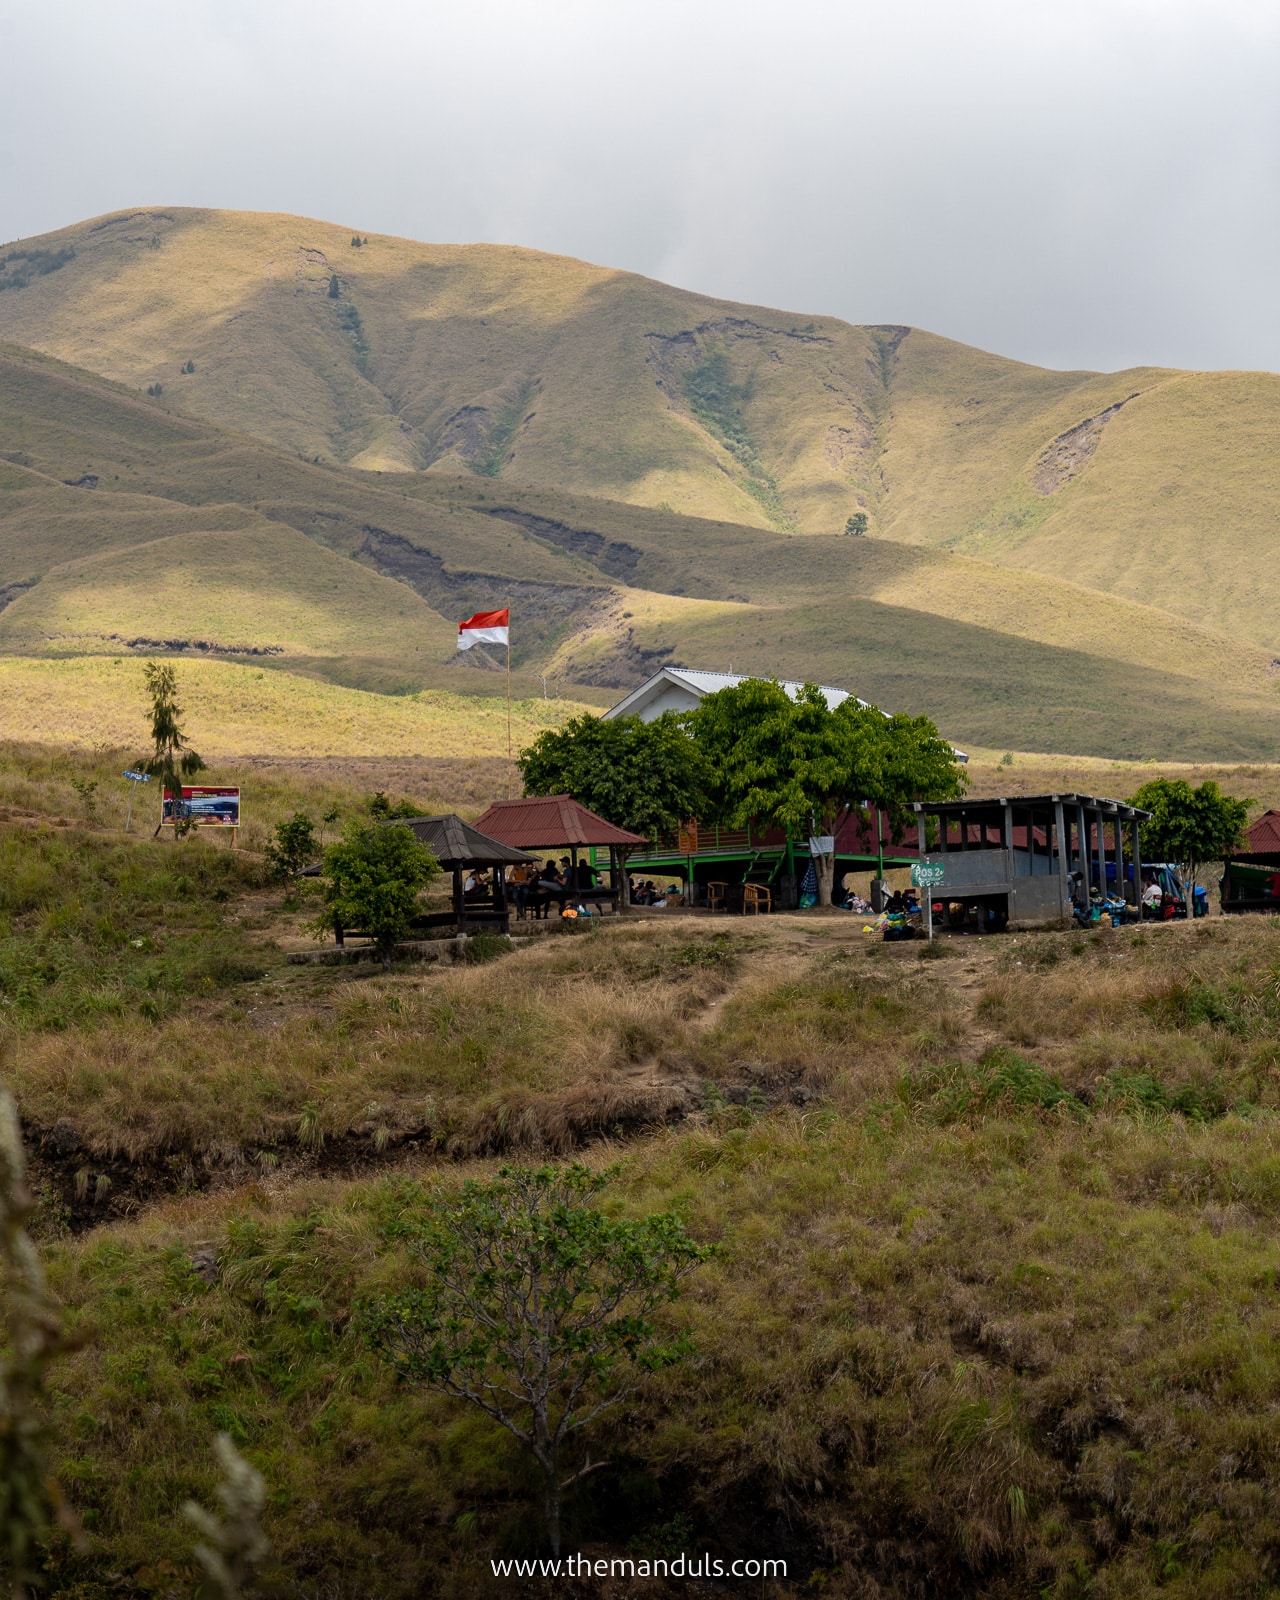
Mount Rinjani trek starts at 1156m. We were hiking through savannah for the first 3 hours of the trek. This section is not strenuous, with little elevation. Temperatures are high here on sunny days, around 25 – 30 °C. After 3 hours, we arrived at POS 2 at 1500m, where lunch was served.
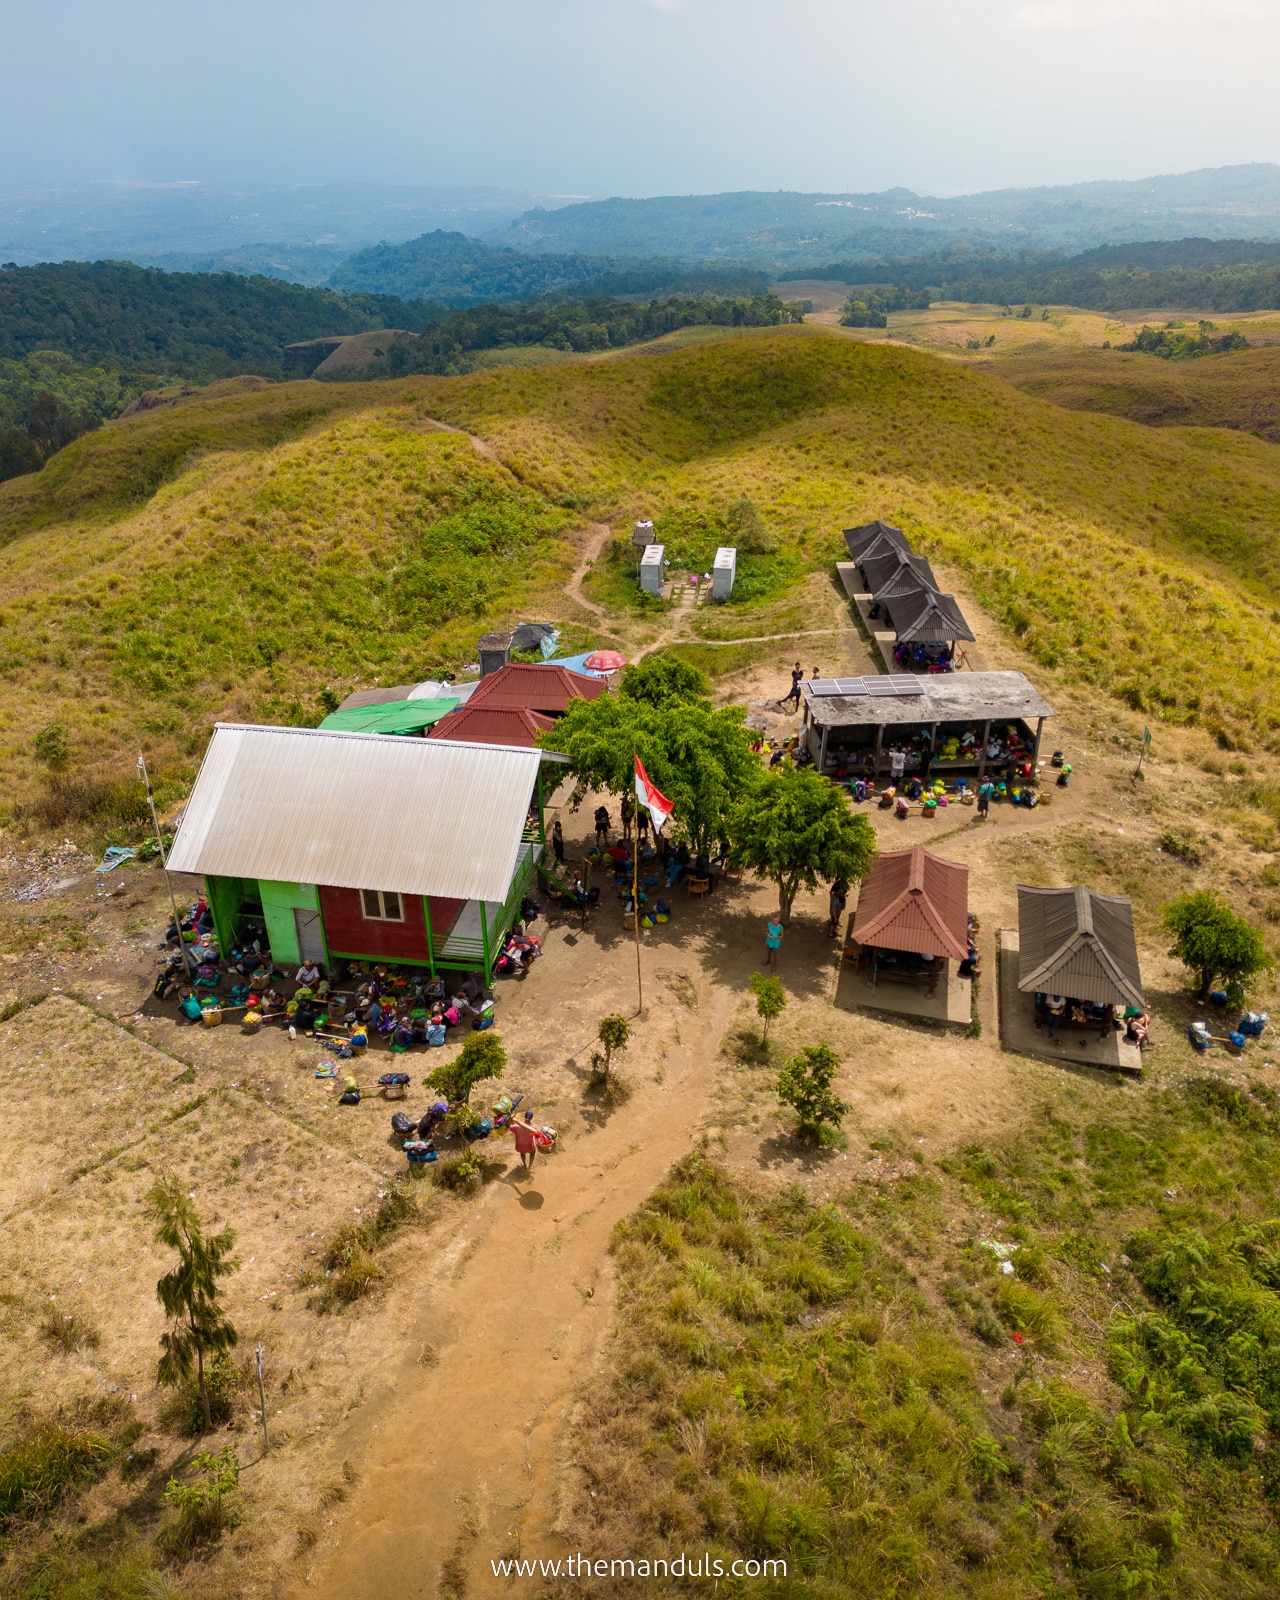
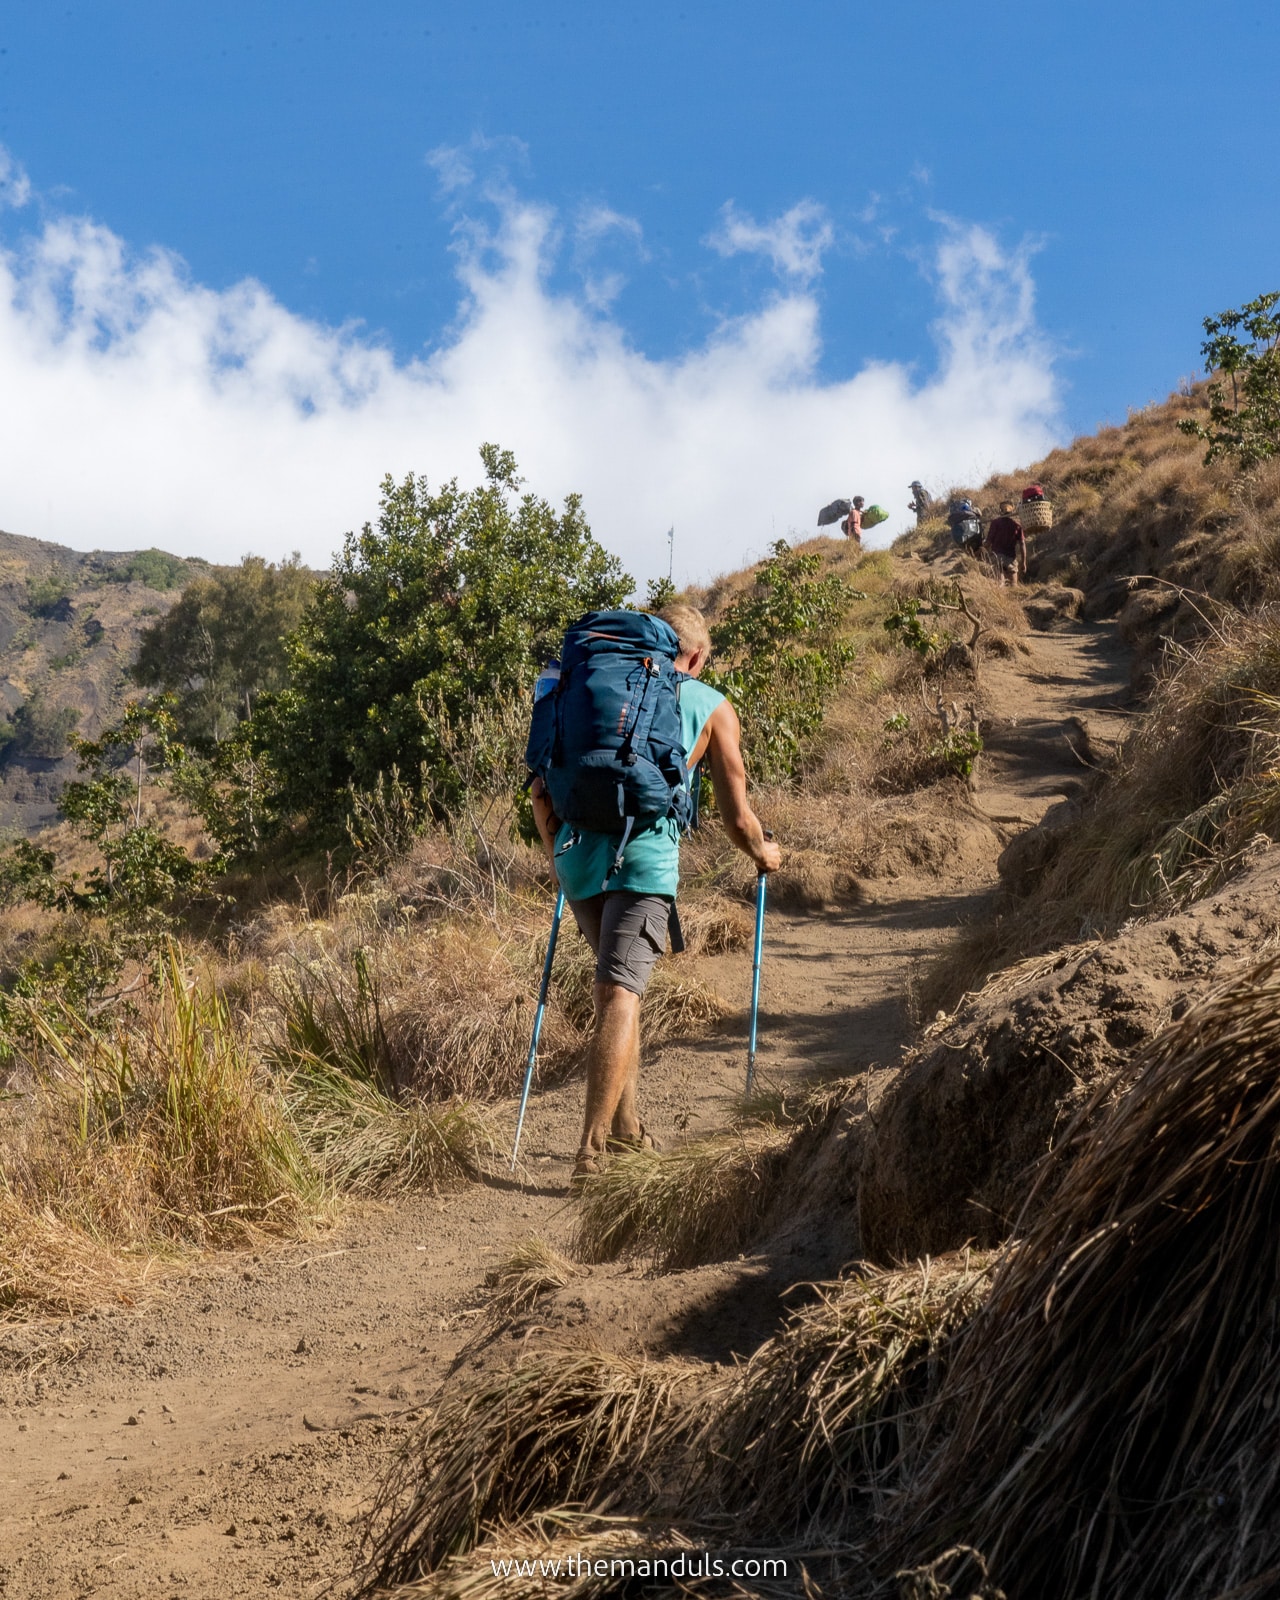
From POS 2, the hike gets more and more difficult. It will take around 4.5 hours to reach the Sembalun Crater rim at 2639m. The surroundings change, and you’ll see more alpine trees. The last 2km are the most difficult since there’s 839m of elevation gain.
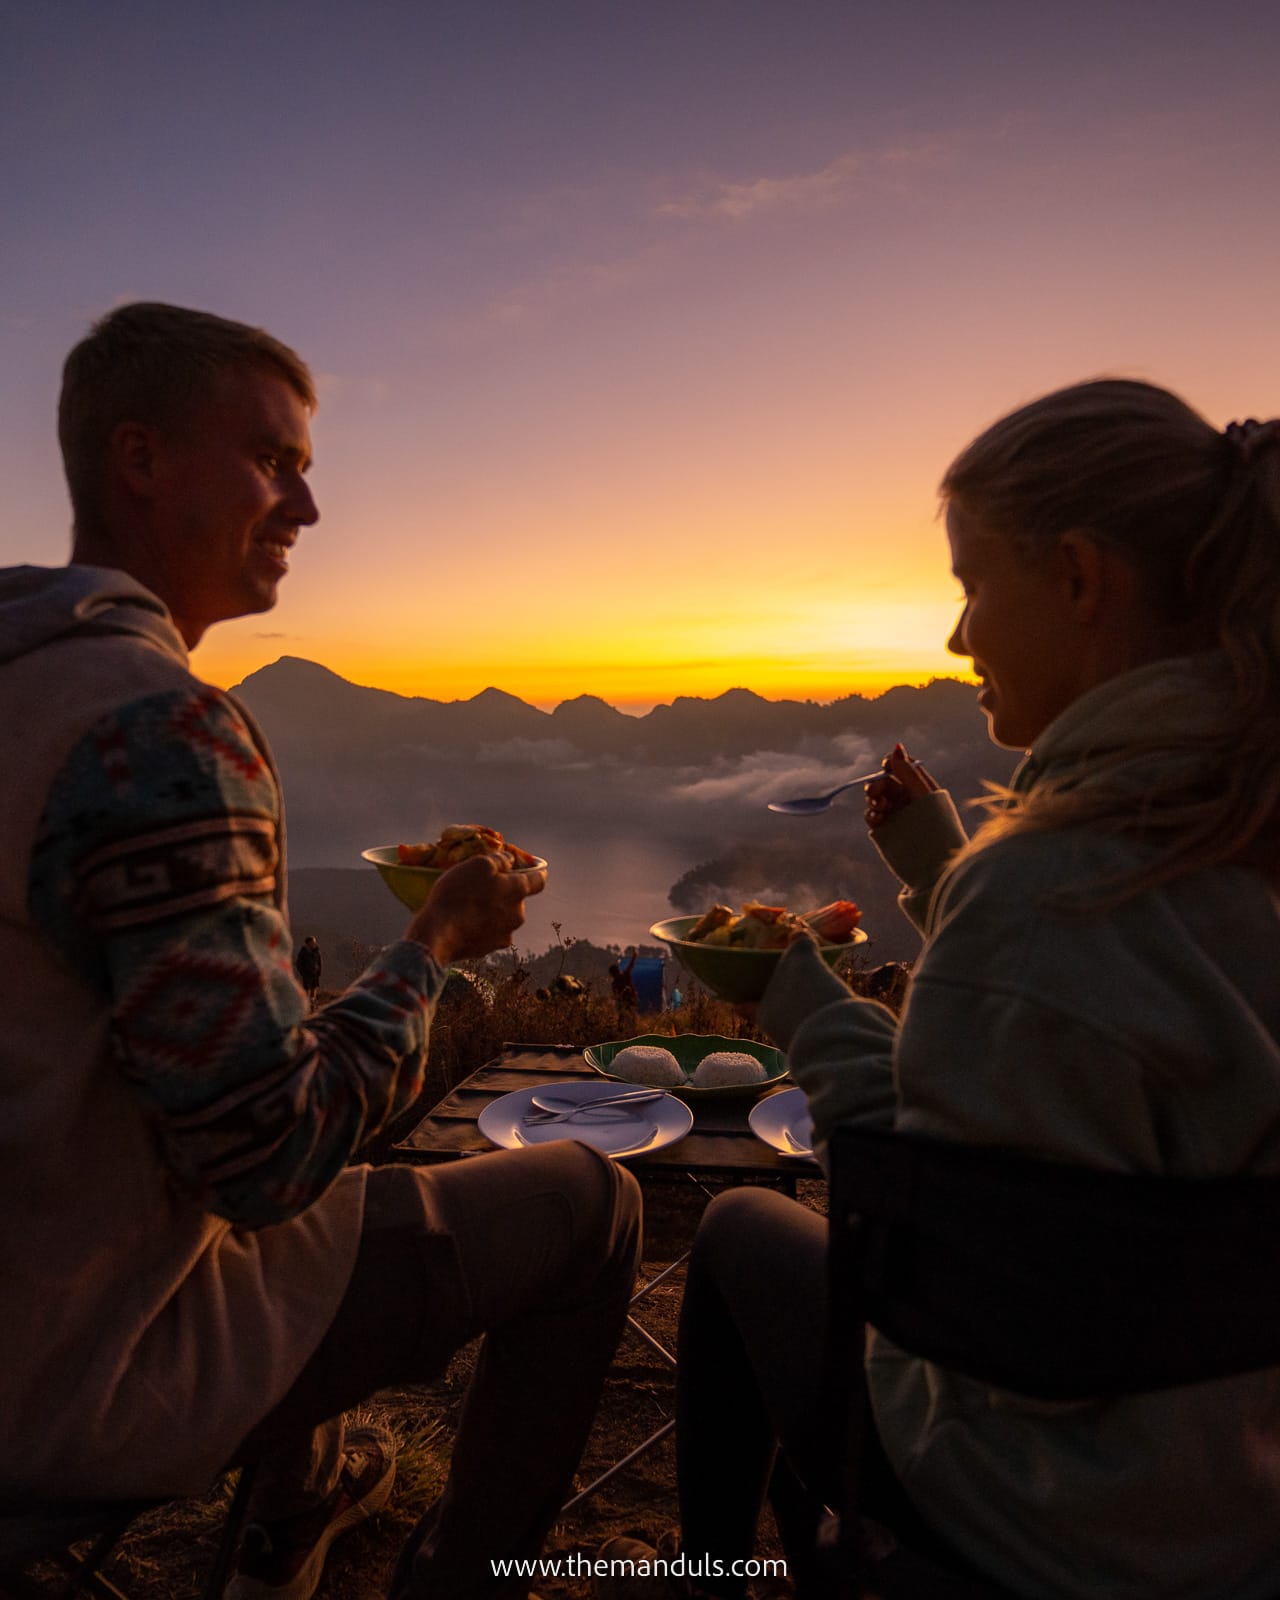
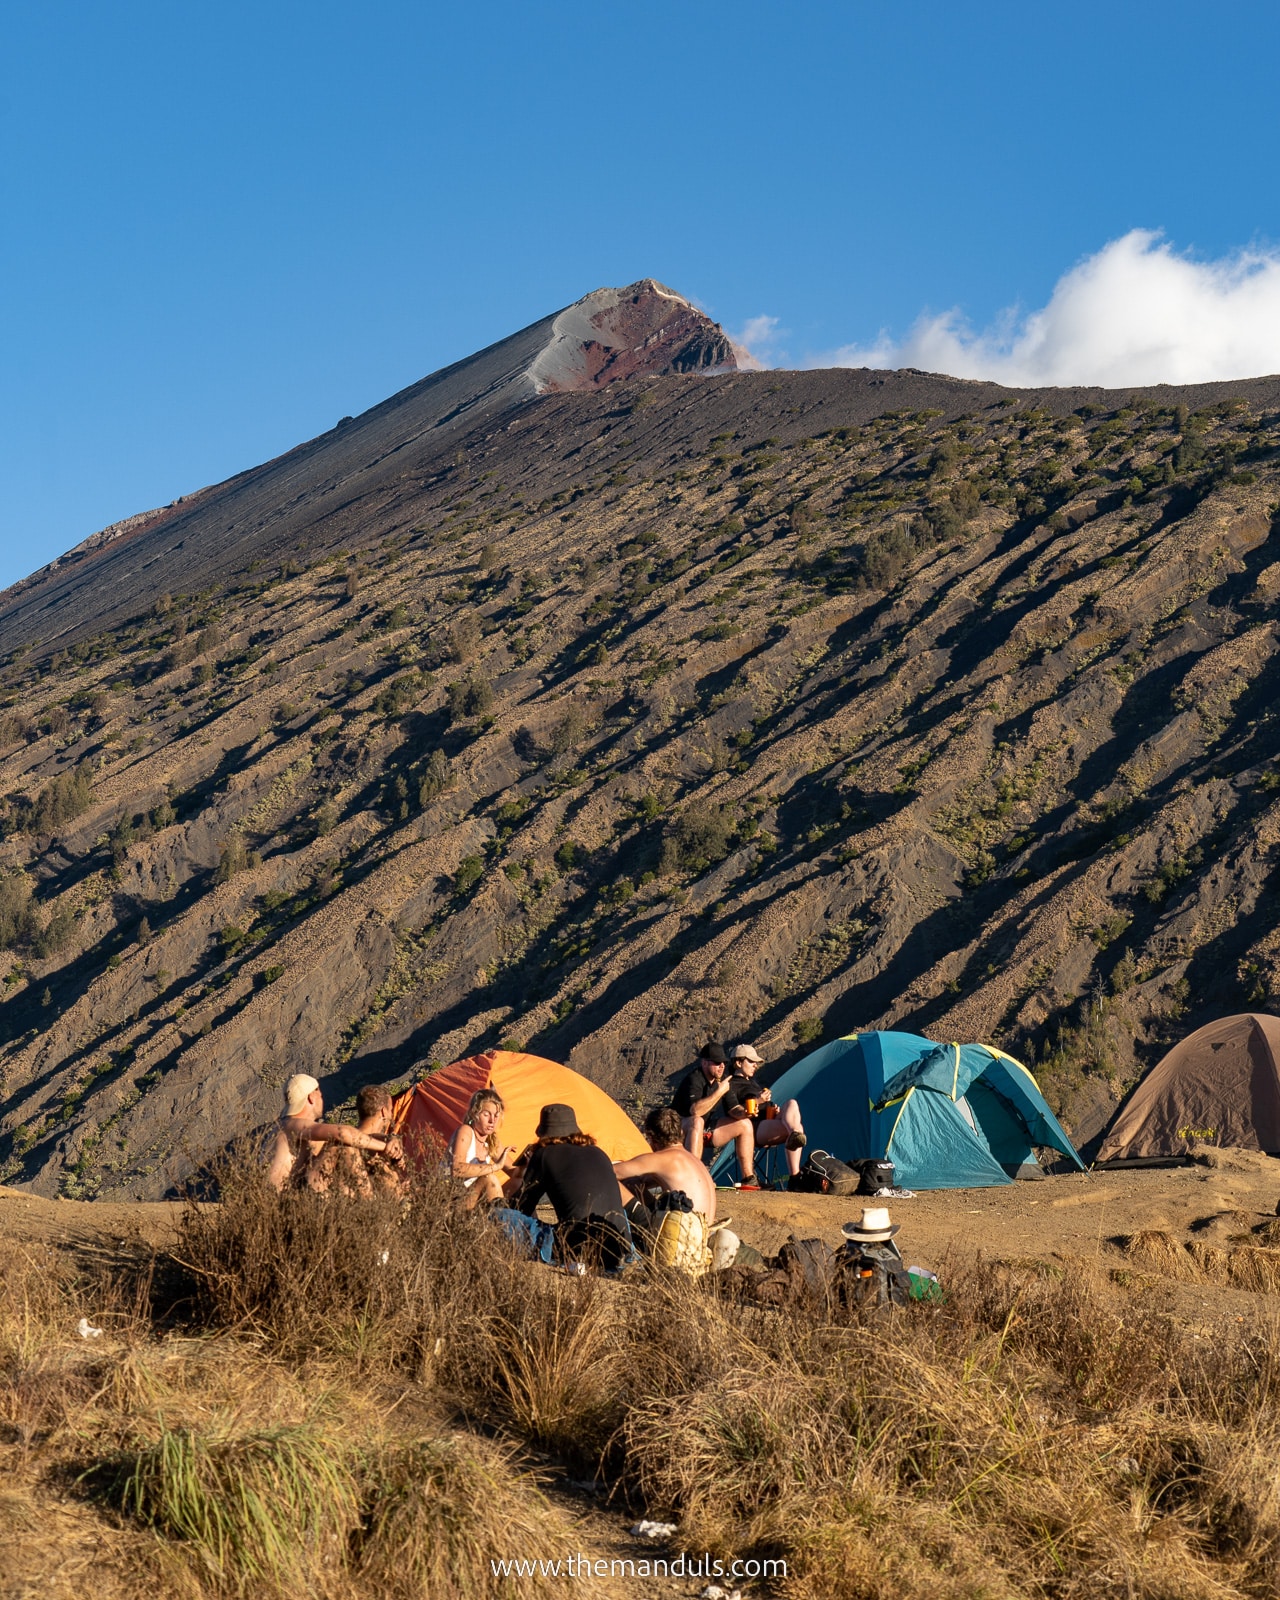
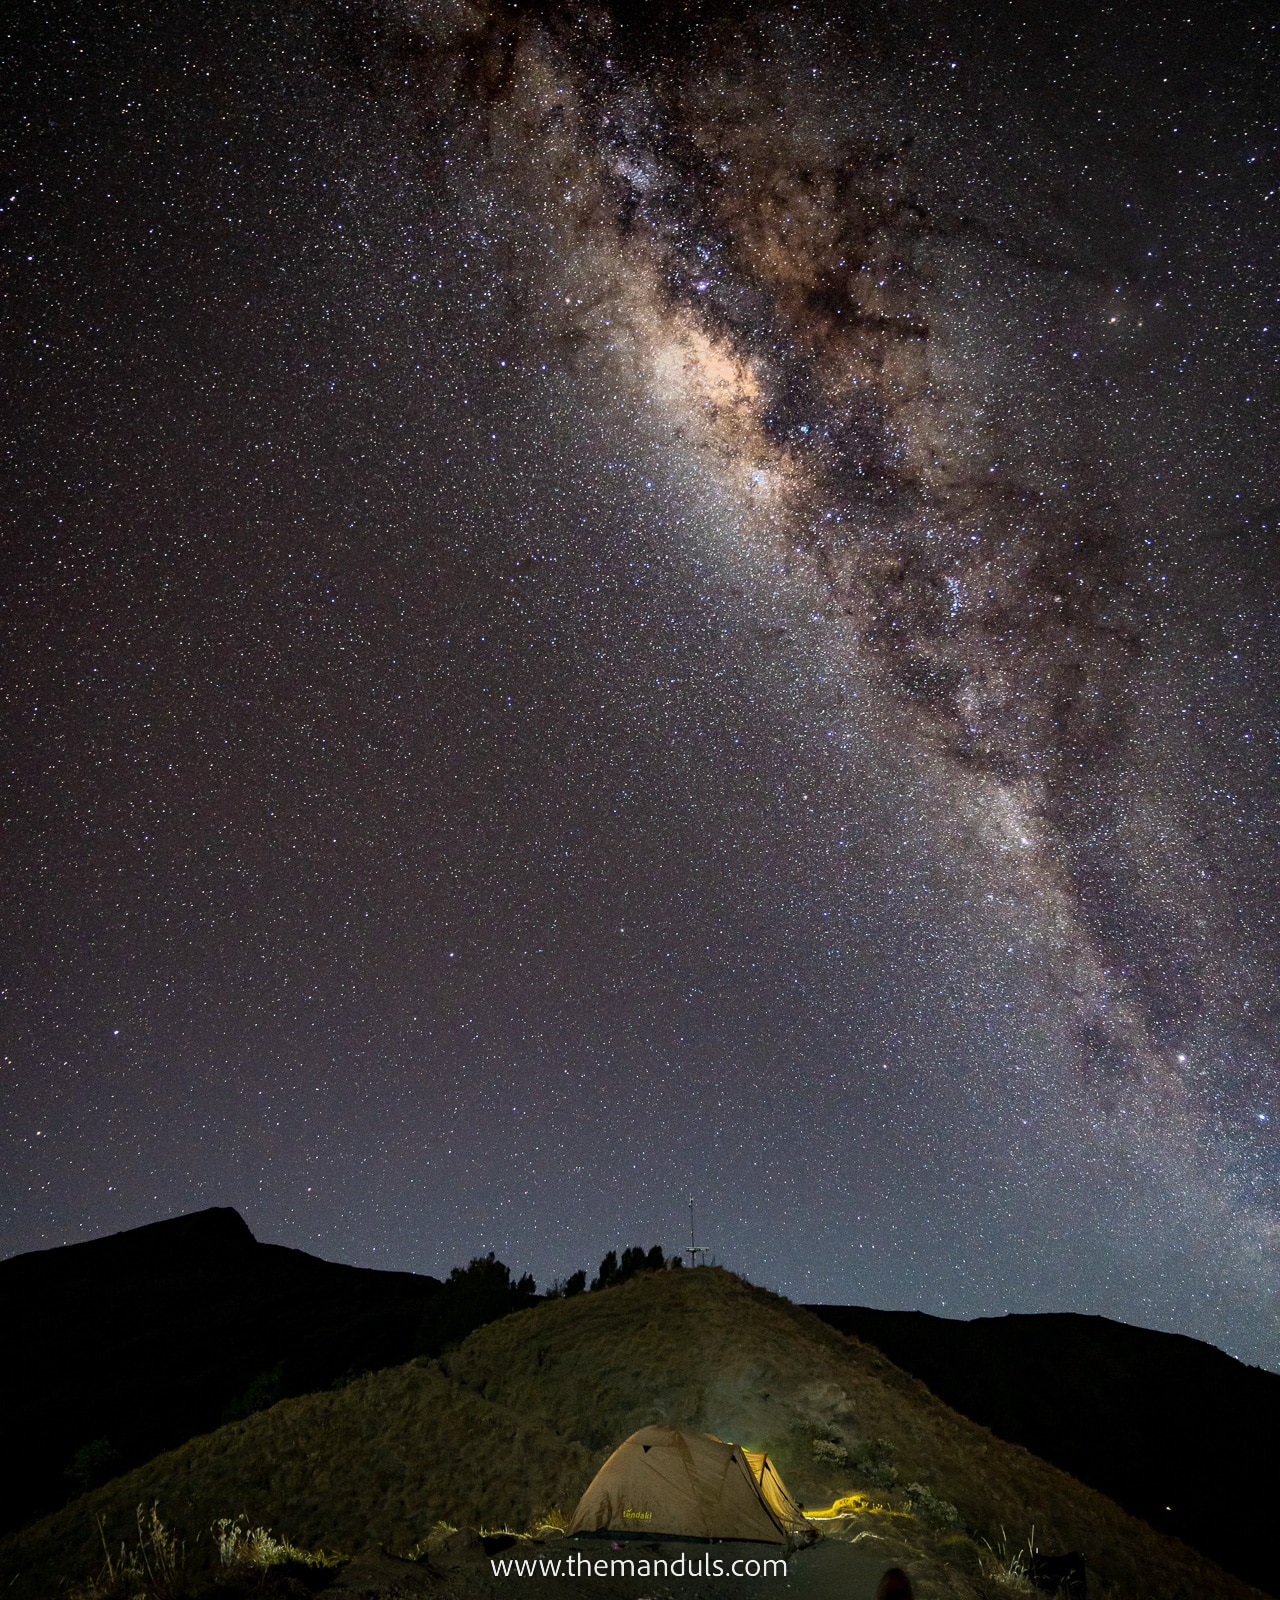
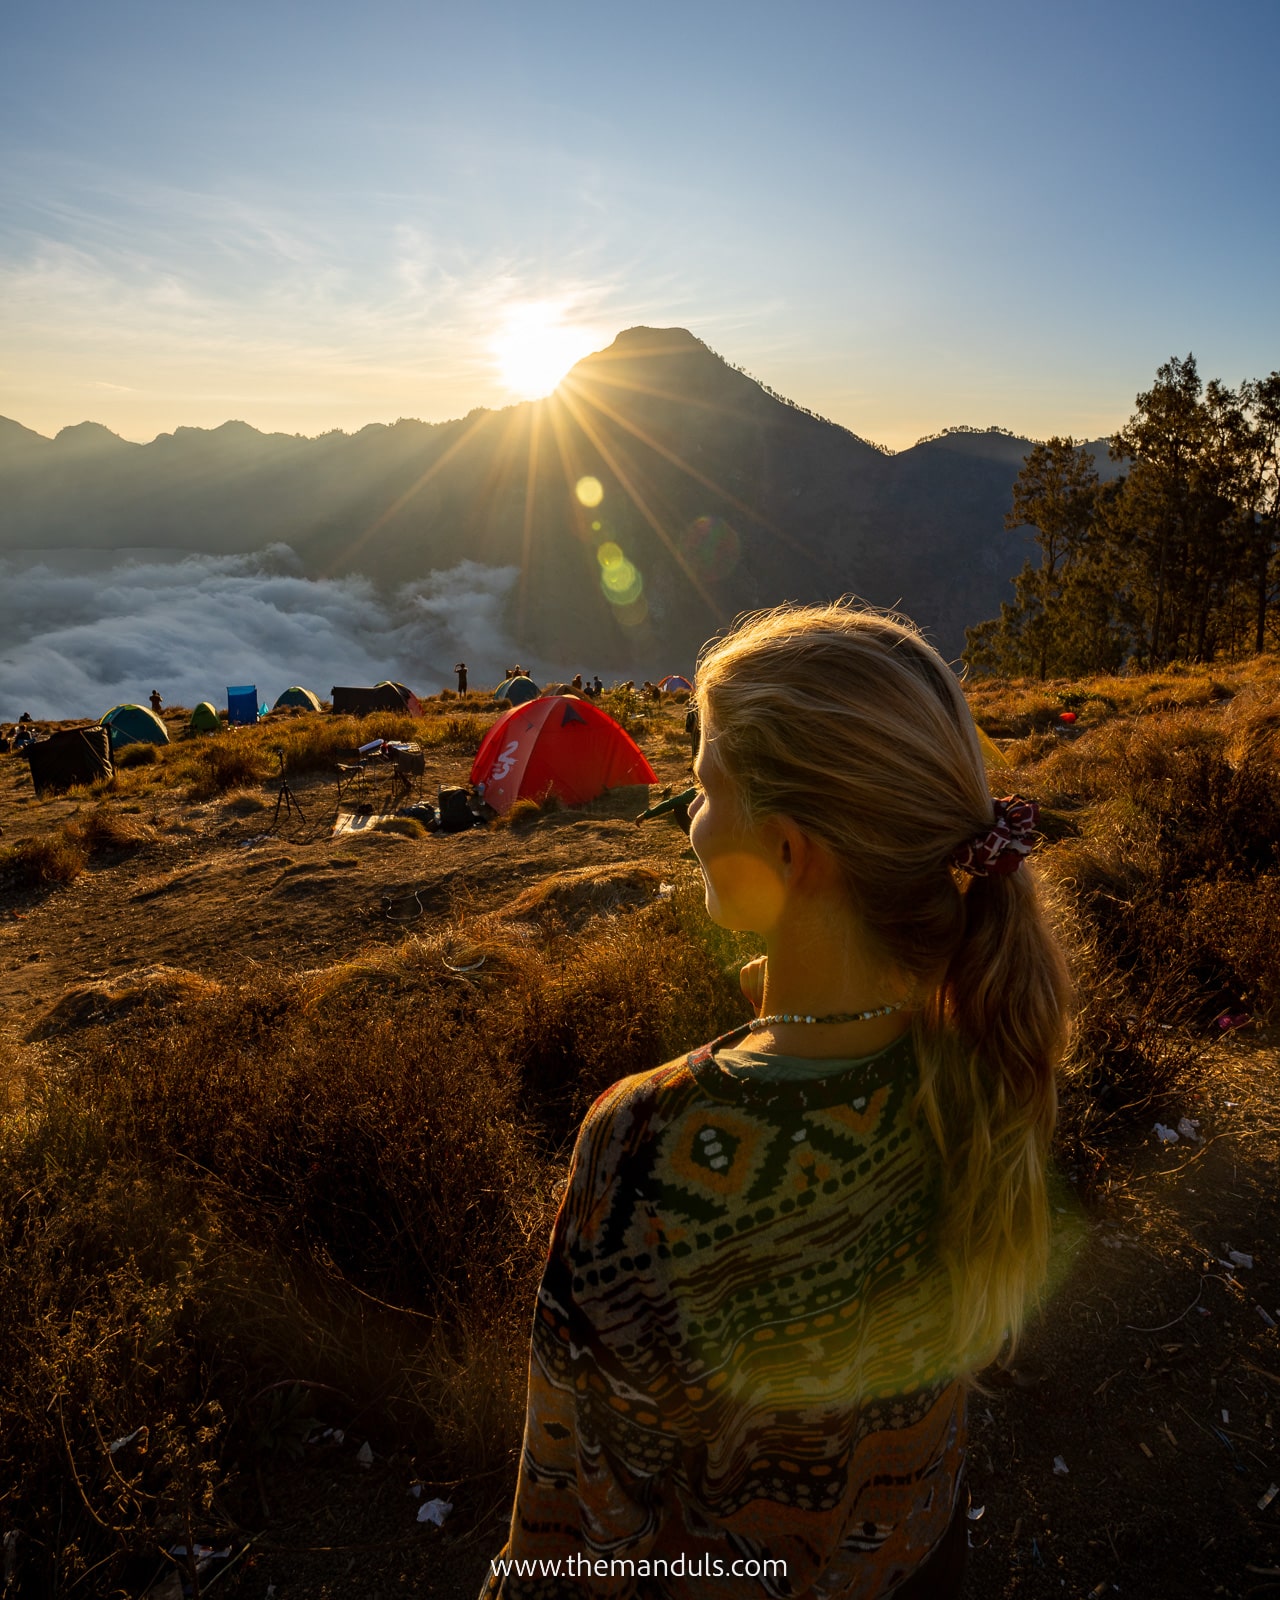
However, incredible views and a beautiful sunset await you at the top of the Sembalun Crater rim. We enjoyed dinner with the best views and went stargazing! The Milky Way looks incredible from here!
We went to sleep early since we had to wake up at 2 am to make it to the summit for the sunrise.
After climbing Mt. Rinjani we needed a proper rest. So we decided to head back to Bali and we enjoyed all the best beaches in Uluwatu.
Day 2 – Hike to summit, Segara Anak lake and hot springs
Distance: 13.9 km
Hike duration: 11 – 12 hours
Elevation: 1087m of ascent, 2126m of descent
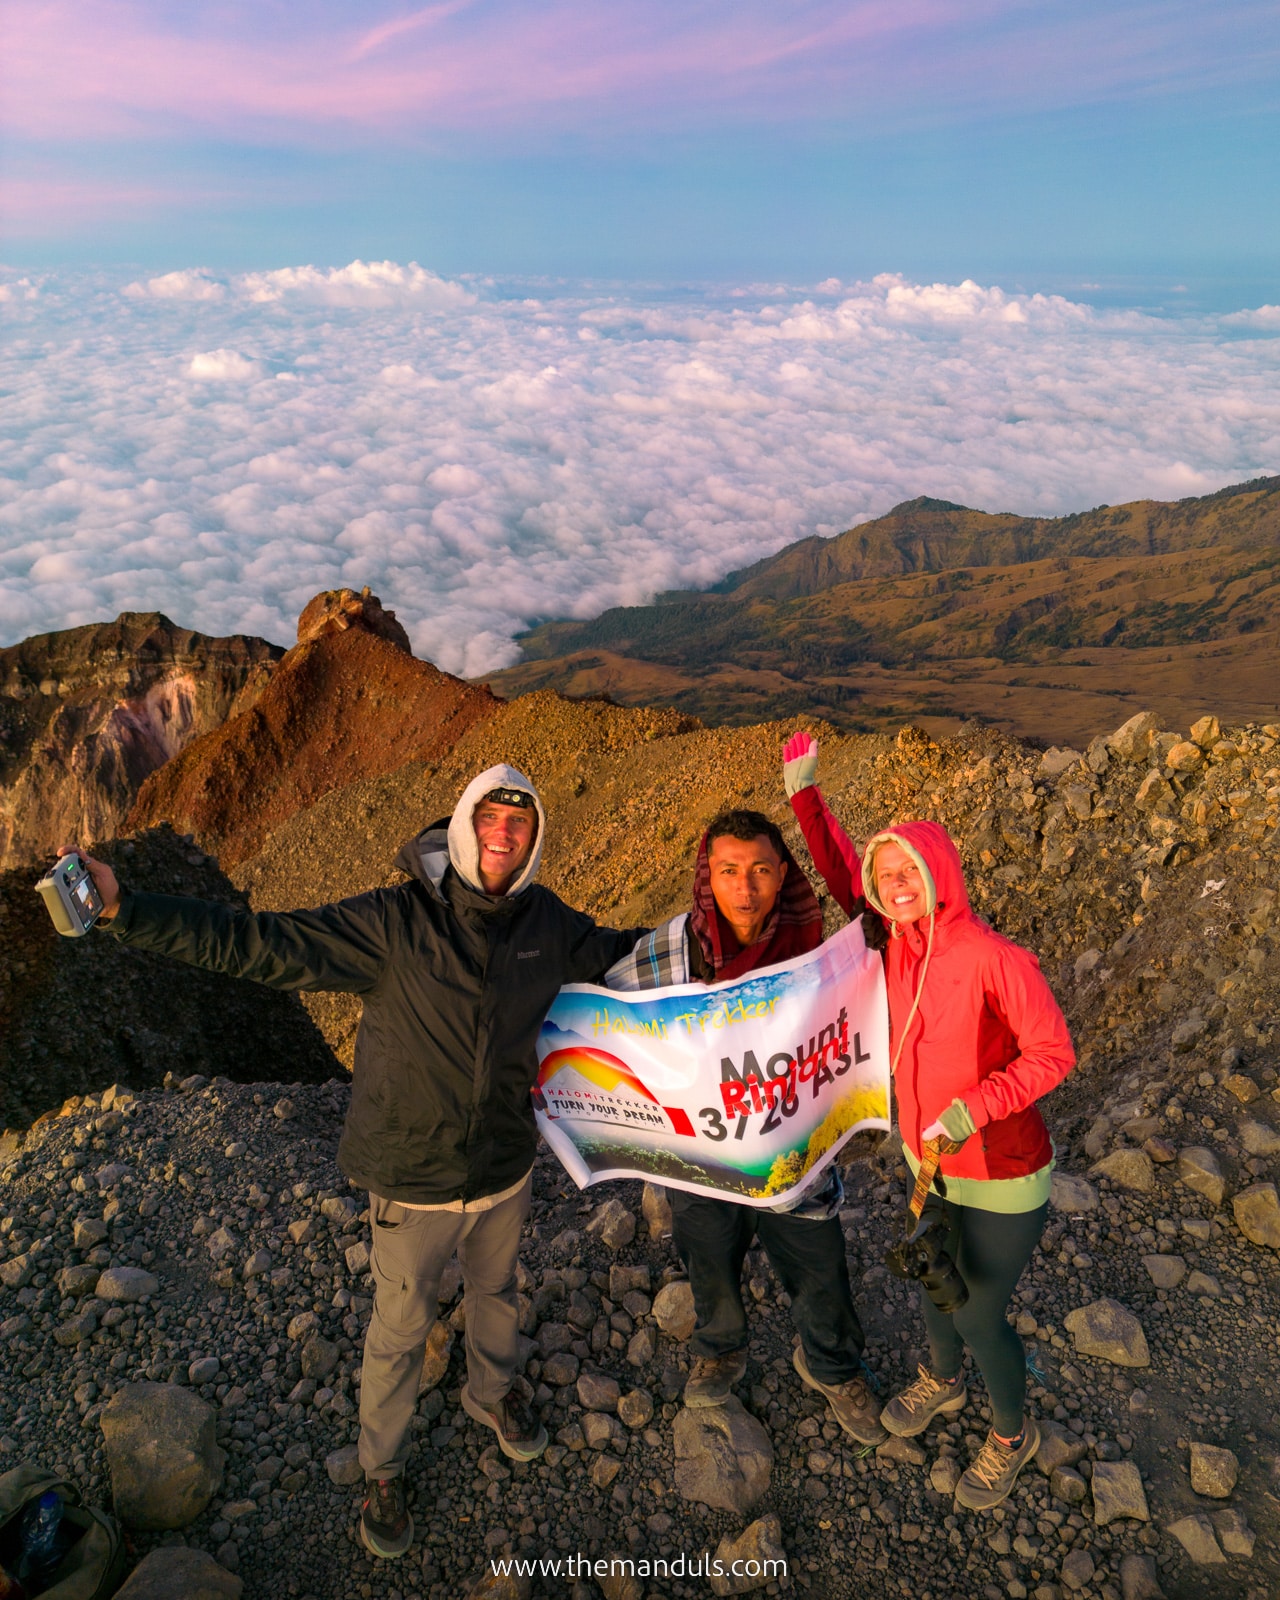
Mount Rinjani summit
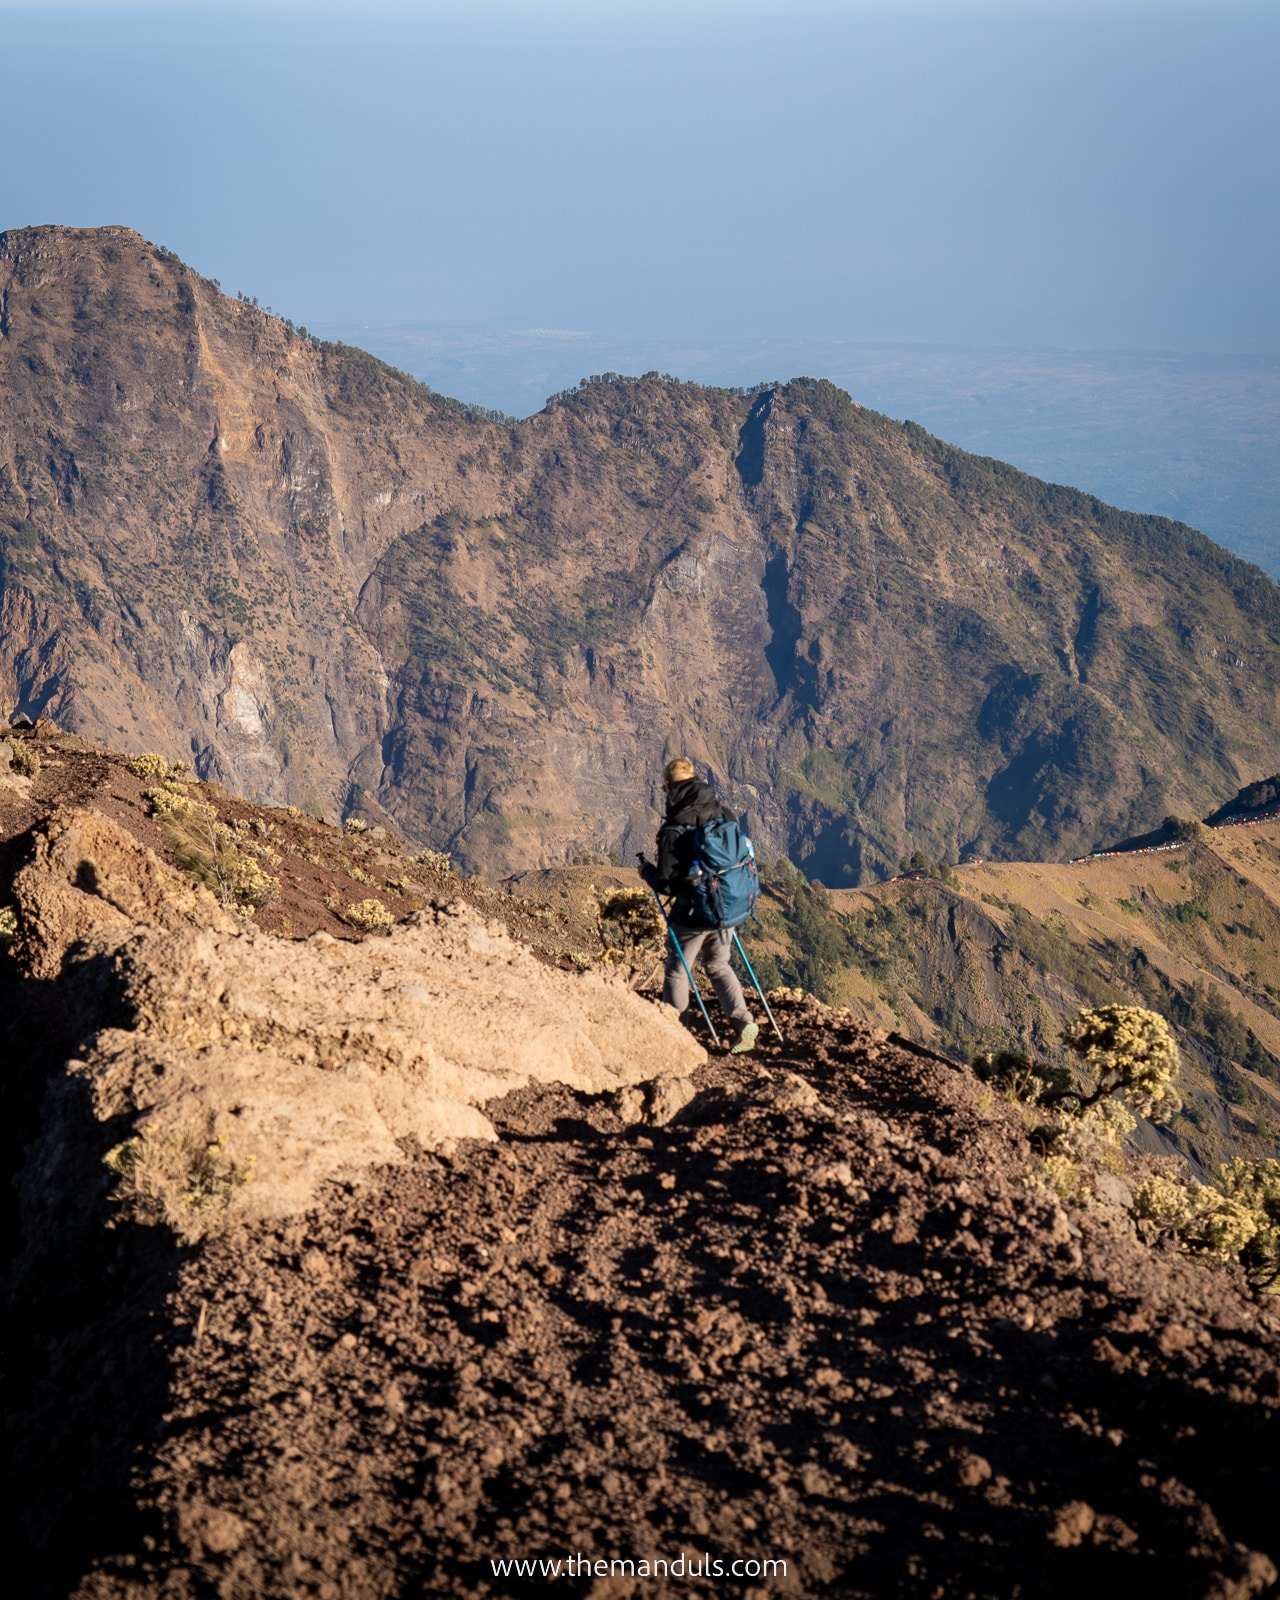
Day 2 will be packed and difficult. After a 2 am alarm and a quick breakfast, we started the most grueling climb of this trek. From the camp, it’s only 1km to the summit, but it takes at least 3 hours.
The trail is mostly gravel and loose rocks. It feels like hell! With each step you make, it feels like you’re sliding one step back.
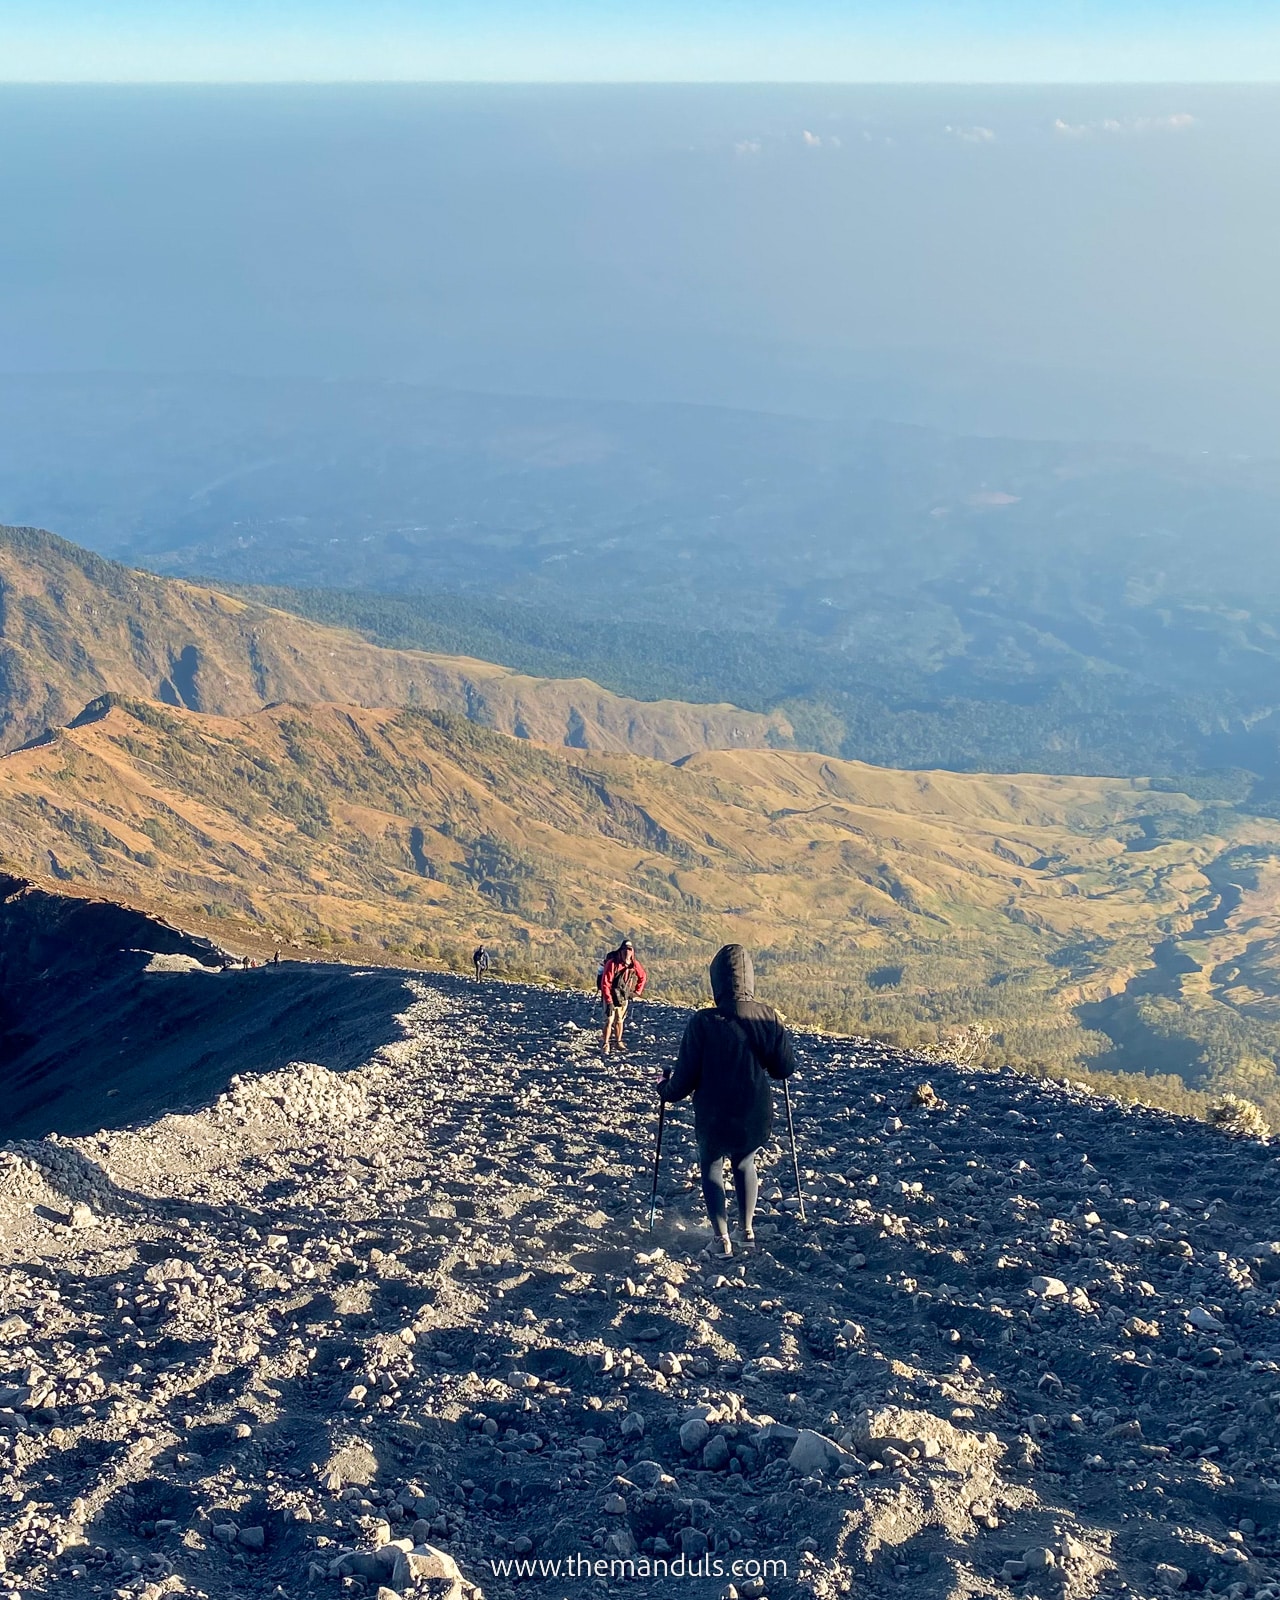
To be honest, I think 3 hours for this climb is way too optimistic. We made it to the summit just before sunrise. However, we were one of the fastest hikers attempting the summit that day. I, Juraj, and our guide kept overtaking most of the other groups.
At the Rinjani summit, only around 15 people were watching the sunrise. Most groups were still on their way up when we were already returning to the campsite. Going back is a lot of fun, though. You can basically just slide down on your feet.
Segara Anak Lake and hot springs
After breakfast, it was time to pack and continue our descent to Segara Anak Lake. While our porters were preparing lunch for us, we went to hot springs. Words can’t describe how good it felt to soak in the hot waters.
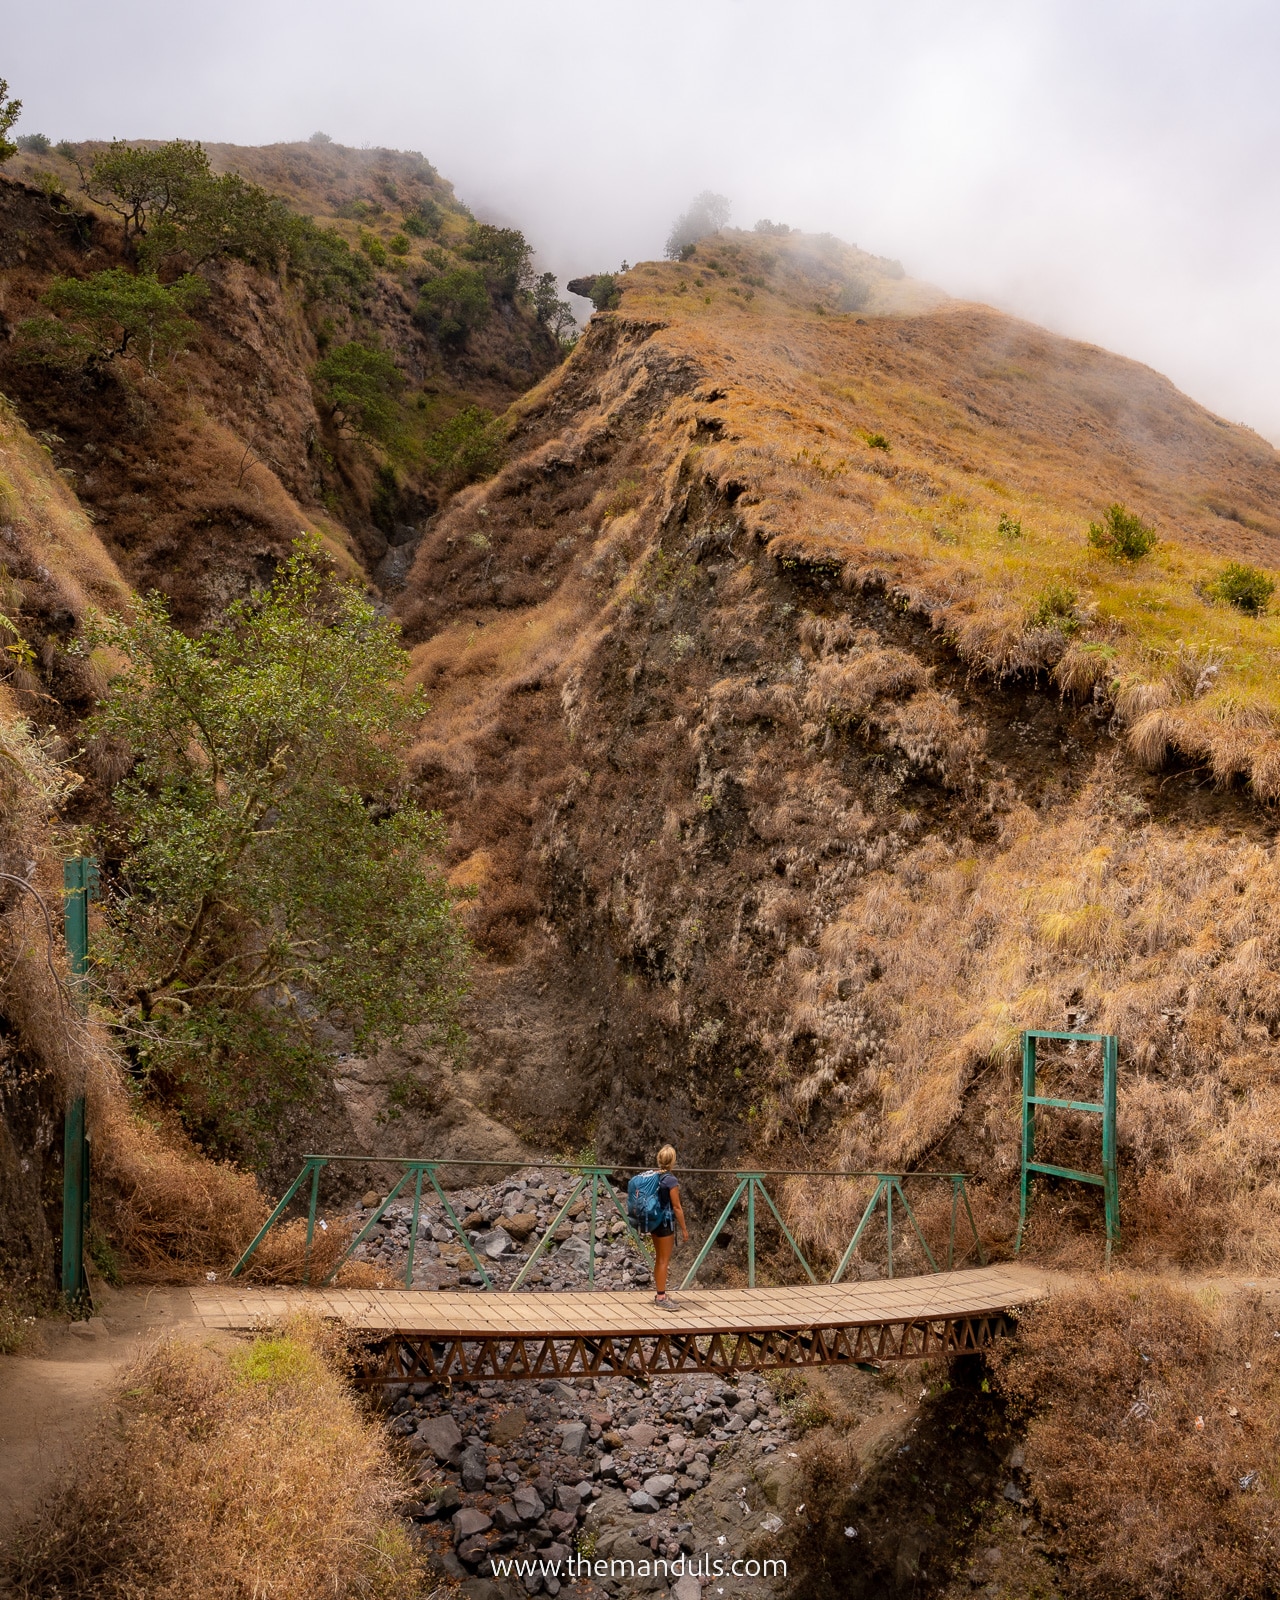
After lunch by the lake, we started our descent through Torean Valley. The nature here looks like Jurassic Park! Words can’t describe how beautiful the tall green mountains look. We saw a few stunning waterfalls on the way, too.
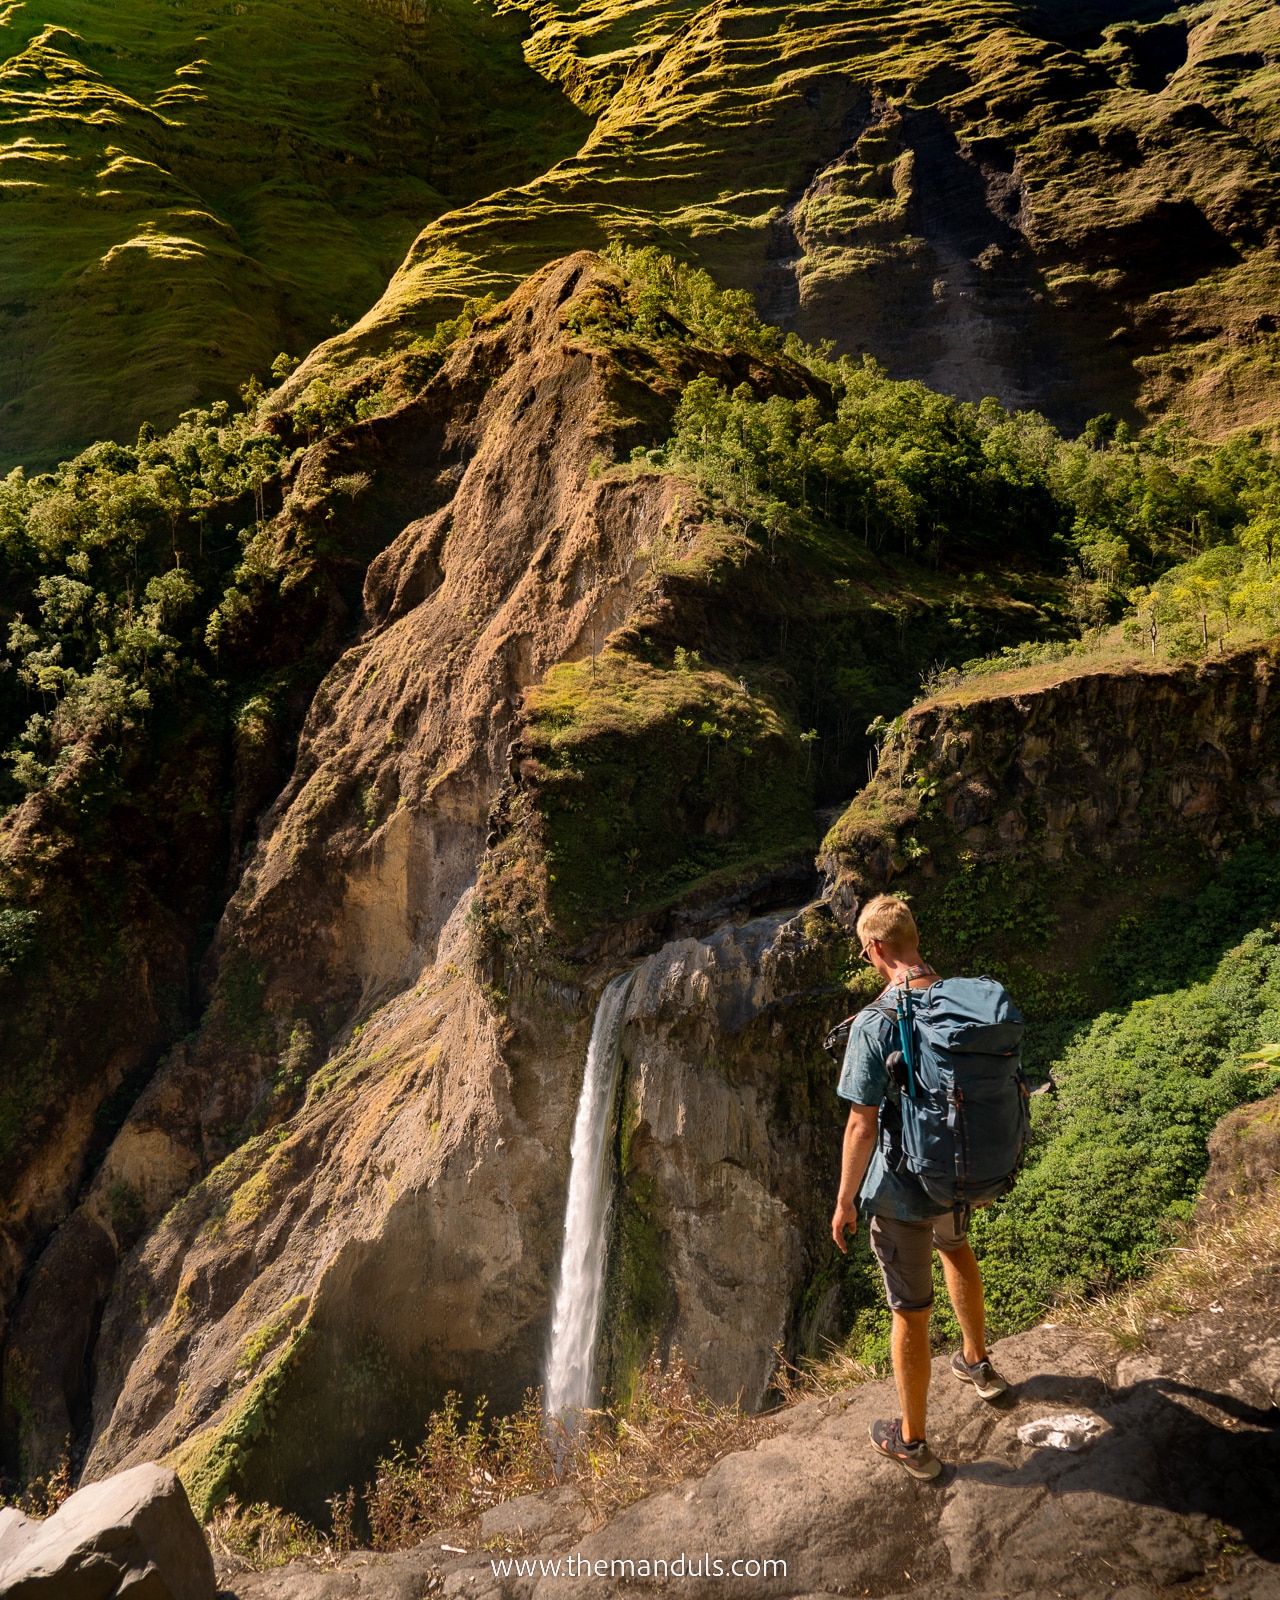
Torean Valley is, without a doubt, the most beautiful valley I have ever visited.
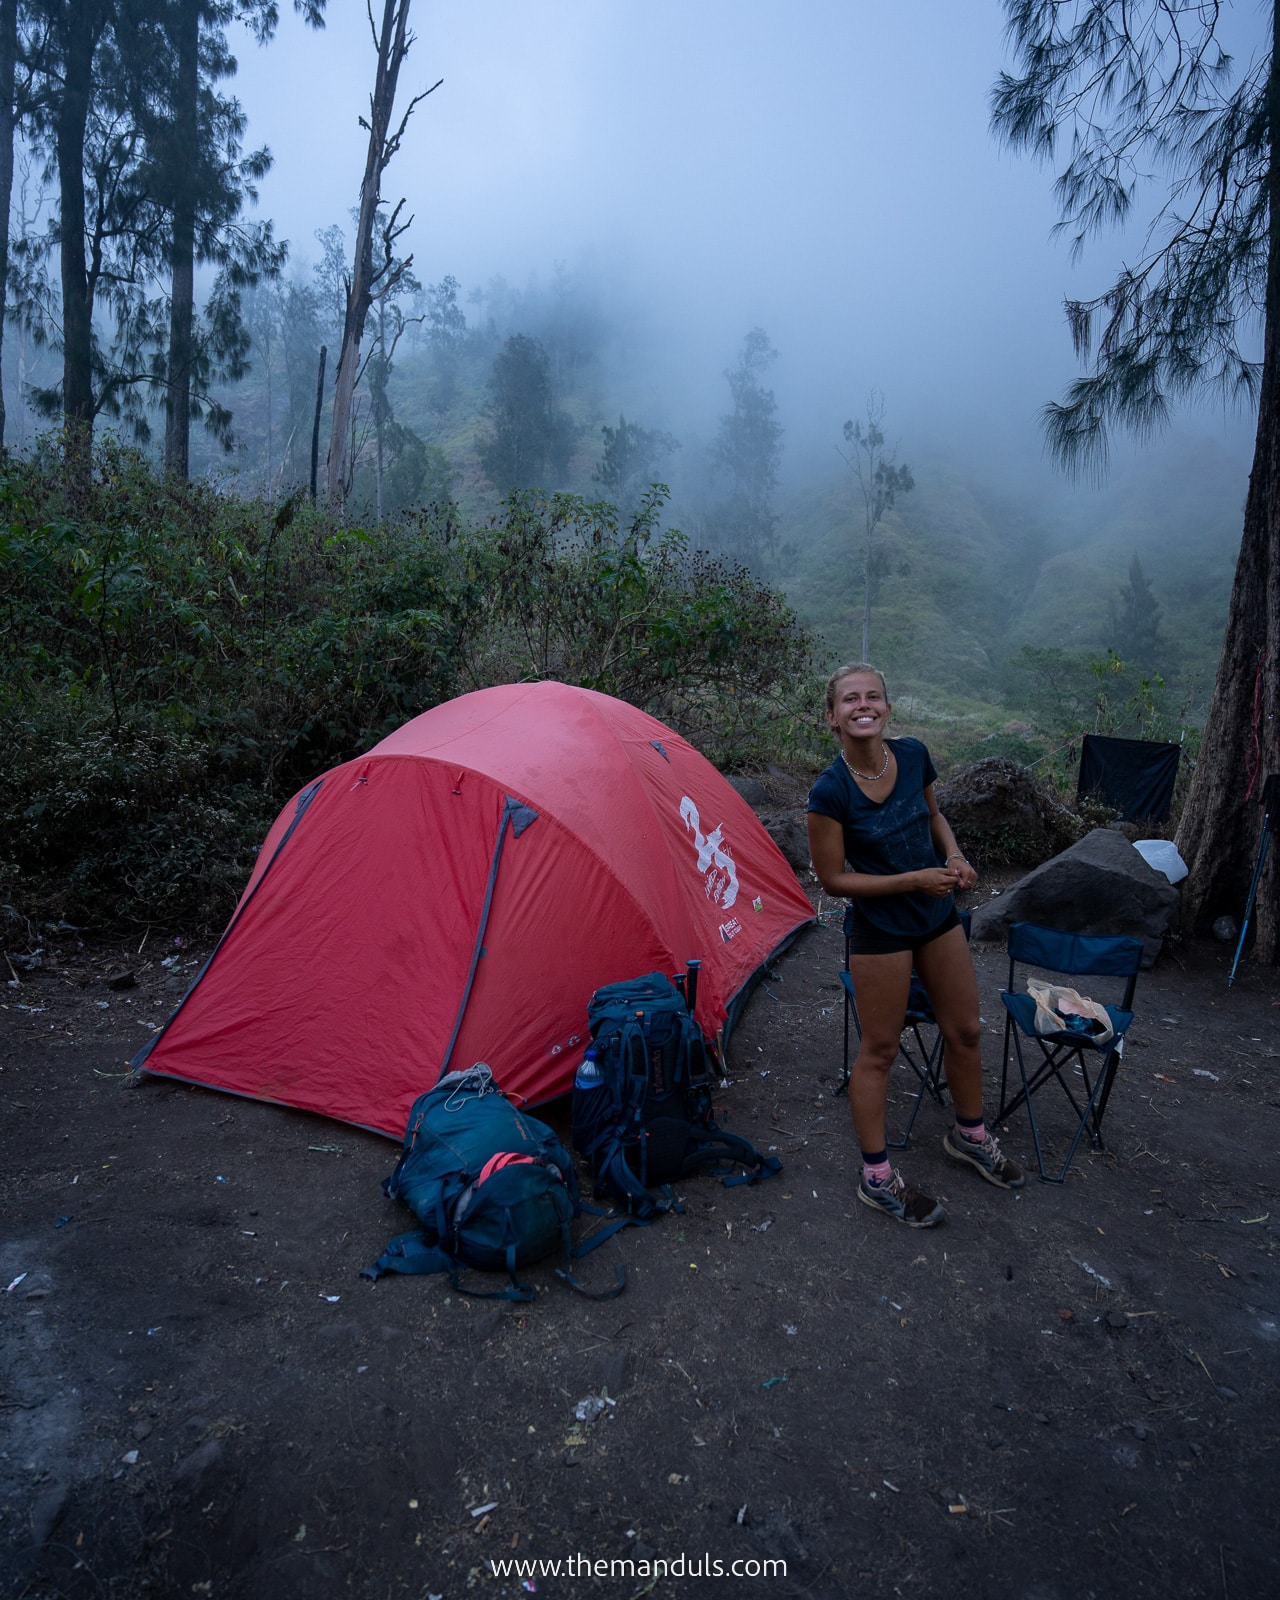
We spent a night by the river, where we had a chance to wash ourselves in fresh water.
If you choose to descend to Senaru village instead, from Segara Anak Lake, you must climb the Senaru Crater rim. While it only takes 2 hours, it’s a strenuous hike on a steep hill.
Day 3 – Torean Valley to Torean village
Distance: around 10 km
Hike duration: 5 – 6 hours
Elevation: 600m of descent
We woke up extremely tired and sore. After breakfast, we started what seemed to be a never-ending descent to Torean village. Slowly, we entered the forest area, and the views disappeared. Towards the end of the trek, we hiked through local farms and plantations. We also passed a simple village.
After arriving at Torean village, we had to travel by car for another 40 minutes back to Senaru. We picked up our staff and traveled to Sembalun, where we rested for two days.
Tip: If this sounds too hard for you, check out Mount Agung sunrise hike on Bali!
Camping during Mount Rinjani hike
No matter what tour company you choose for the hike, you will be provided with all the necessary camping gear. This includes a tent, sleeping mat, sleeping bag, and a pillow. Most companies also provide a toilet tent. Sometimes a camping table and chairs are included too.
Porters will carry all this stuff. In most cases, everything will already be prepared by the time you reach the campsite. Yes, we were mind-blown by the speed of our porters. Even though they carried around 40kg each and only had flip-flops, they were always faster than us.
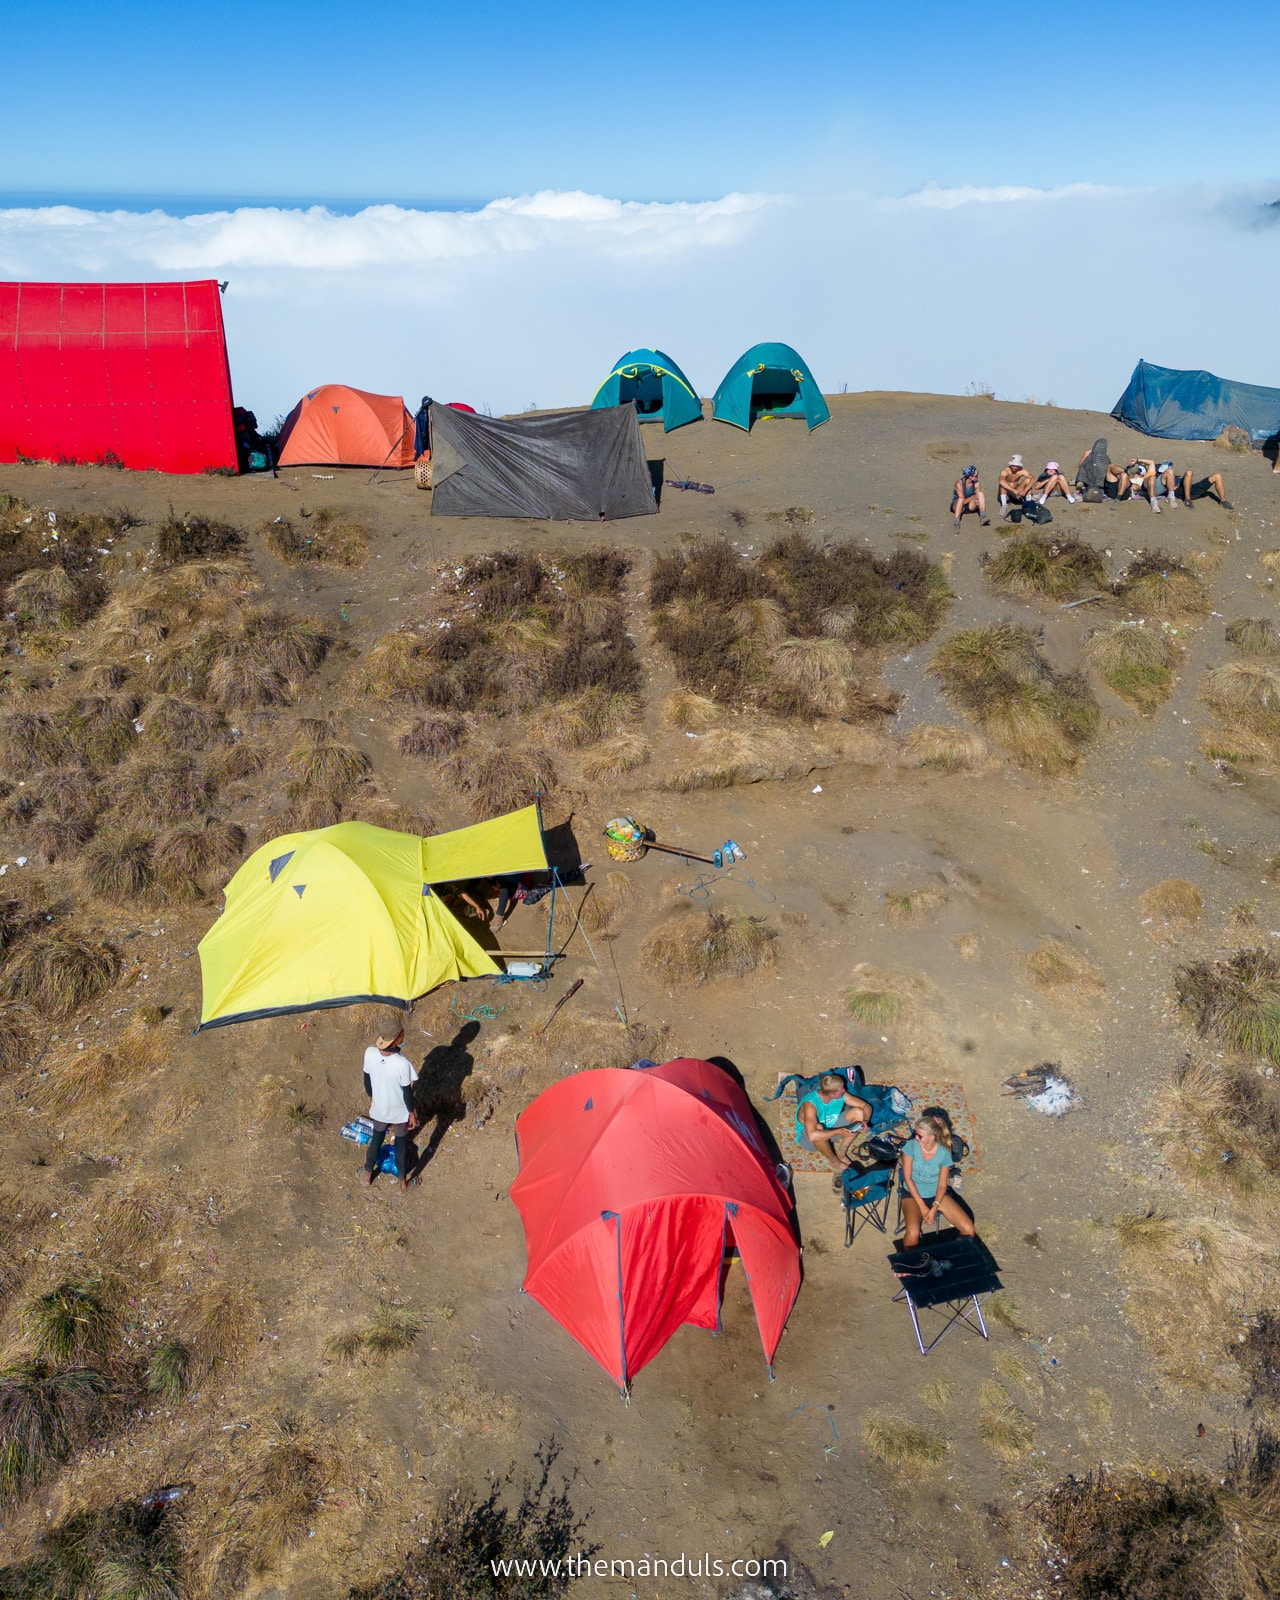
You can use the toilet camp for your needs or find a spot somewhere in nature. I understand not everyone feels comfortable with using the toilet tent. The porters will have to clean up and cover the hole in the ground before leaving.
Important: Make sure to leave no traces and take all the trash with you! There’s already more than enough rubbish in the Mount Rinjani National park, so don’t make it any worse.
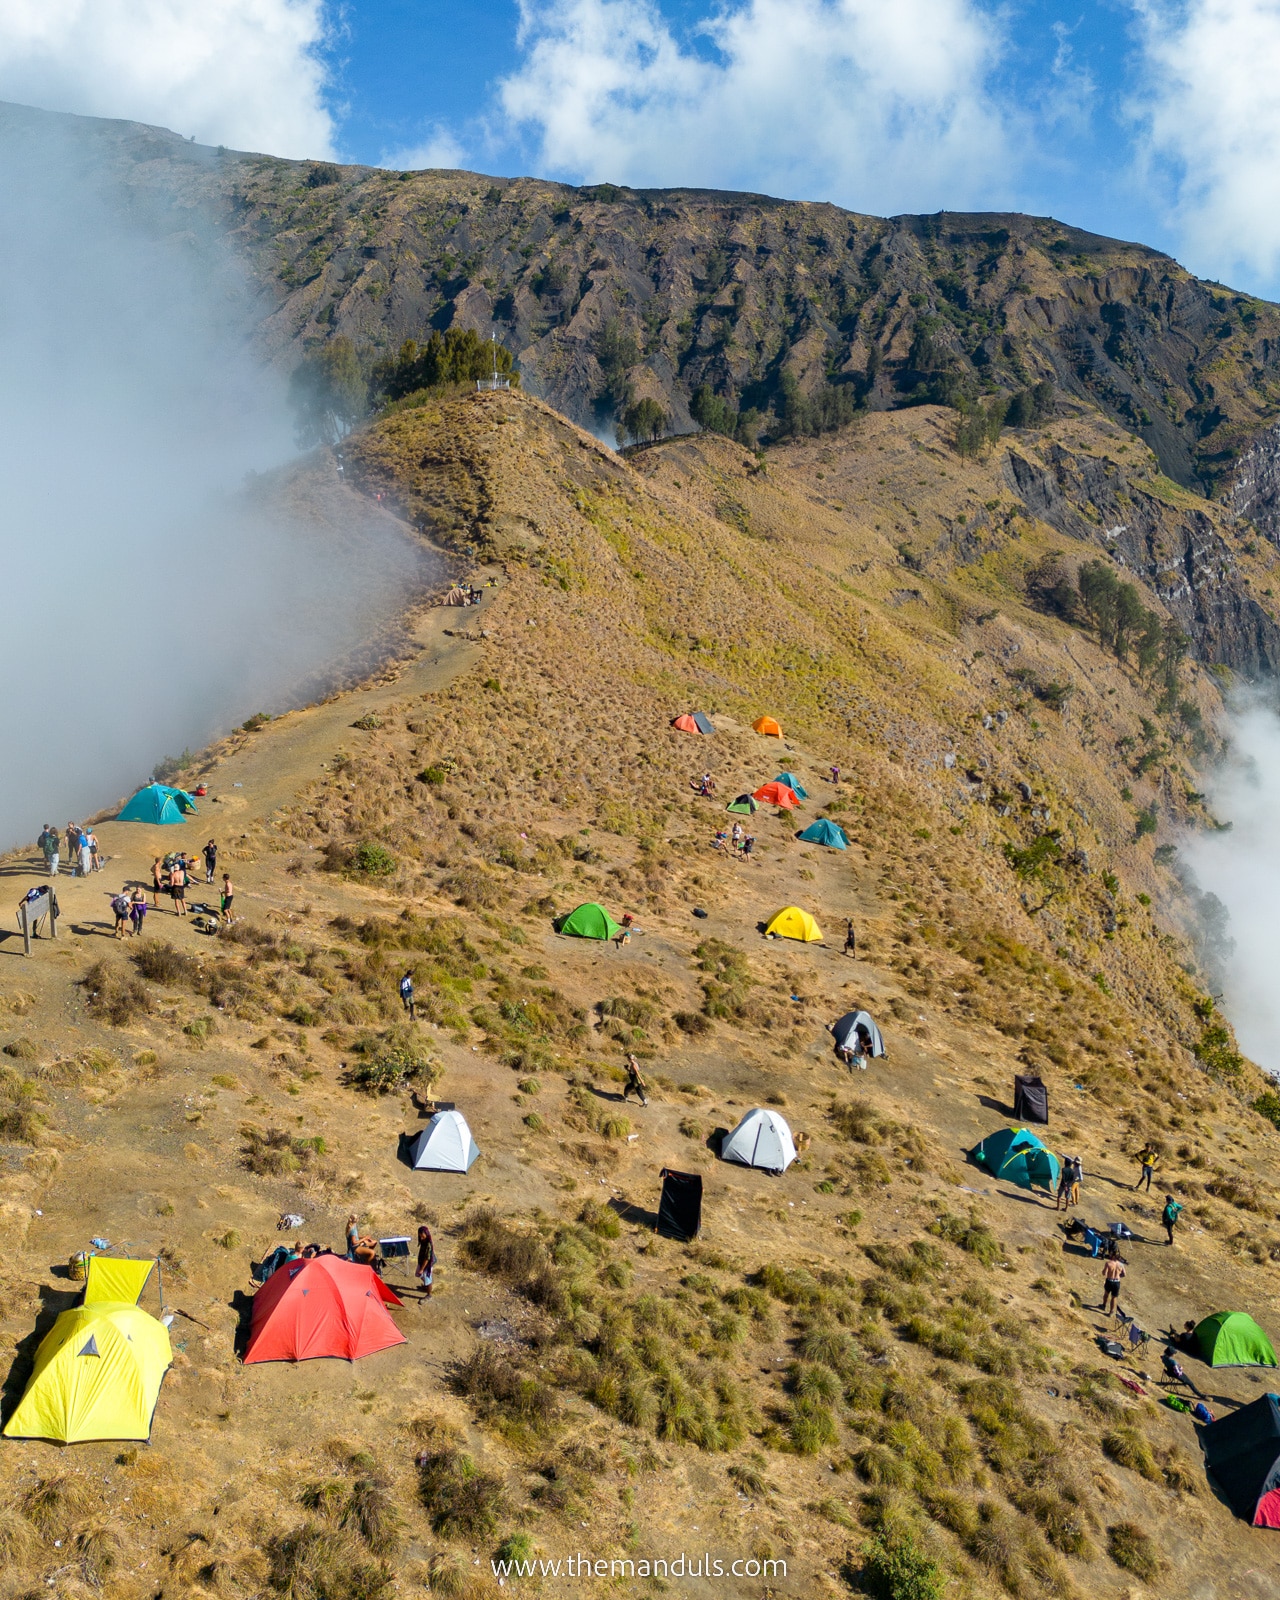
The base camp on the Sembalun Crater rim is often packed with other tourists and tents. Certainly, don’t expect to have this place all to yourself. The campsite in the Torean Valley was completely empty, though.
Regarding the hygiene and bathroom, it’s rather limited. On Day 1 of this hike, you can only wash yourself with water. Wet wipes are a great help, too. However, on Day 2, you can enjoy royal baths in one of the hot springs.
What’s the food like?
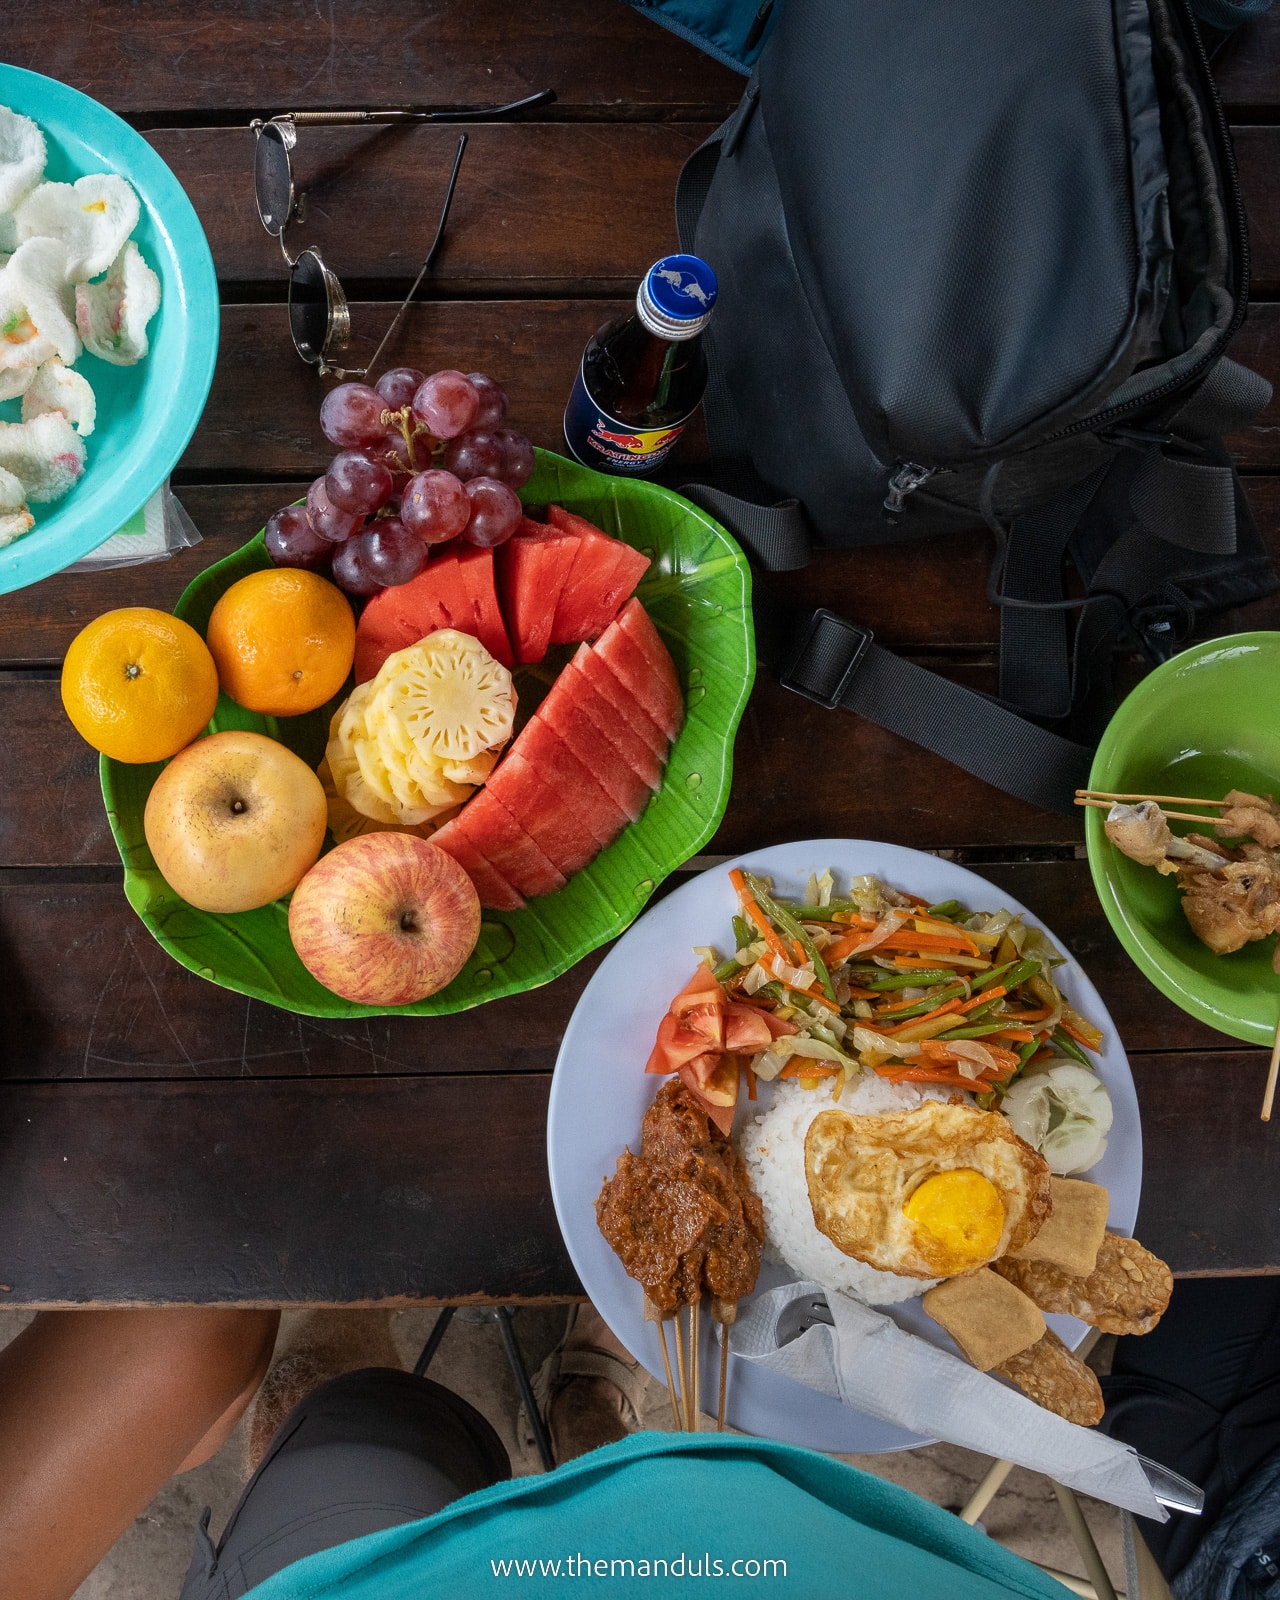
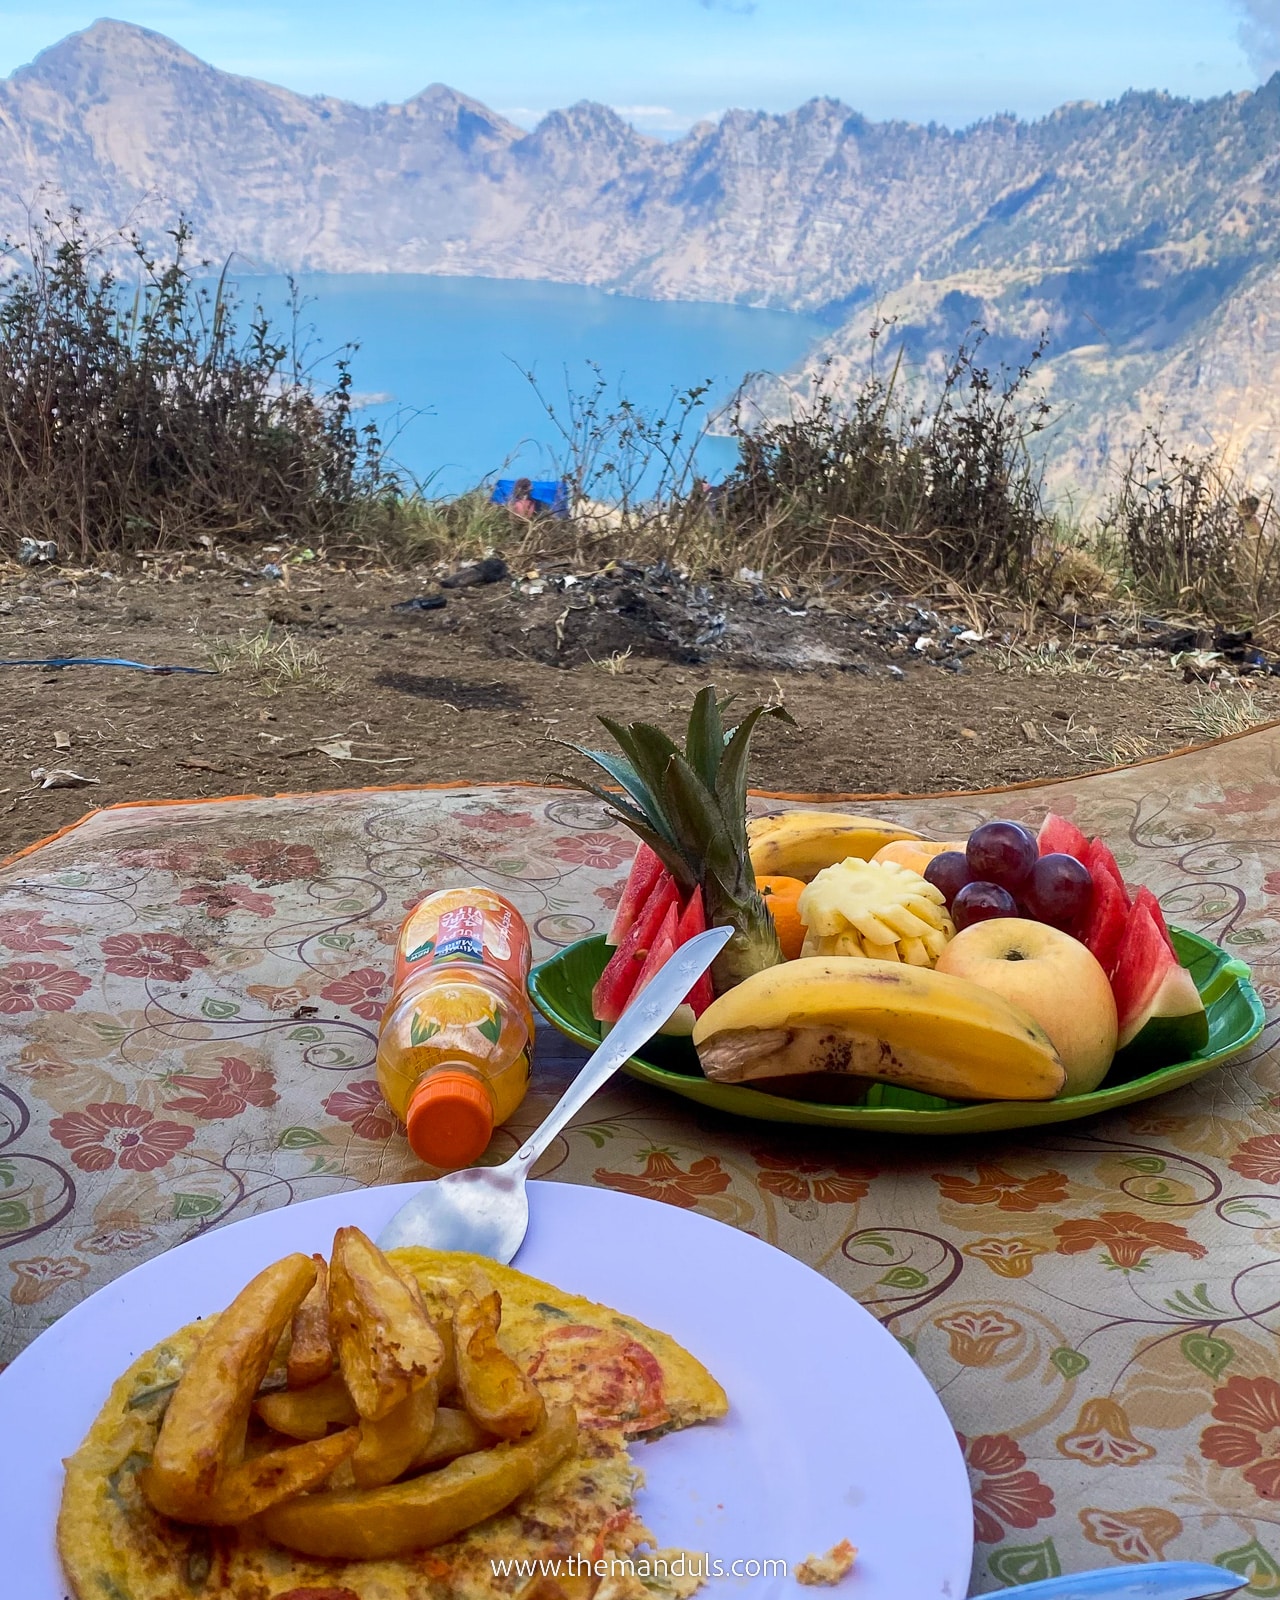
You’ll be served typical Indonesian meals, such as Nasi Goreng and Mie Goreng. On the first day, we even got some chicken satay. Additionally, fruit is served a few times every day. For breakfast, we had pancakes and fried bananas!
The biggest surprise was a popcorn our porters prepared when camping in Torean Valley. Coffee and tea were, of course, not missing either. Whenever we got hungry, our porter offered us some snacks, too.
What to pack for Mount Rinjani hike
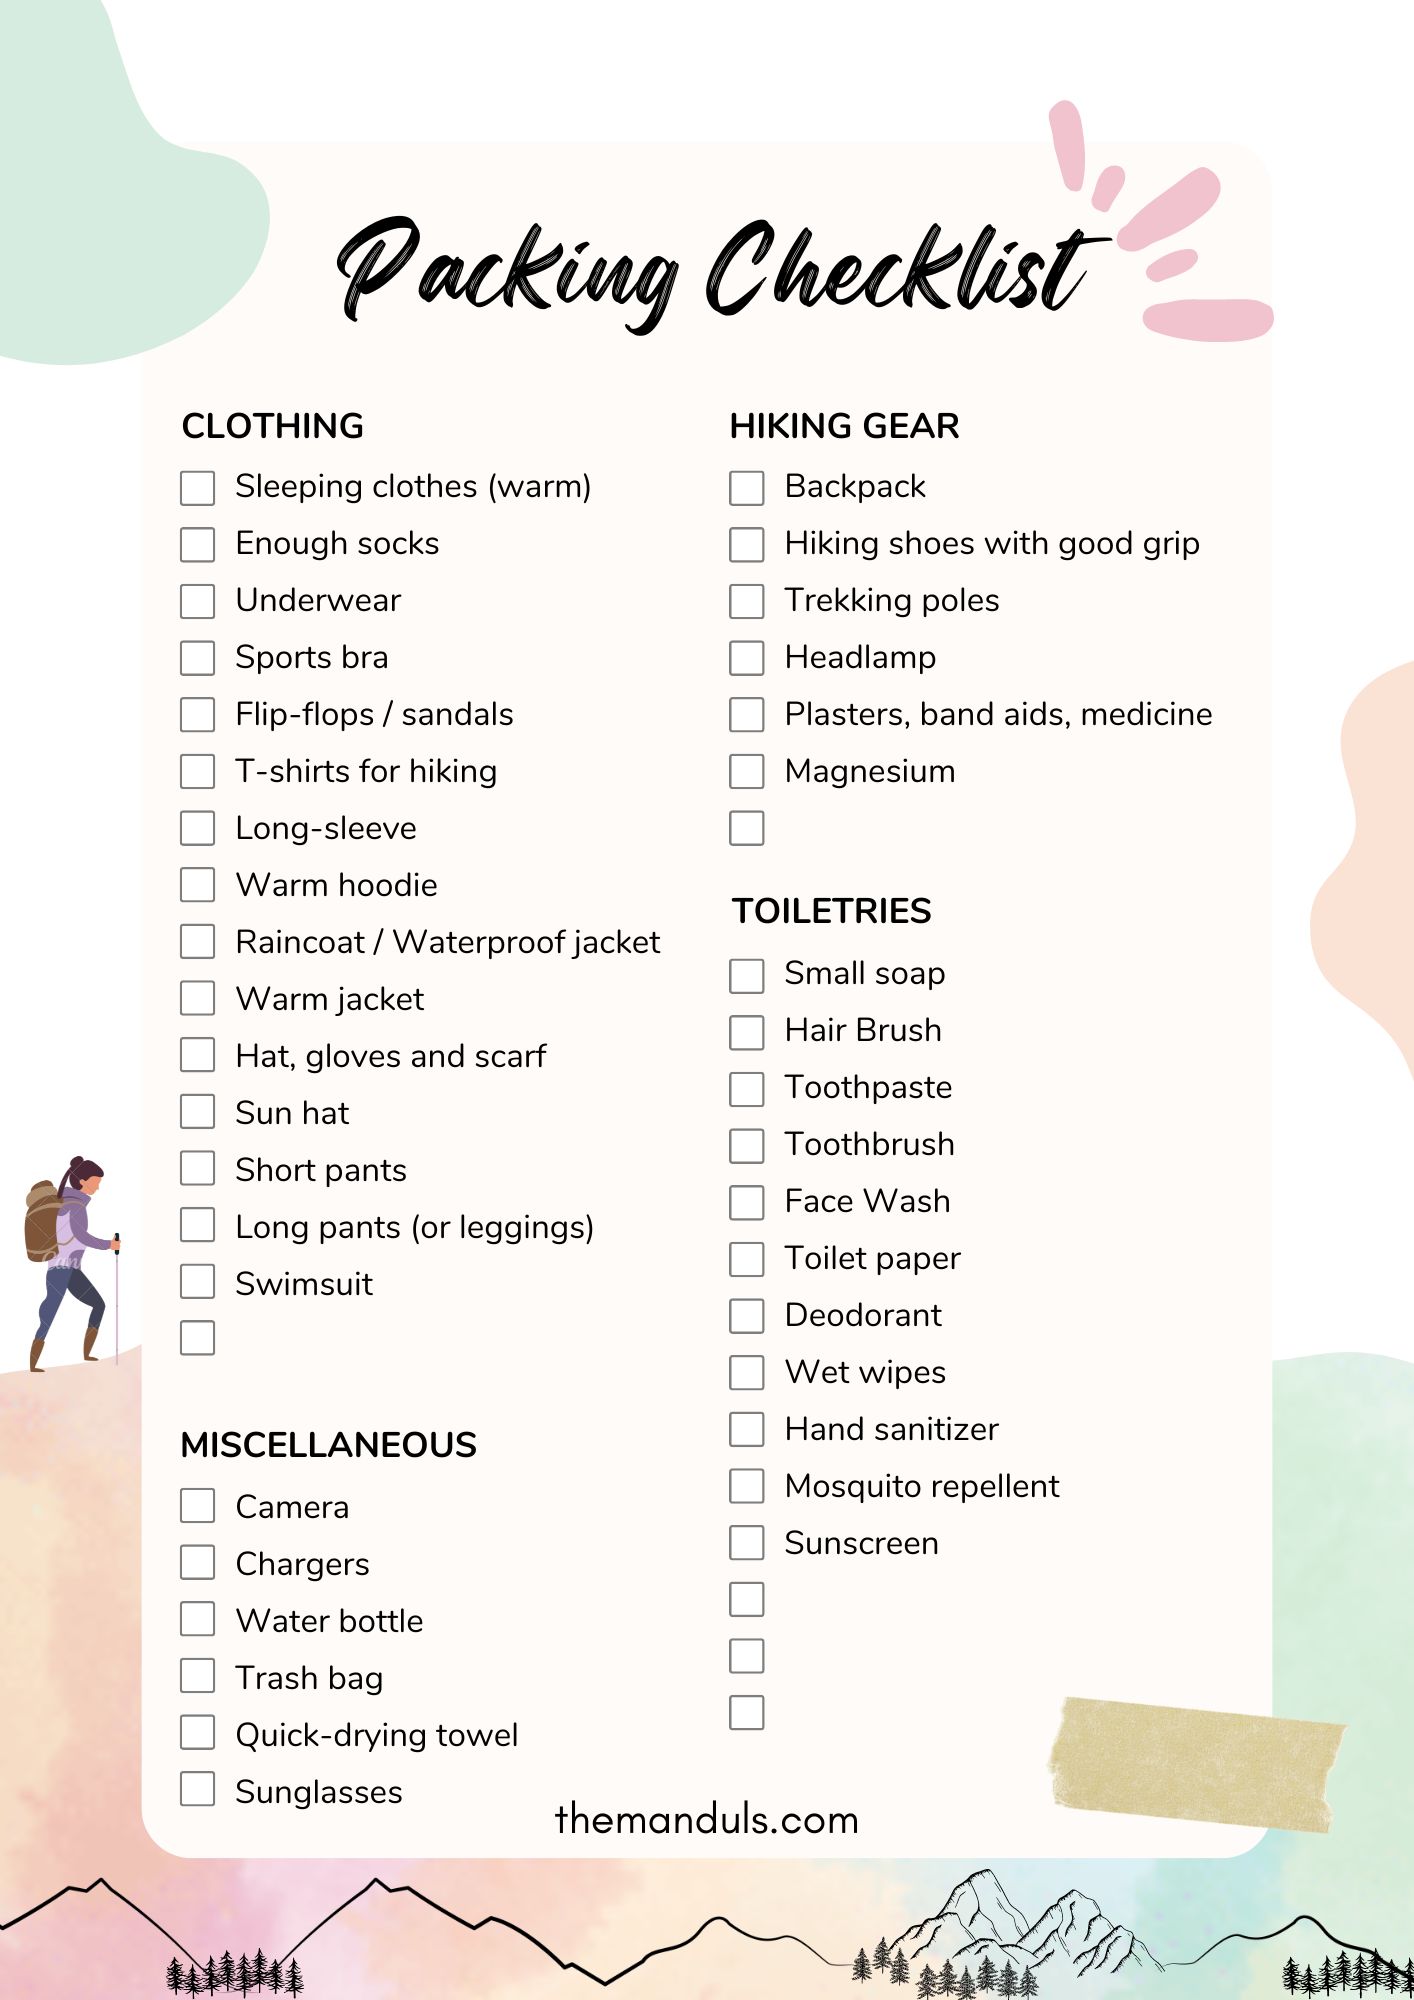
Packing properly will make your Mount Rinjani trek way more pleasant and comfortable. Let’s go through the Mount Rinjani packing list.
You should definitely pack these essentials:
- mosquito repellent
- sunblock
- basic medications
- plasters
- external charger
- hand sanitizer
- wet tissues
- toilet paper (usually provided by the tour company)
- headlamp
- sunglasses / hat
No matter if you’re hiking mountains or chilling by the sea, you should never travel without travel insurance. We use SafetyWing and we couldn’t be happier.
What clothes to wear for Mount Rinjani hike
During the trek, you will experience many different kinds of weather. The trek starts in a hot, dry, sunny savannah where temperatures can climb to 30 °C and more. Yet at the summit, it’s always windy and cold. Expect temperatures at around 3 – 5 °C. Therefore, packing the right clothes might be a challenging task.
Make sure to pack enough breathable t-shirts for hiking. Pack some short pants as well as one pair of long pants. In you get too cold, bring an extra layer of long pants (leggings or thermal underwear) as well as a long-sleeved T-shirt.
A simple warm hoodie will be of great need. A light, water-resistant jacket is a must, too. We also recommend bringing one extra warm jacket for the nighttime and night hike. Having a raincoat is also a good idea.
Pack some clothes for sleeping, too. It gets freezing cold at night.
Additionally, I recommend packing a pair of gloves and a hat.
I believe there’s no need to mention having a comfortable backpack as well as quality hiking shoes with a good grip is a must. Trekking poles will help you a ton during the difficult ascends and descends. Normally we don’t hike with poles, but this time we were happy to have them.
For the time when you’ll not be hiking, bring some flip-flops. Don’t forget a quick-drying towel as well as a swimsuit.
Our tips to make your trek easier
- Choose the route carefully and according to your capabilities.
- Take all the trash with you.
- Be respectful towards nature, local guides, porters, as well as other hikers.
- Pack lightly, you’ll feel every extra gram. Try not to bring anything you won’t really need.
- Put plasters on your heels, big toe and pinky toe before hike to avoid blisters.
- Use trekking poles.
- Have your own pace! Sounds trivial, but it’s important not to feel pressure from other faster hikers. Never go over your limits too much and take your breaks as necessary.
- Prepare for not summiting. It’s actually pretty common and many people decide to skip the summit because they don’t have enough strength and energy.
Best time to hike Mount Rinjani
Dry season: April – October
Rainy season: November – March
Dry season is definitely the best time to plan your Mount Rinjani hike. I would recommend coming right after the wet season. During this time, the nature will be beautifully lush green. As the dry season progresses, expect dried nature, too.
To avoid the hottest days, don’t come in July or August.
Since Mount Rinjani is a sacred mountain, many locals hike the summit after Ramadan. Therefore, avoid the months when Ramadan ends if possible.
Important: It’s not possible to hike Mount Rinjani during the wet season. The trails are closed between January and March.
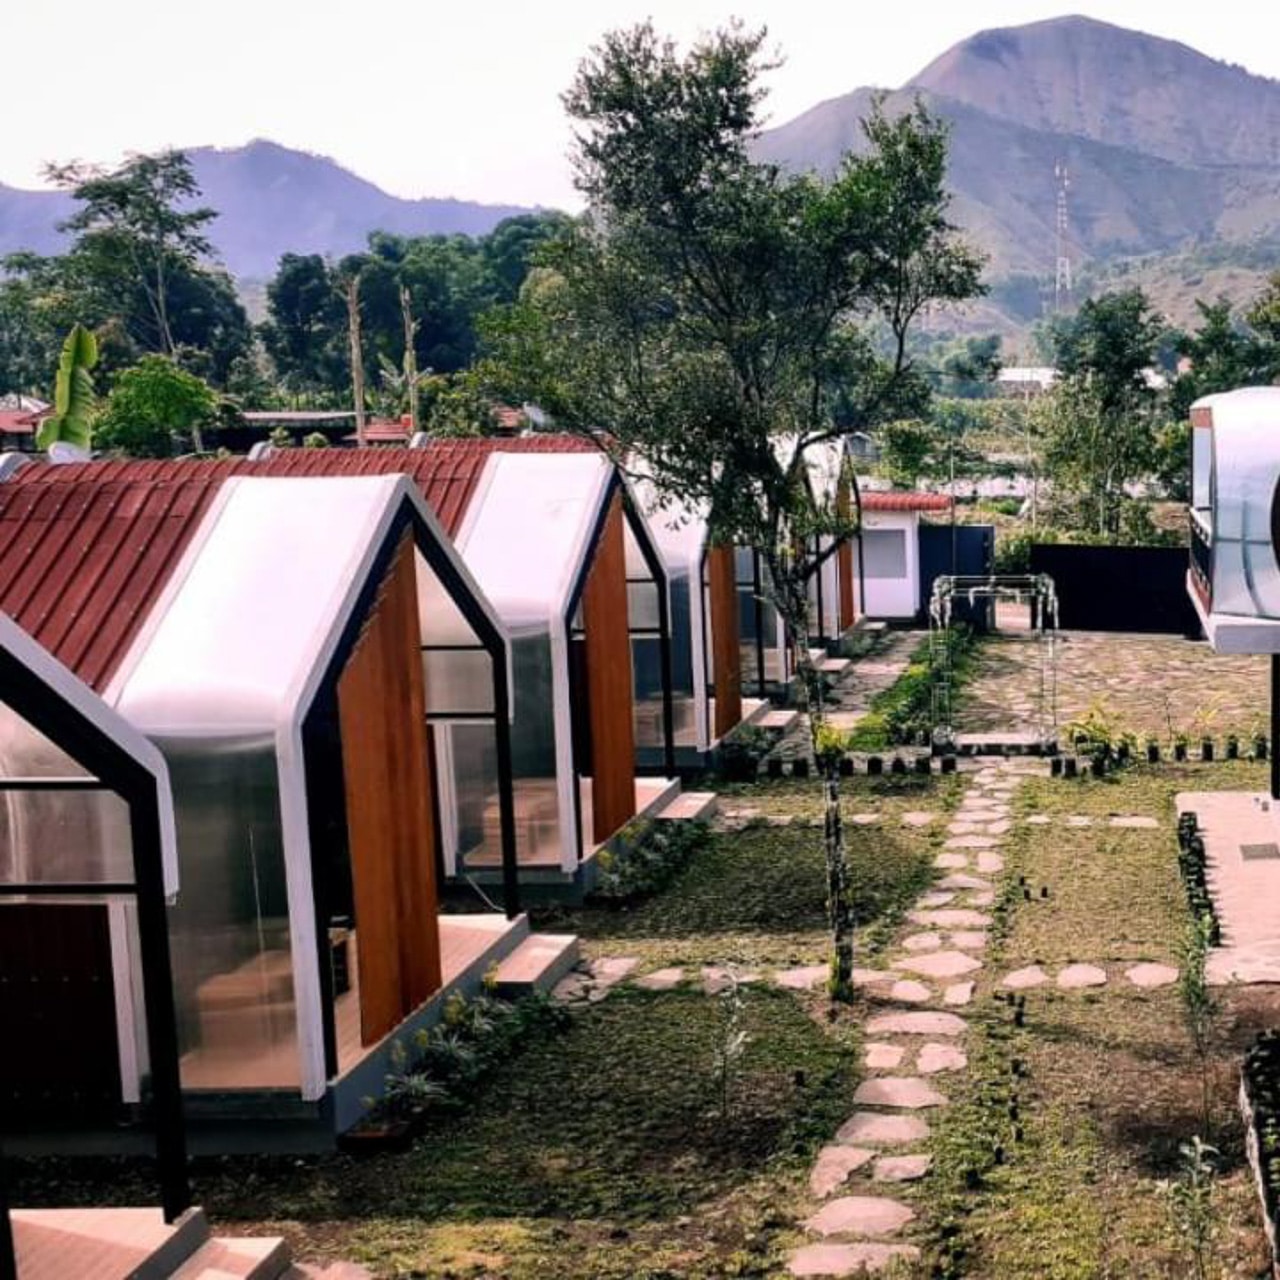
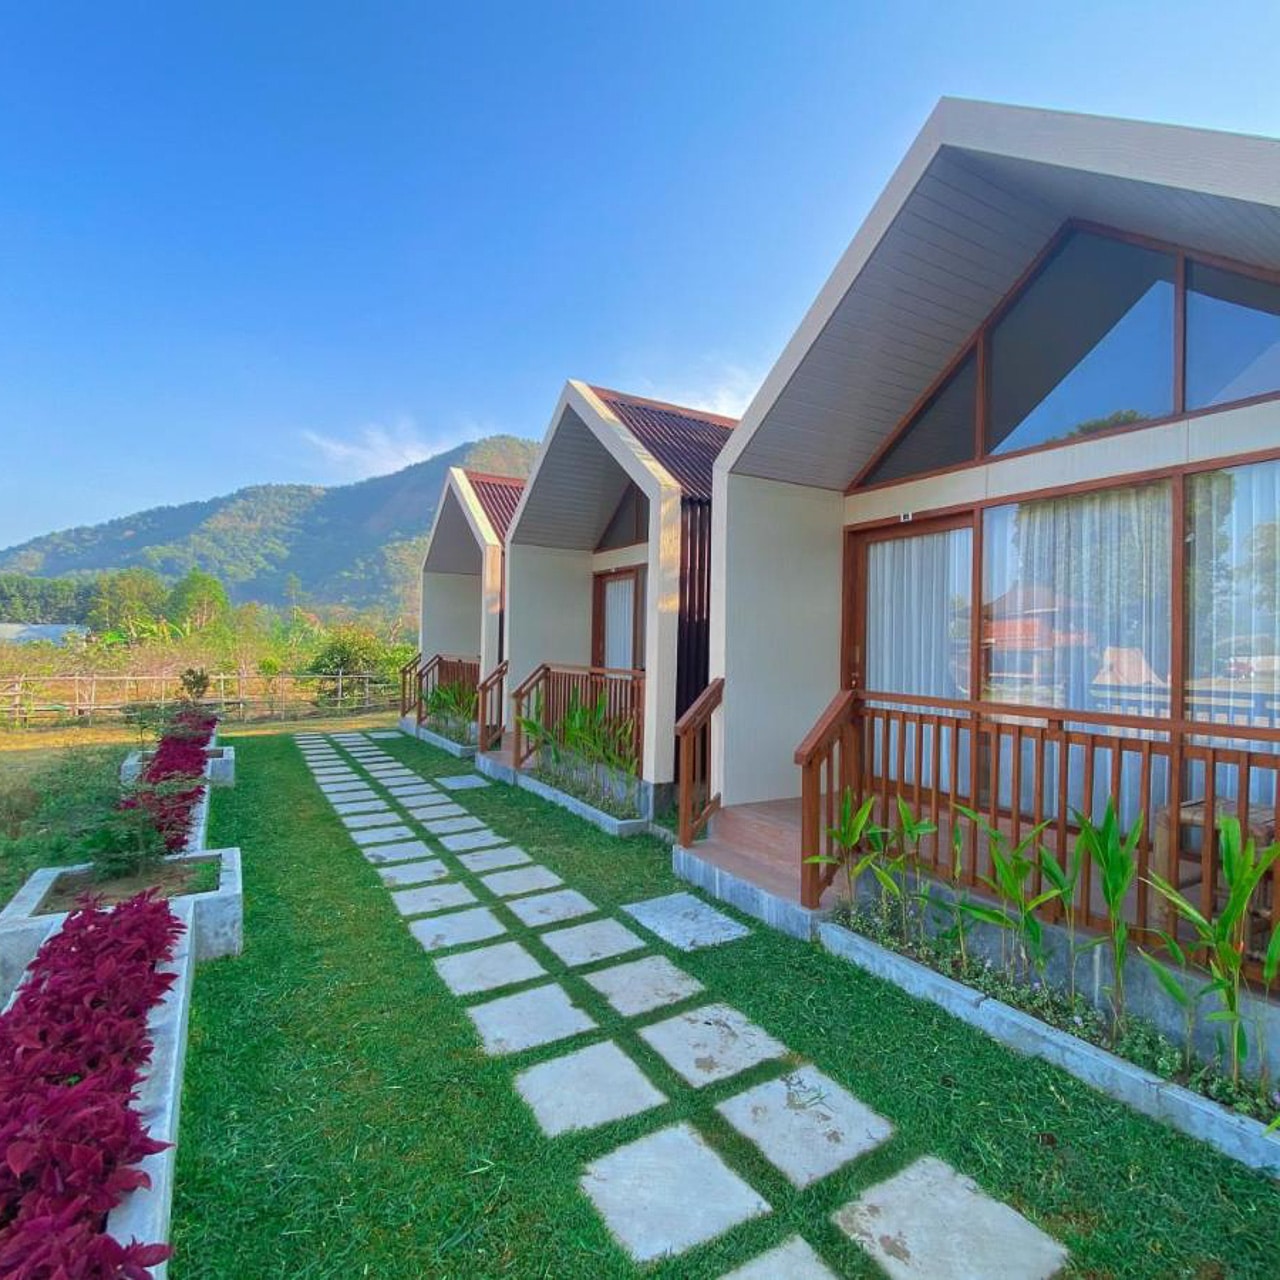
Best hotels in Sembalun
If you use the links below, you pay the same and we earn a little commission. It helps us run this blog. You can also check more hotels in Sembalun on booking.com.
How to get to Sembalun or Senaru
When visiting Lombok, keep in mind that there’s almost no public transport. Because of this, the only way to get to Sembalun or Senaru is to rent a scooter and come on your own or to organize a private transport.
We rented the scooter right after arrival at the port and traveled around Lombok independently. When renting for longer, expect to pay around 80,000 IDR per day. You can also rent a scooter in Kuta to travel to Sembalun or Senaru. Based on our experience, bikes in Kuta were more expensive.
If you don’t want to ride a scooter, you can also pay for a private transfer. The price is around 200,000 IDR, but it varies depending on the tour company.
Other activities in the area
Hiking Mount Rinjani – conclusion
Climbing Mount Rinjani was a difficult task. However, the beautiful views will forever stay in our memories. The whole trek was really unique. It was extremely demanding, both physically and mentally.
The biggest thanks go to our incredible porters carrying all the heavy stuff for us. If it wasn’t for them we could never make it.
Mount Rinjani hike is not easy and it’s not for everyone. But those who will decide to go for it won’t regret their decision. Nothing compares to standing on an active volcano at 3726m watching a sunrise. Views on this trek are out of this world!

You’ve made a complex topic simple.
Thanks for the comment! We did our best 🙂
very complete and usefull guide. glad to see this post , it will help us a lot to bring more people to Rinjani. thank you
Hey, thank you for the comment. We are glad that you liked our post. We hope it will bring more people to this beautiful place ❤️